Affiliate Disclosure: If you buy something through some of the links on this post, you won’t pay any extra, but we’ll get a small commission. This helps us keep things running. Thanks for your support!
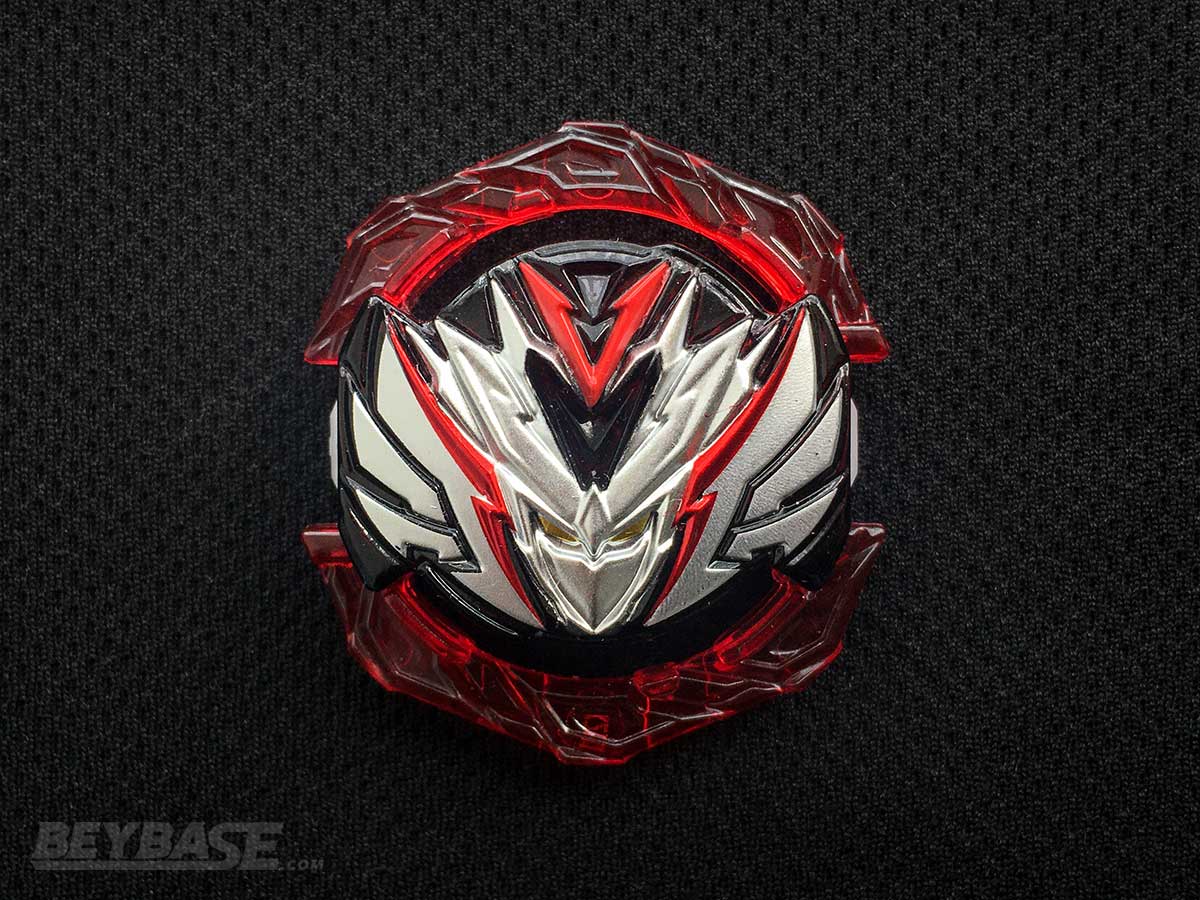
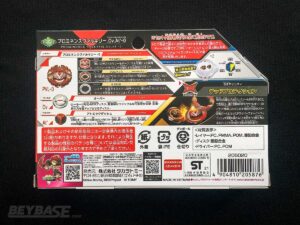
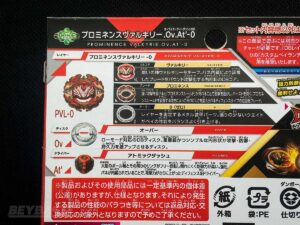
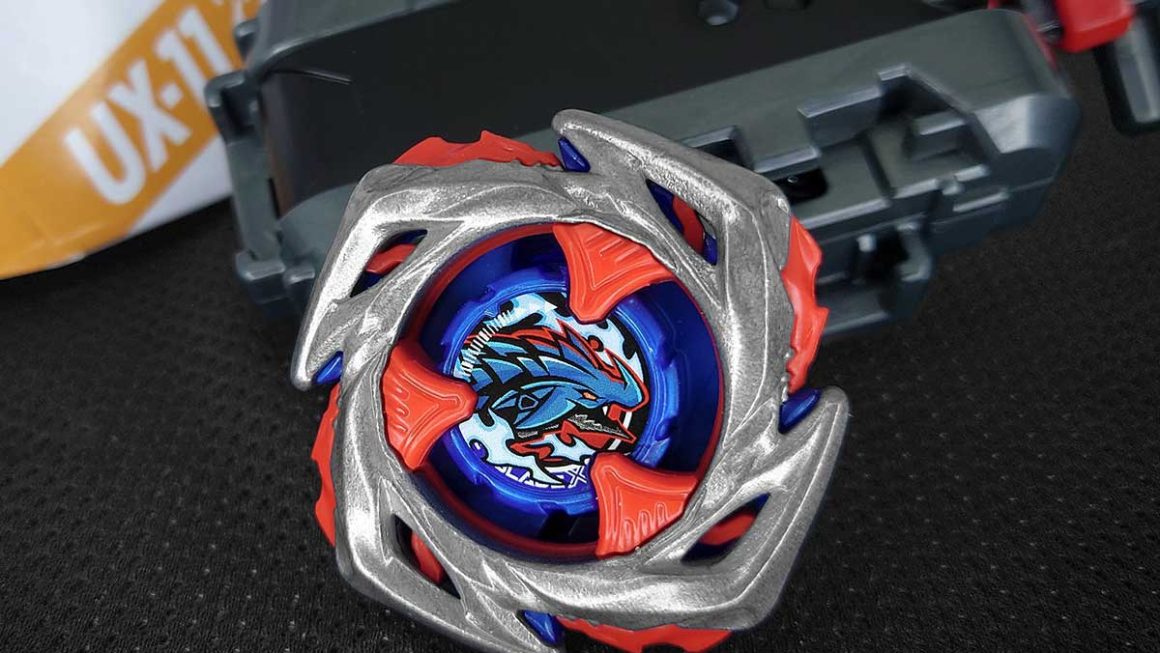
B-195 Prominence Valkyrie Over Atomic Dash-0 is the first standalone release of 2022, but surprisingly enough it seems to match the same energy of Random Booster Volume 27: a catchup DB release.
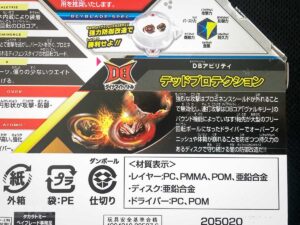
The reason is because there is only one new part included: the Atomic Dash Driver. In this article we will review it in-depth and give an overview of where the other great parts being re-released in this booster shine.
For those of you who have all the latest releases, much of what is discussed here you will already be familiar with. With that in mind, if you’re just getting into the Beyblade Burst DB system, or need duplicates of highly competitive parts, B-195 has a lot to offer in a single affordable purchase.
Product Details
- Brand: TAKARA-TOMY
- Product Code: B-195
- Product Contents:
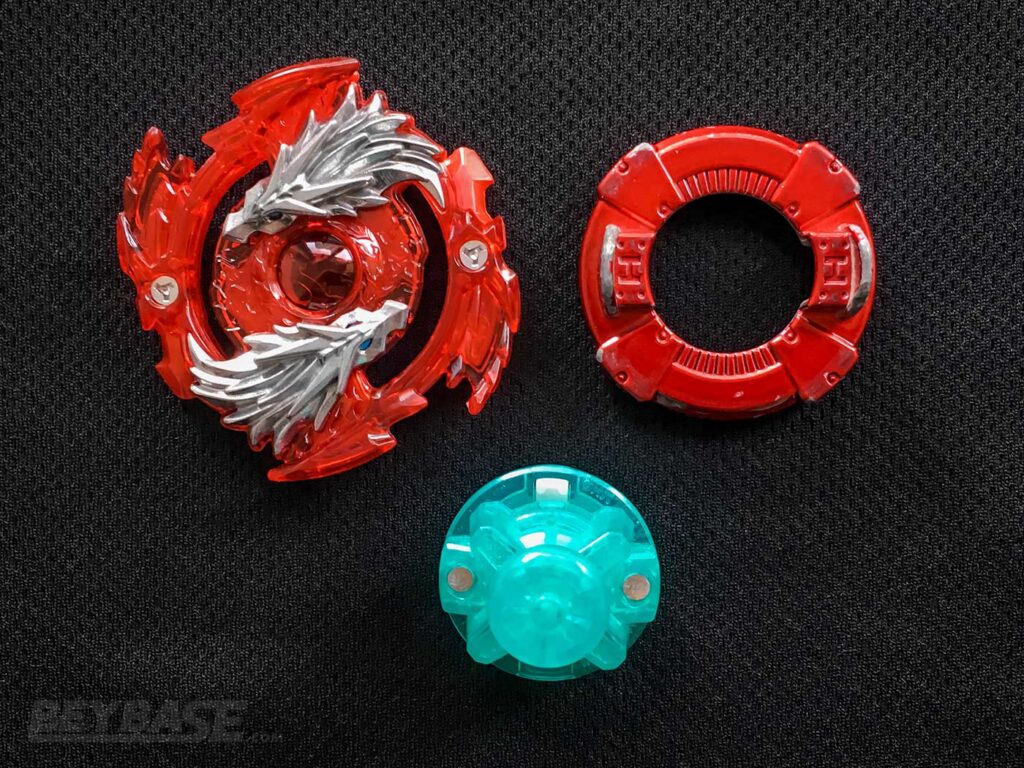
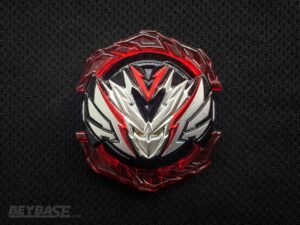
- Prominence Valkyrie Over Atomic’-0
- System: Dynamite Battle Layer System
- Series: Beyblade Burst Dynamite Battle
Part Weight Comparisons
| Part Name | Product Variant | Weight |
|---|---|---|
| Prominence Blade (A1) | B-191 | 14.53g (Shield: 9.39g, Body: 5.14g) |
| Prominence Blade (A1) | B-195 | 14.78g (Shield: 9.50g, Body: 5.28g) |
| Valkyrie DB Core (A2, E21) | B-187 | 7.71g |
| Valkyrie DB Core (A2, K21) | B-195 | 7.88g |
| Over Disk (1 Star) | B-194 | 33.41g |
| Over Disk (1 Star) | B-195 | 33.48g |
| Atomic Driver | B-131 | 7.36g |
| Atomic’ Driver | B-195 | 7.51g |
| 0 Armor | B-188 | 13.91g |
| 0 Armor | B-195 | 13.84g |
Additional Notes:
- All tests conducted in the Burst BeyStadium Standard Type.
- All tests conducted with the Long BeyLauncher LR unless otherwise noted.
- This article was written in collaboration with WBO user Dan. Thank you, Dan. Atomic’ Driver, Recommended Combo, “Should you buy” sections, editing, photos, and formatting by me (Blader Kei). Atomic’ Testing by Kei except for At’ vs. Zn’+Z and Dr.
- Finally, if you buy something through some of the links on this post, you won’t pay any extra, but I’ll get a small commission. This helps me keep things running. Thanks for your support!
Where to Buy B-195 Prominence Valkyrie Over Atomic’-0
Heads up: If you buy something through some of the links on this post, you won’t pay any extra, but I’ll get a small commission. This helps me keep things running. Thanks for your support!
Champions aren’t born overnight. In my latest article, I break down how my pursuit of knowledge, adaptability, and reproducibility compounded into victory at a 256-player G2 tournament.
Sponsored: Order the newest Beyblades at malloftoys.com!
Heads up: If you buy something through Mall of Toys, you won’t pay any extra, but I’ll get a small commission. This helps me keep things running. Thanks for your support!
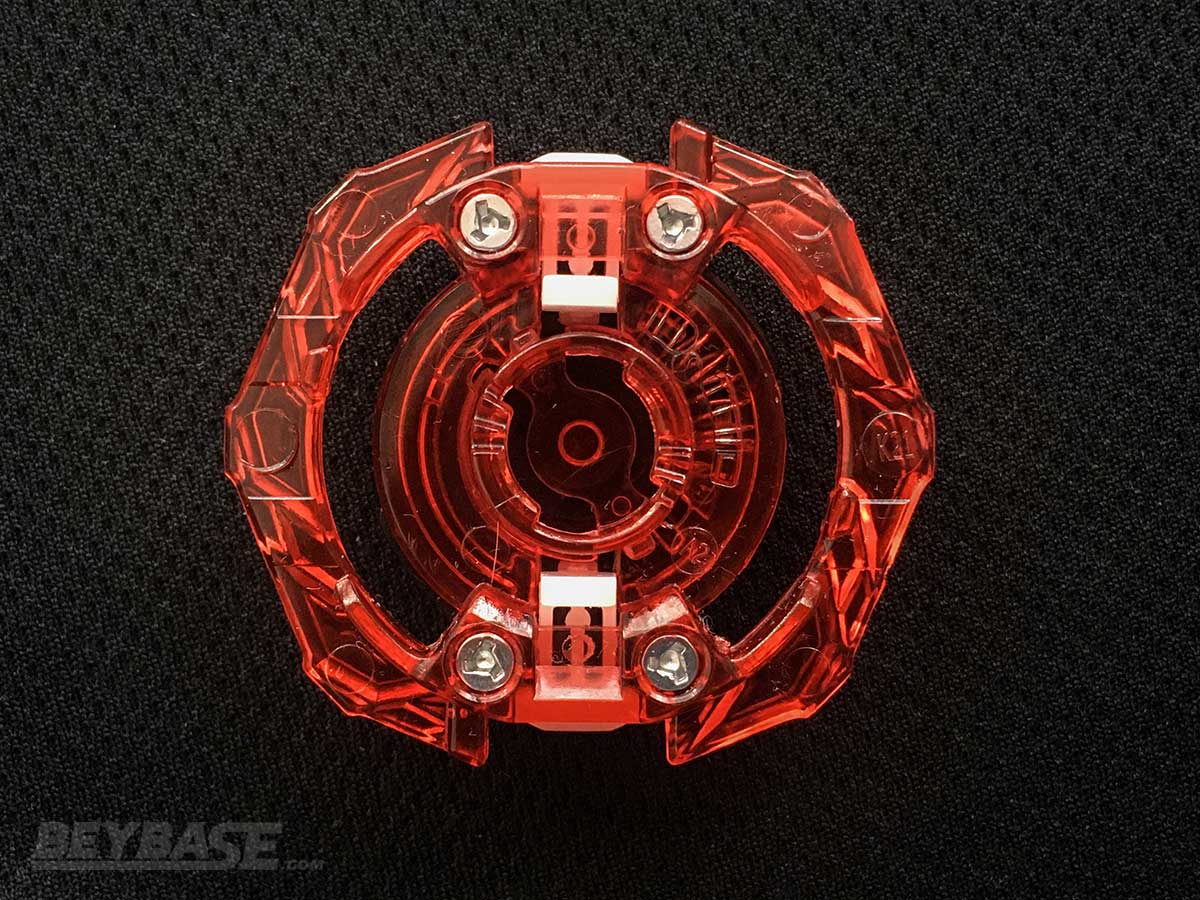
Prominence Blade Overview
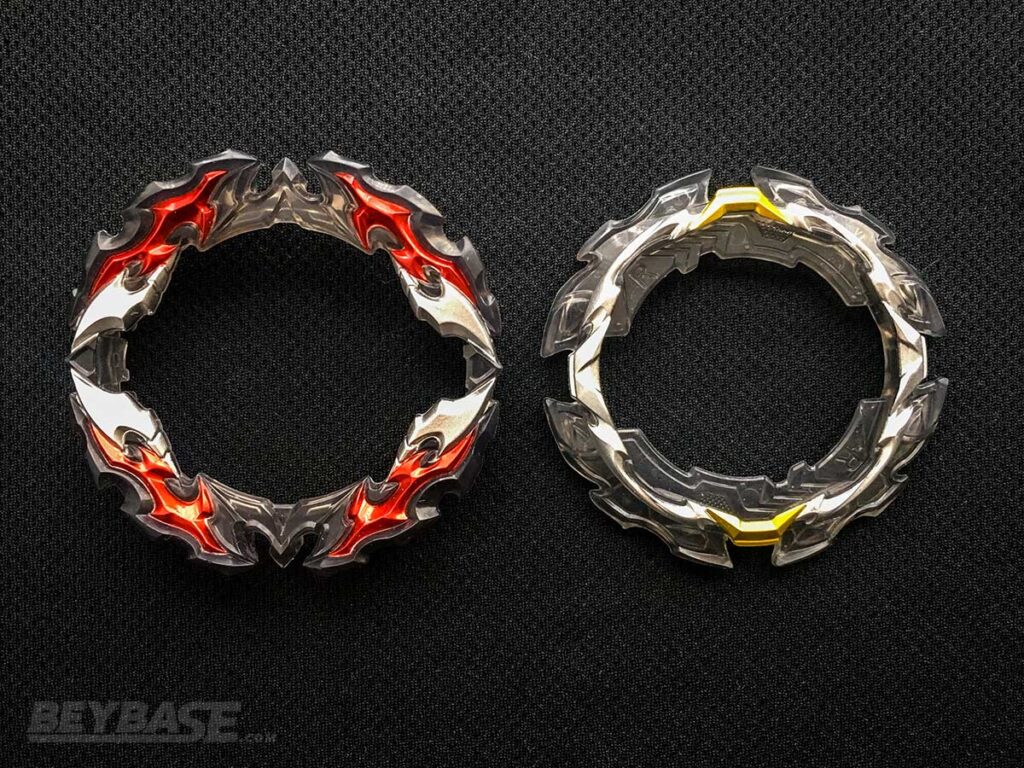
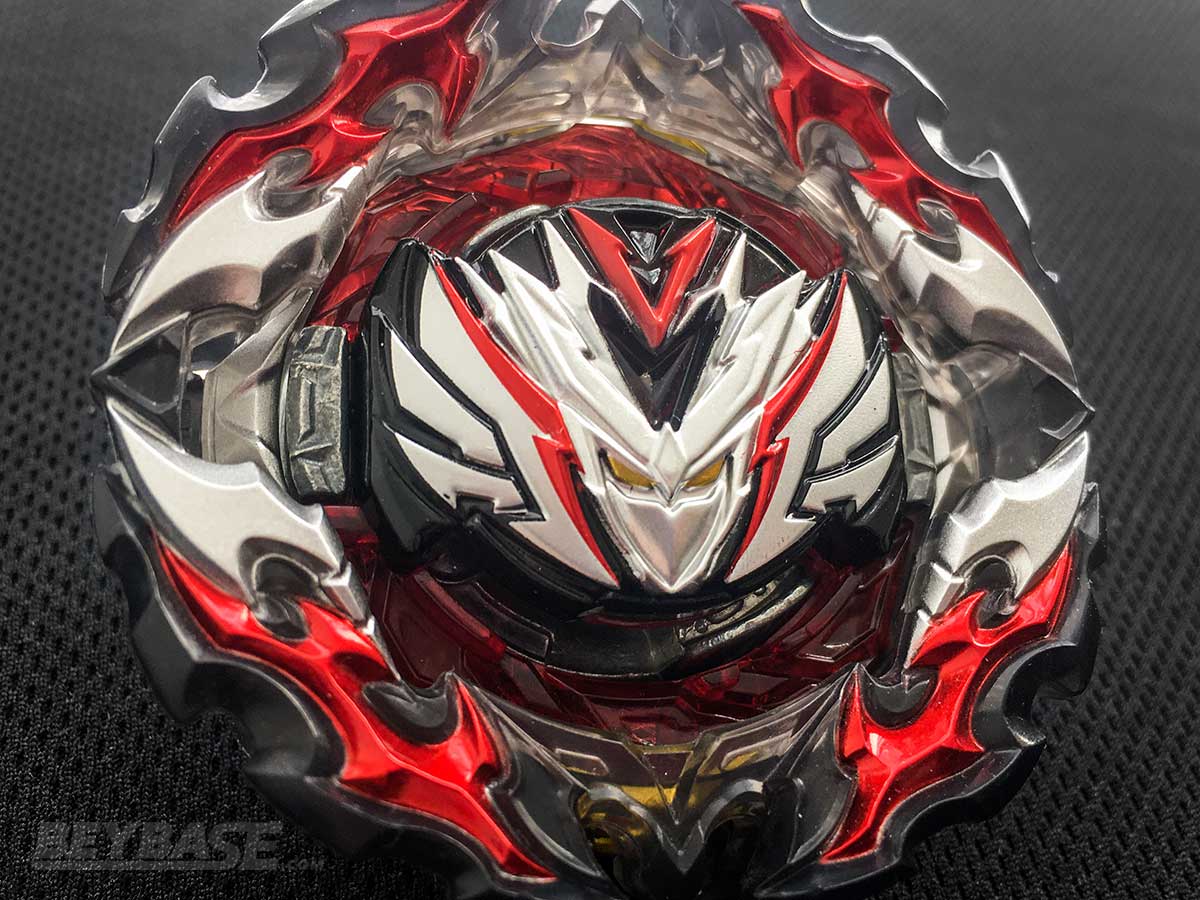
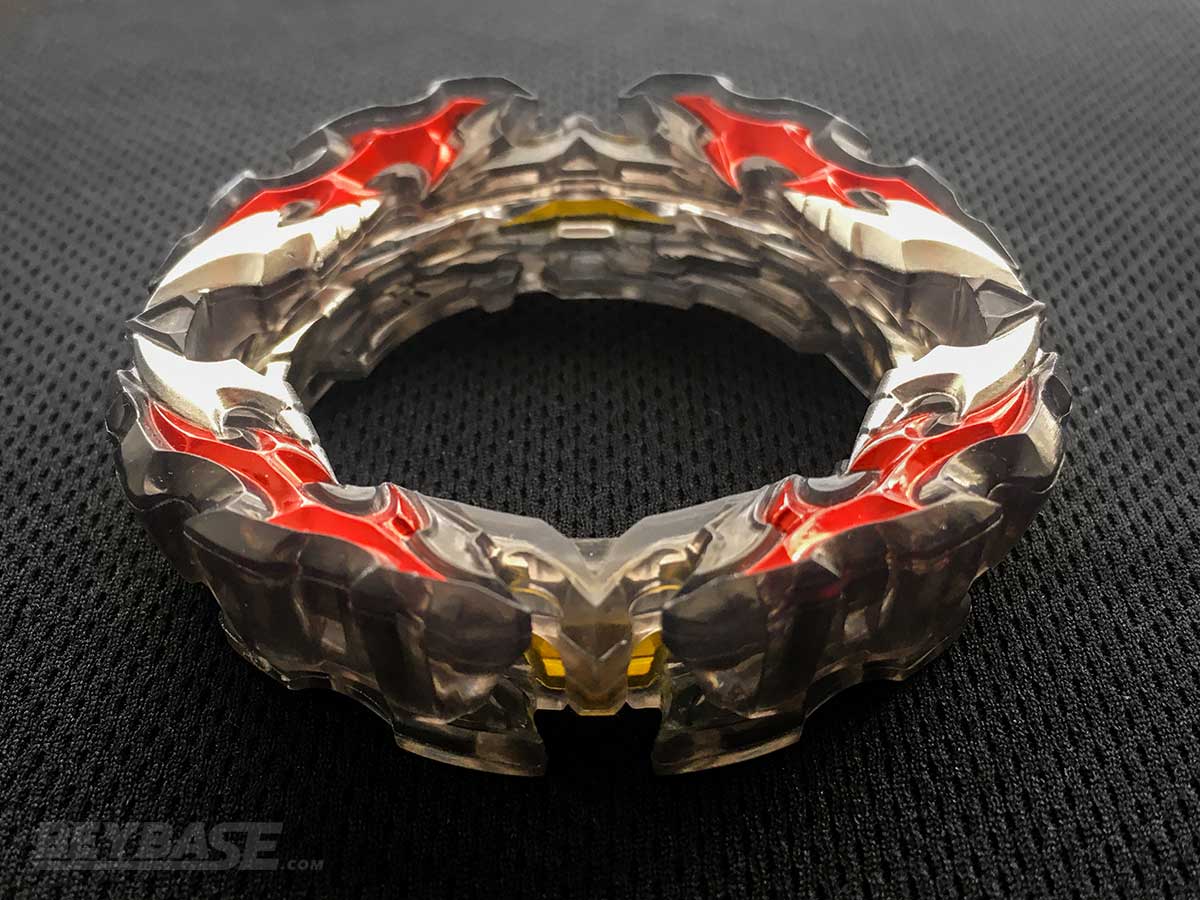
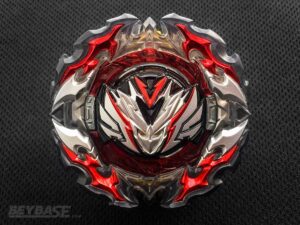
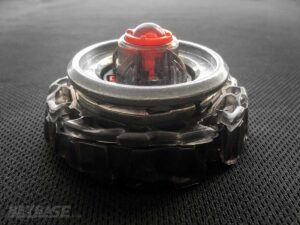
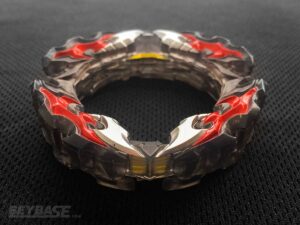
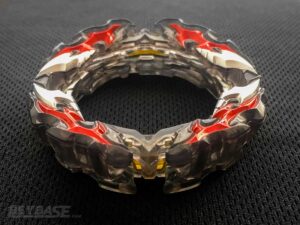
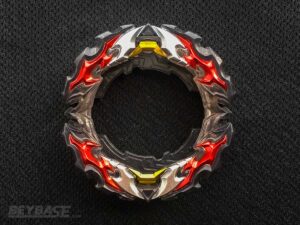
Initially released in the B-191 Overdrive Special Starter Set, the Prominence Blade has made a name for itself as a surprising opposite-spin king. It seems like no matter what you throw at it, if the opponent is left-spinning, they’ll be having a rough time.
For a detailed breakdown on the Prominence Blade check our article on it here. While we found Prominence Blade lacked any meaningful ability to dominate same-spin opponents, you should expect it to be an expert at opposite-spin matchups.
In an effort to be concise we will not go into nearly as much detail here and simply outline Prominence Blade’s strengths.
There are two modes that serve different functions: Normal Mode, which is best used as interference against Attack type combos when removed in battle, and Heavy Mode, which tends to be sturdier and effective when combatting opposite-spin Stamina-oriented opponents.
A case can be made for Normal Mode against same-spin opponents as when it has no Armor it is much more capable of dealing with them relative to when it has its Armor on, though this is mostly luck-based and still not a favourable matchup.
If you want to add a Blade to your roster that can easily deal with the Vanish Blade, for example, Prominence leaves much less to chance compared to another right-spin option like Dynamite (F-Gear).
Because this Blade was only released in a relatively expensive set, having it re-released in a cheaper booster makes for a much more economical choice for buyers on a budget. While the Overdrive Set brings a lot to the table, B-195 is a way to make an affordable minor purchase and access this Blade easily.
Recommended Prominence Blade Combo: Prominence Belial Tapered Mobius-0
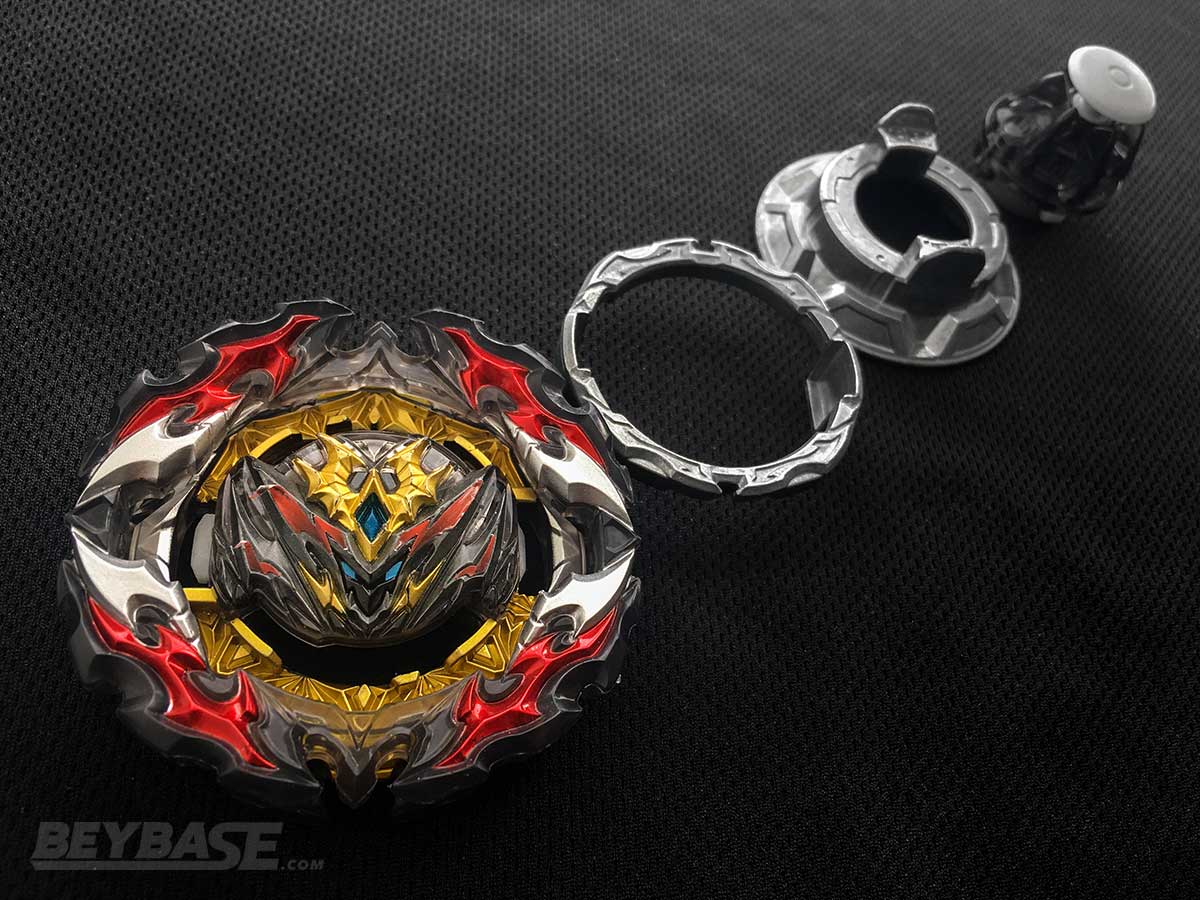
The Mobius Driver–especially when it’s free-spinning tip is worn down–helps the Prominence Blade to capitalize on what it does best against: left-spin stamina combos. The DB Core and Disk can be changed out for others and you should experiment to find out what works best for you.
In our testing we found the balanced design of the Belial DB Core to work best for it and the Tapered Disk because same-spin stamina is not a concern for this combo is a decent enough alternative to the Giga Disk and Over Disk, which can be kept free for other combos if you are playing a multiple Beyblade battle type like 3on3 or 5G.
How to build PBL.Tp.Mb-0
-
Prominence Blade & 0 Armor
-
Belial DB Core (1 of the following)
-
Tapered Disk (1 of the following)
- B-185 Vanish Fafnir Tapered Kick-3
- B-191 Overdrive Special Starter Set – Prominence Phoenix Tapered Metal Universe-10
- B-194 Random Booster Vol. 27 – 07: Dragoon V2 Tapered Zone’
-
Mobius Driver (1 of the following)
- B-169 Variant Lucifer Mobius 2D
- B-194 Random Booster Vol. 27 – 01: Devil Belial Giga Mobius-3
- B-00 Metal Fight Beyblade 2020 Explosion Set – Hell Kerbecs 0Lift Mobius
Valkyrie I DB Core Overview
The Valkyrie DB Core was first released in B-187 Savior Valkyrie Shot-7, and since then has found itself to be a staple in Stamina combos being able to compete closely with even the Belial 2 DB Core in this department.
The Valkyrie DB Core has a decent weight, weight distribution, and features a bound gimmick that added just a little bit of cushioning for finicky non-Dash Stamina Drivers, making itself at home in the upper echelon of Stamina DB Cores.
While it isn’t nearly as secure as Belial 2, which comes with an effective Burst Stopper that can thwart errant Burst Finishes or give your Stamina combos increased longevity against Attack types, it still remains a top three DB Core for the type and spin direction.
One thing that should be noted is that it should likely be avoided on meta Attack combos and reserved more for Stamina use if you want to make sure this single DB Core can last you as long as possible.
The Valkyrie DB Core tends to have slightly softer teeth compared to other options, and dealing huge beatings on aggressive Blades will only make this fact more pronounced. For those of you who initially only used it on the Savior Blade, you will understand what we mean.

We do not currently have reason to believe that this release of the Valkyrie DB Core is any more or less fragile than previous iterations, so keep this in mind when building your combos.
While the Valkyrie DB Core has been re-released in the new product preceding B-195, that was a random booster with no guarantee of pulling it. If you don’t have the Valkyrie DB Core yet, B-195 is the best place to get it as the original release–B-187 Savior Valkyrie Shot-7–does not contain as many other valuable competitive parts.
Over Disk Overview
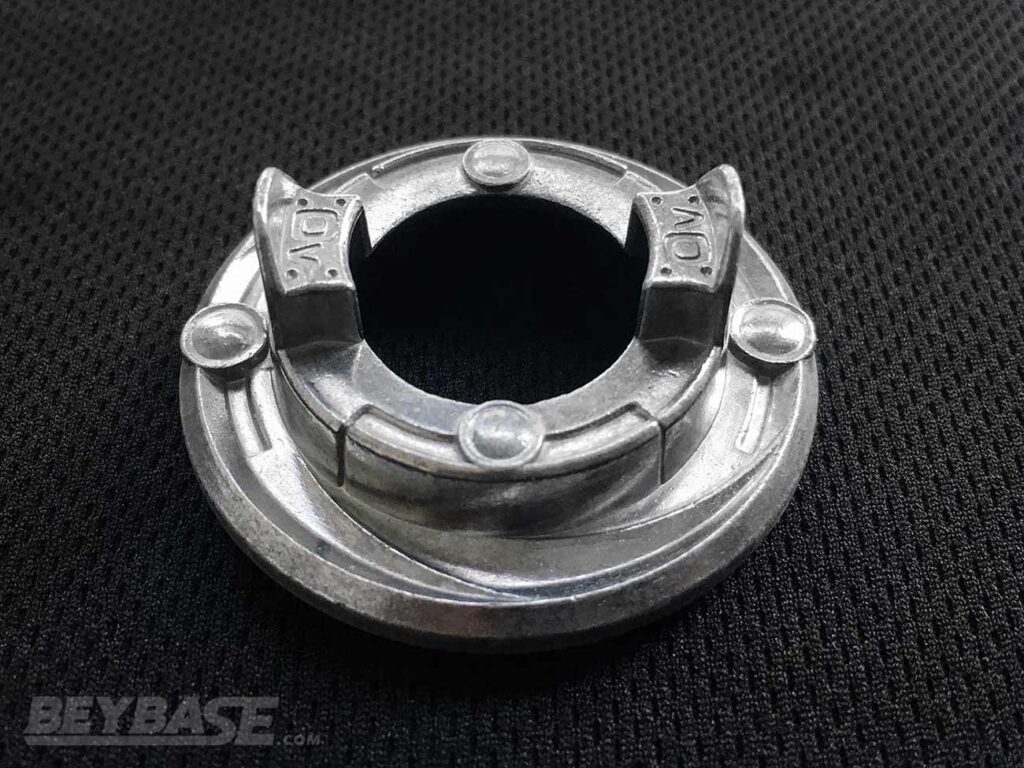
The Over Disk has seen repeated releases throughout the year, though we were first introduced to it in the B-188 Astral Spriggan Customize Set. Over is a very smooth and heavy Disc that was made for Stamina combos.
The truth is, there are very few combos or situations where Over is not one of the best, if not the best, discs to use (one possible scenario would be a low-hanging Bearing-based combo that may be prone to scraping).
While we are happy to find Over outside of another expensive set, and in a booster release, there are more than enough ways to get this Disc now without breaking the bank. It doesn’t hurt, but B-192 Greatest Raphael Over High Xtend Plus Dash and B-194 Random Booster Vol. 27 are already great buys that Bladers should consider.
Bolstering B-195 with a unique disc may have been preferable from a Beyblade enthusiast’s lens.
With that said, the Over Disk will always be a great disc and the chance of getting one with a more specialized weight, or the opposite star number than you already own, isn’t so bad at all. Having multiple Over Discs to choose from depending on the situation will never hurt.
0 Armor Overview
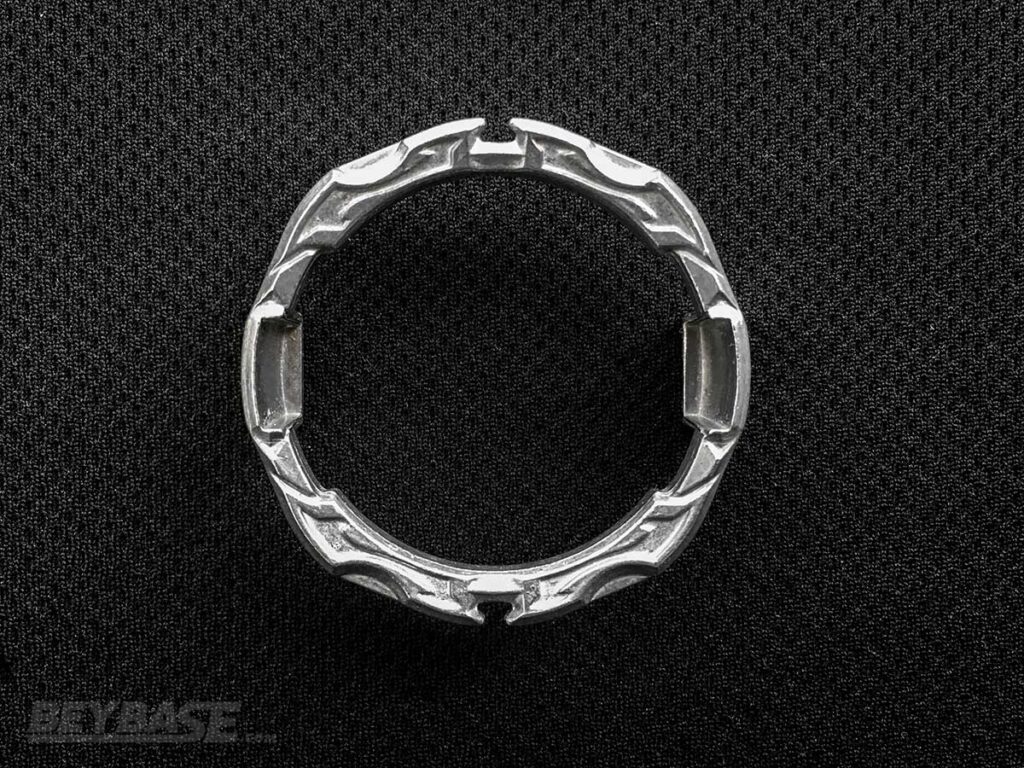
Continuing the trend of re-released highly competitive parts in this single box is the 0 Armor. This Armor has been a staple since B-188, just like the Over Disc. It has a great weight, great weight distribution, and bolsters Stamina combos’ ability to stay stable for longer.
We alluded to this in our B-193 Ultimate Valkyrie Legacy Variable’-9 article, but the 0 Armor stands among the top three Stamina-oriented Armors available in the DB system, alongside 2 Armor and 3 Armor.
There is simply no reason to not own 0 Armor, especially if you are a Stamina enthusiast. It provides you with a competent and effective third Armor that will not overlap with the other two in a Deck Format tournament or stage.
Unlike many of the other re-released components here, the 0 Armor has not been released with high frequency over the course of DB’s lifetime. Once in B-188, and then just once again in B-194’s Random Booster with Astral Fafnir Karma Venture-0.
Aside from a set and a luck-based random booster, B-195 is the only way to get the 0 Armor. It is also the most cost-effective way to acquire one with certainty. If you prefer certainty over trying your luck in a Random Booster, and also don’t want to go out of your way for B-188, this is a stellar purchase.

Sponsored: Order the newest Beyblades at malloftoys.com!
Heads up: If you buy something through Mall of Toys, you won’t pay any extra, but I’ll get a small commission. This helps me keep things running. Thanks for your support!
Atomic’ Driver Review
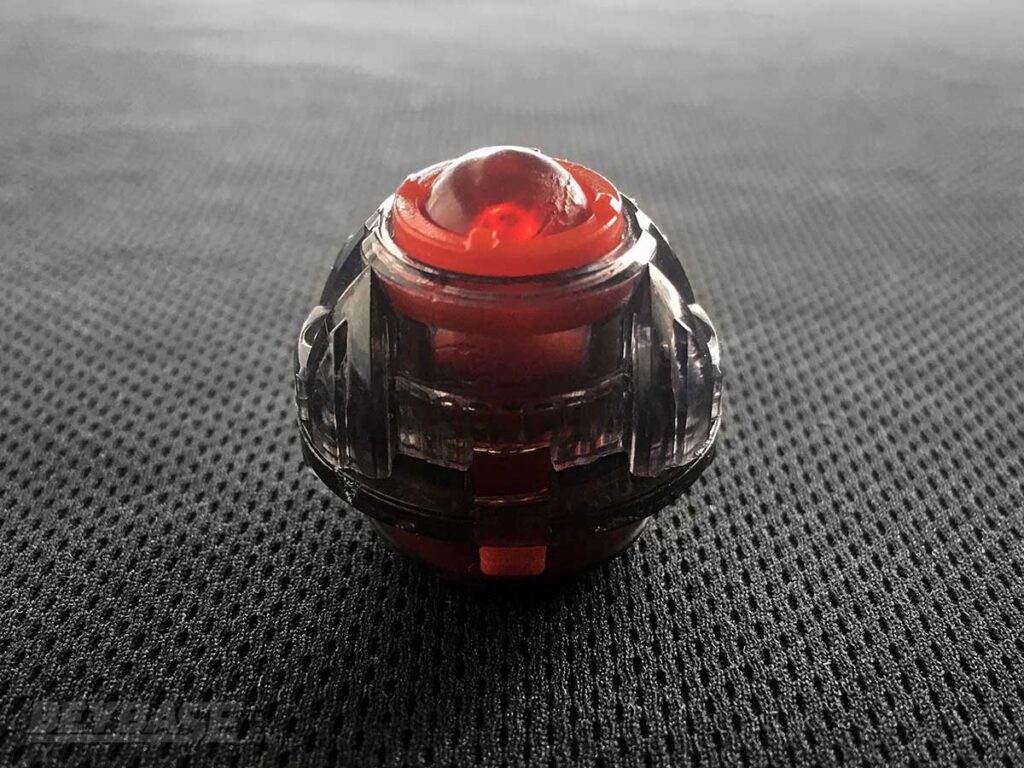
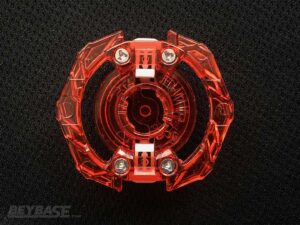
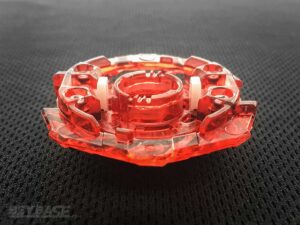
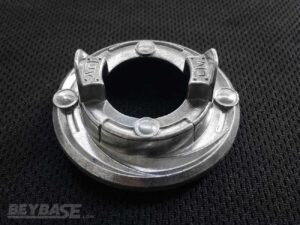
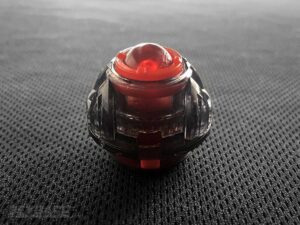
The Atomic Dash Driver is an upgraded version of the original Atomic Driver with a stronger spring, which increases burst resistance. This solves one of the weaknesses intentionally built into the design of the original Atomic Driver.
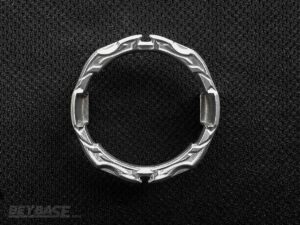
It features an extremely wide free-rotating ball tip alongside a free-spinning ring. This affords it great same-spin stamina and an ability to destabilize opposing Beyblades in the same direction, especially if they are using a sharper tipped Driver.
Atomic Driver & Atomic’ Driver Mold Differences (Big Ball vs. Small Ball)
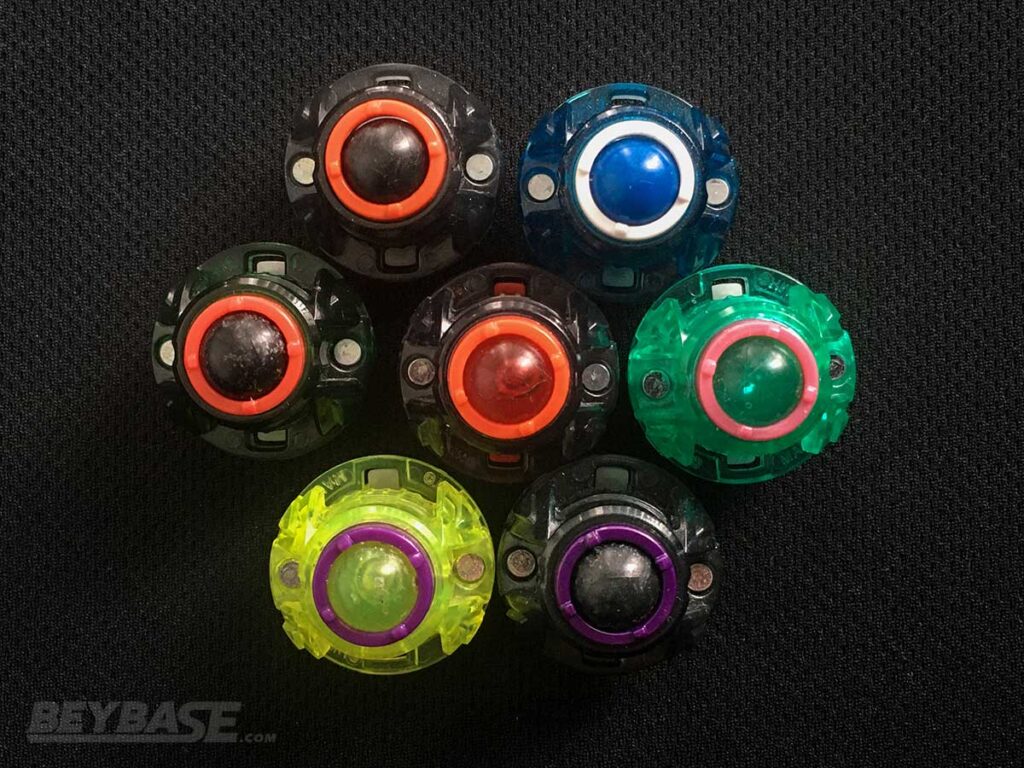
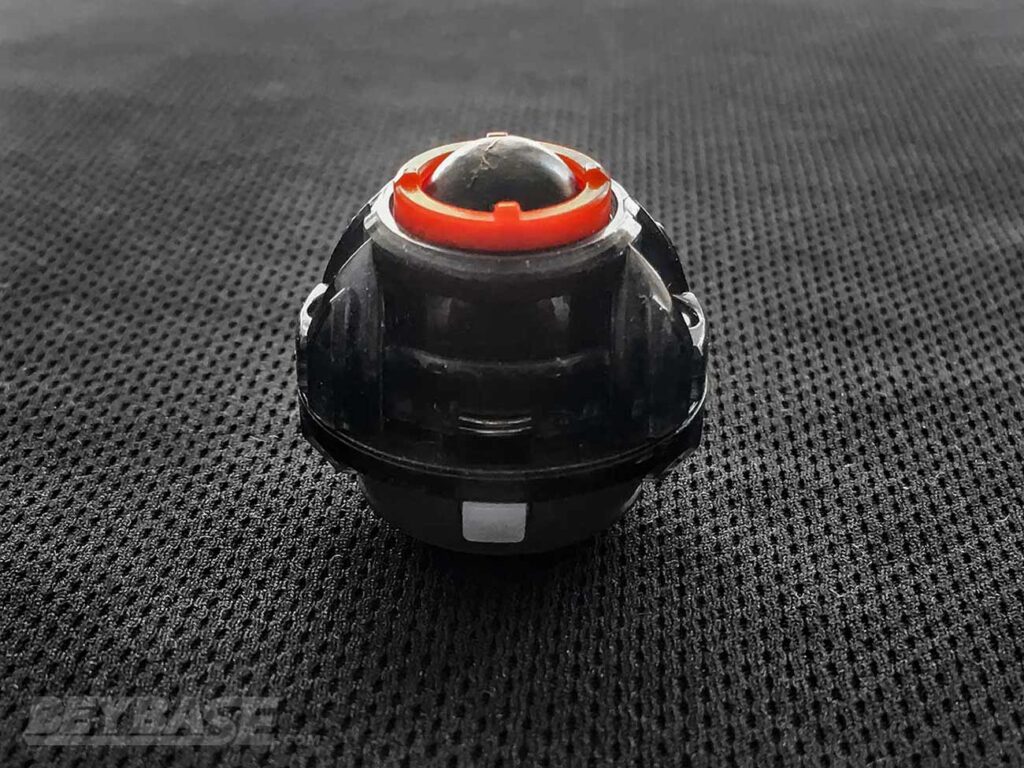
The original Atomic Driver is known to have two different mold variations, informally known as “big ball” Atomic and “small ball” Atomic. The names mean exactly what they sound like: some Atomic Drivers have a smaller free-spinning ball than others.
The Atomic’ Driver included with B-195 Prominence Valkyrie Over Atomic Dash-0 is the “big ball” variant. The performance differences between the two variants is not extreme, but the “big ball” variant may have slightly better opposite-spin performance and the “small ball” variant may be slightly more controllable for same-spin battles when you need to launch powerfully.
This could be particularly important if you are using a powerful launcher like the Full Custom BeyLauncher LR from Beyblade Burst Dynamite Battle. With stronger launchers, the Atomic Driver and Atomic’ Driver become difficult to control and are prone to self-KOing.
To our knowledge, the “small ball” variant was first introduced in later releases of the Atomic Driver, such as B-131 Dead Phoenix 0 Atomic. Whether all releases that can contain the “small ball” variant will always contain it or not, we are not sure. And whether all releases of B-195 Prominence Valkyrie Over Atomic Dash-0 will include the “big ball” variant or not is also unclear.
The Historical Significance of the Atomic Driver Line
For seasoned veterans of the competitive Beyblade Burst scene, the original Atomic Driver needs no introduction. First released in B-80 Random Booster Vol. 6 Tornado Wyvern.4G.At back in April of 2017, it had an immediate impact as the go-to stamina type Driver for many players.
To illustrate just how impactful it was, consider that for the rest of 2017 the Atomic Driver appeared in 29% of all winning combinations listed by top players in worldbeyblade.org tournaments at the time (Source: WBO Organized Play – Public Tournament Data Archive).
The reason why was simple: it had the best same-spin stamina in the game at the time and close to the best opposite-spin stamina. For opposite-spin, it was surpassed only by the Hold Driver. However, the Hold Driver was much more difficult to use than even the Atomic Driver due to mold variances affecting performance.
In same-spin, it could surpass even the Revolve Driver, which was the king of same-spin stamina at the time along with the Defense Driver and Orbit Driver at a similar power level. The Atomic Driver was harder to use because of the amount of movement produced by the wideness of its tip, so usage of the very easy-to-use Revolve continued. The Defense Driver however, was almost immediately wiped from all winning combinations moving forward. Finally, moving forward, the Orbit Driver with its smaller free-spinning ball tip was relegated to a more niche choice for players looking for more controllability and better burst resistance.
The Atomic Driver was also released right around the same time as the left-spinning Drain Fafnir Layer. This pair instantly became a top tier combination and ushered in the “Life After Death” era of Beyblade Burst; an era we have yet to exit and likely never will due to the immense amount of support for it provided by Takara-Tomy in subsequent years with more left-spinning Layers and Drivers with wide tips.
This era first started when B-66 Lost Longinus Nine Spiral was released, but it was relegated to niche usage initially due to the finicky nature of the Hold Driver and the aggressive, not stamina oriented design of the Lost Longinus Layer. At the time, the most popular combo for opposite-spin stamina was Lost Longinus Heavy Hold.
But Atomic and Drain Fafnir made opposite-spin stamina mainstream, fast.
Ironically, it was “Life After Death” which became a big reason for Atomic’s eventual downfall. While the Hold Driver was always capable of beating it, it was not consistent for everyone. That’s why, when the Destroy Driver and Bearing Driver–which had better LAD and were easier to use–were released in late 2017, Atomic began to see its competitive usage relegated to same-spin matchups.
It remained useful for years for this purpose, seeing frequent use on parts such as the Maximum Garuda Layer and Hell Salamander Layer. But, by 2019-2020 its usage had fallen to 11.6% of WBO winning combinations and then 6.3% in 2020-2021, as I noticed in my How Competitive Beyblade Burst Has Evolved From 2019 To 2021 article.
As I also noted in that article, it seemed to me that Atomic was being underrated at the time due to its still strong same-spin stamina. Beyblade Burst has become increasingly focused on LAD/opposite-spin performance and at the time, Atomic could be used to catch players off-guard if you could predict a same-spin matchup. I did exactly this during a match at Justin TC’s Birthday Bash in Toronto back in 2020.
How Beyblade Burst DB Changed the Atomic Driver
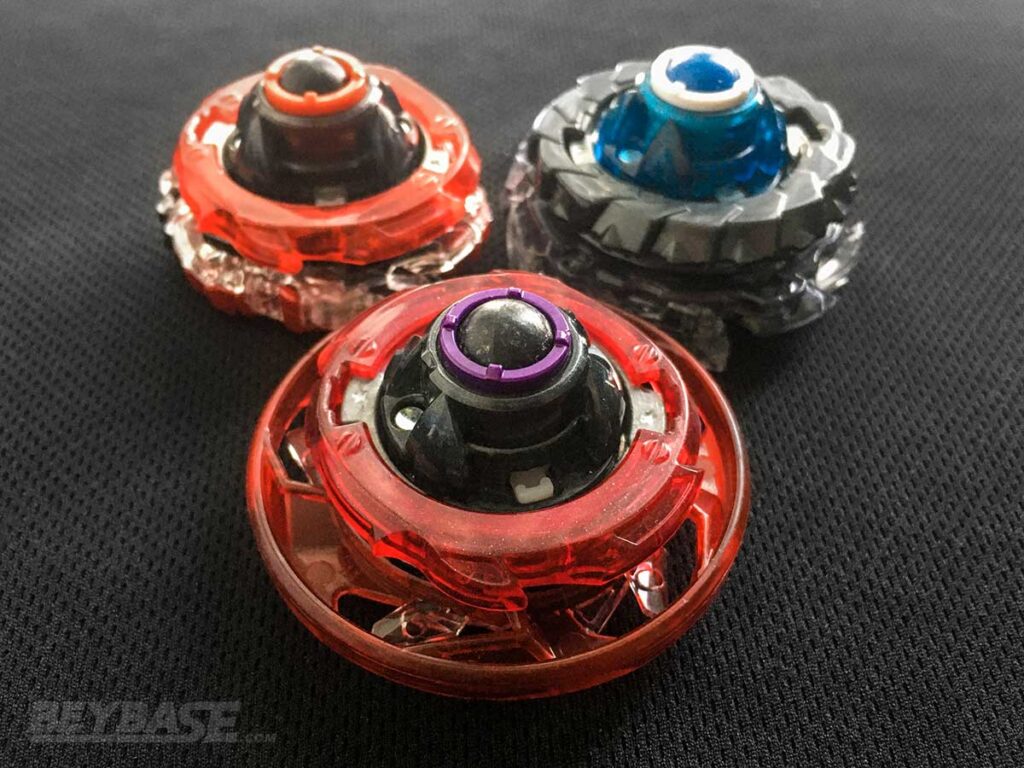
One of the other reasons for Atomic’s decrease in usage as of late was the release of Beyblade Burst Dynamite Battle. Because Beyblades from that season sit at a lower height on Drivers than all previous seasons, this changes how they perform on certain parts.
And it’s why Takara-Tomy has started to play with the height of Drivers over the past several years, going so far as to introduce “High” versions of older Drivers.
The Atomic and Atomic’ Drivers are the same height-wise as most older Beyblade Burst Drivers, but they’ve started to look shorter recently after the release of Drivers like Moment, Wave’, and the “High” Drivers like High Xtend+’.
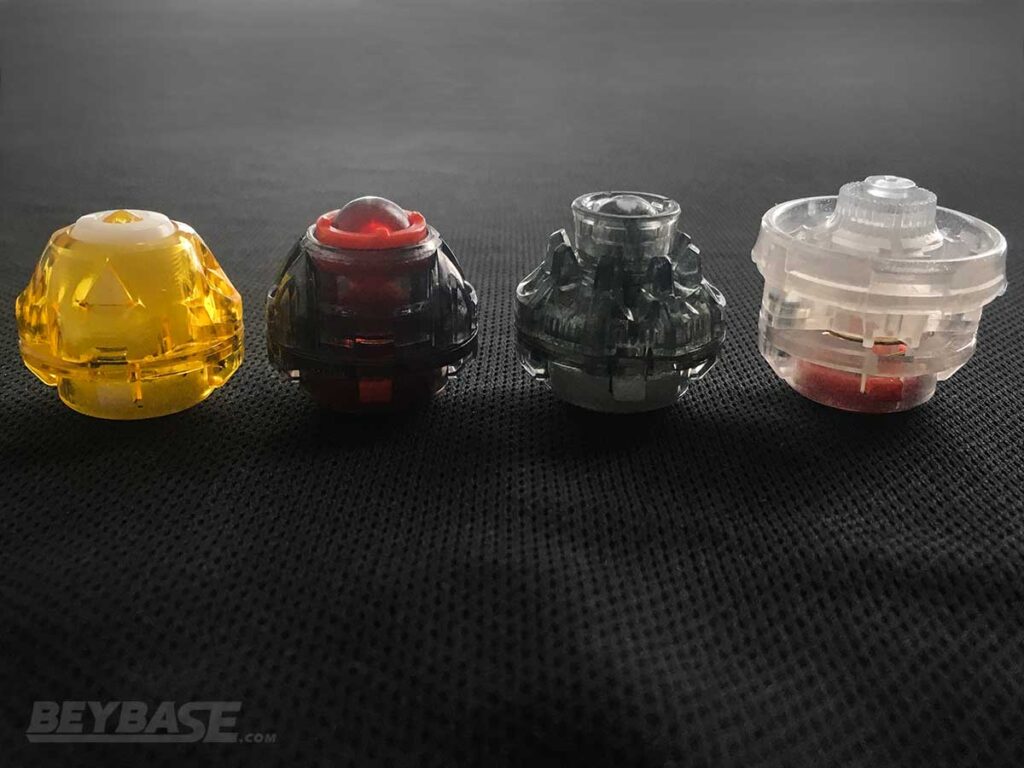
Many players in the competitive community now doubt the usefulness of the Atomic Driver and have dismissed Atomic’ and this release in general because of it and it’s relatively poor LAD, at least for the standard WBO Burst Format.
Let’s find out if they are correct. While not comprehensive, we have conducted a variety of tests below to illustrate the Atomic Dash Driver’s stamina ability across multiple generations of Beyblade Burst: pre-Dynamite Battle with combinations closer to the environment it was originally designed for and Dynamite Battle testing to evaluate how–or if at all–it can fit into the current competitive landscape in the standard WBO Burst Format.
Does the Atomic’ Driver have good Stamina?
Yes. It has good stamina against Beyblades in the same spin direction.
However, it is not recommended for battles against most opponents in the opposite spin direction as most other contemporary competitive Drivers have better opposite spin performance (Drift, Bearing’, Zone’+Z, etc).
For same-spin however, the question is: just how good is the Atomic Dash Driver’s same-spin stamina? Is it great? Top tier, even? This is a complicated question to answer, as the answer differs depending on the context. We conducted some tests to shed some light on this question.
Testing Atomic’ with pre-Dynamite Battle combos
Atomic’ vs. Xtend+
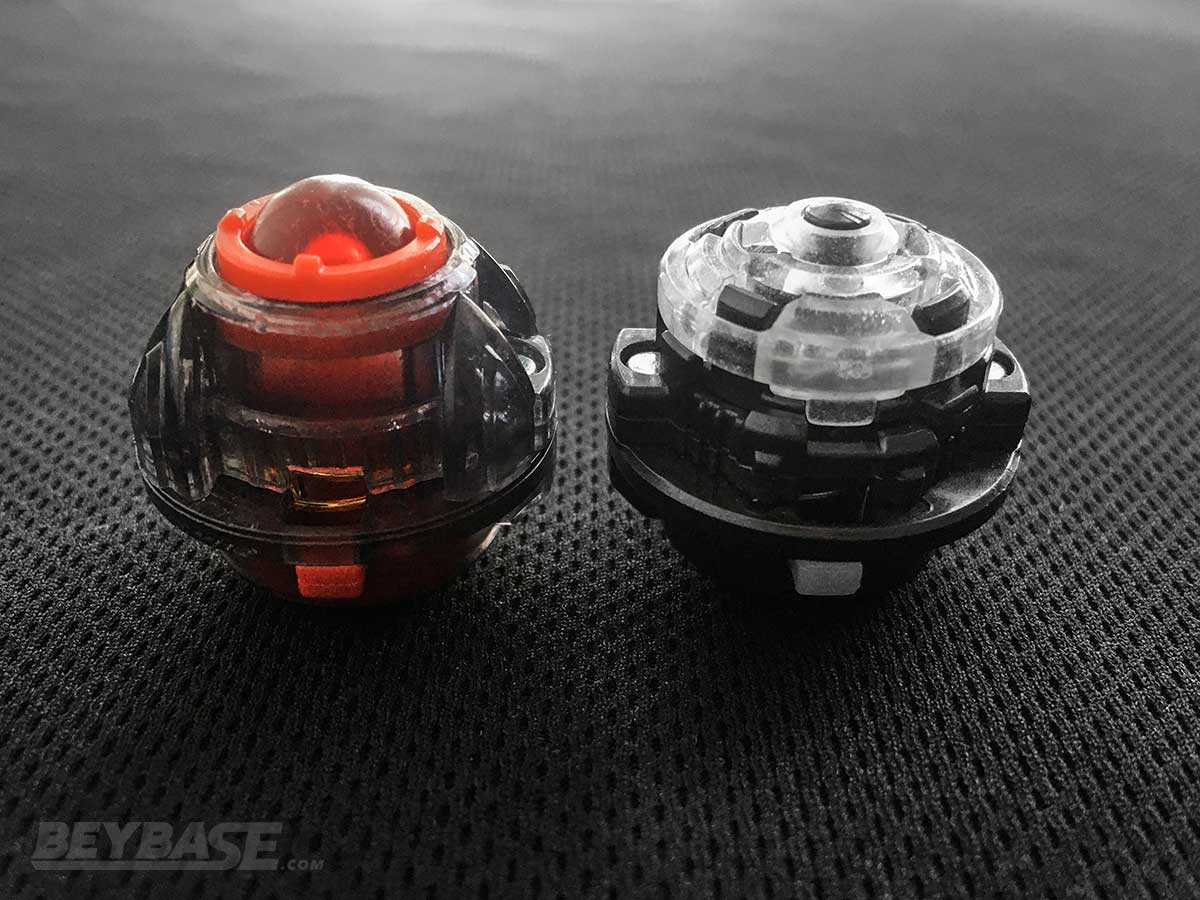
Curse Ragnaruk Wheel Xtend+ 1S vs. Curse Ragnaruk Wheel Atomic’ 1S
- CRg.Wh.Xt+ 1S: 1 win (1 OS)
- CRg.Wh.At’ 1S: 9 wins (7 OS, 2 KO)
- Atomic’ Win Percentage: 90%
Archer Hercules Wheel Xtend+ vs. Archer Hercules Wheel Atomic’
- aH.Wh.Xt+: 2 wins (2 KO)
- aH.Wh.At’: 8 wins (8 OS)
- Atomic’ Win Percentage: 80%
These first two sets of tests demonstrate the dominance of Atomic’ over Xtend+ on pre-Dynamite Battle combinations. This type of matchup is one of the reasons why the original Atomic Driver has remained relevant for so long. Atomic’ is able to destabilize Xtend+ and win in most cases.
Atomic’ vs. Revolve
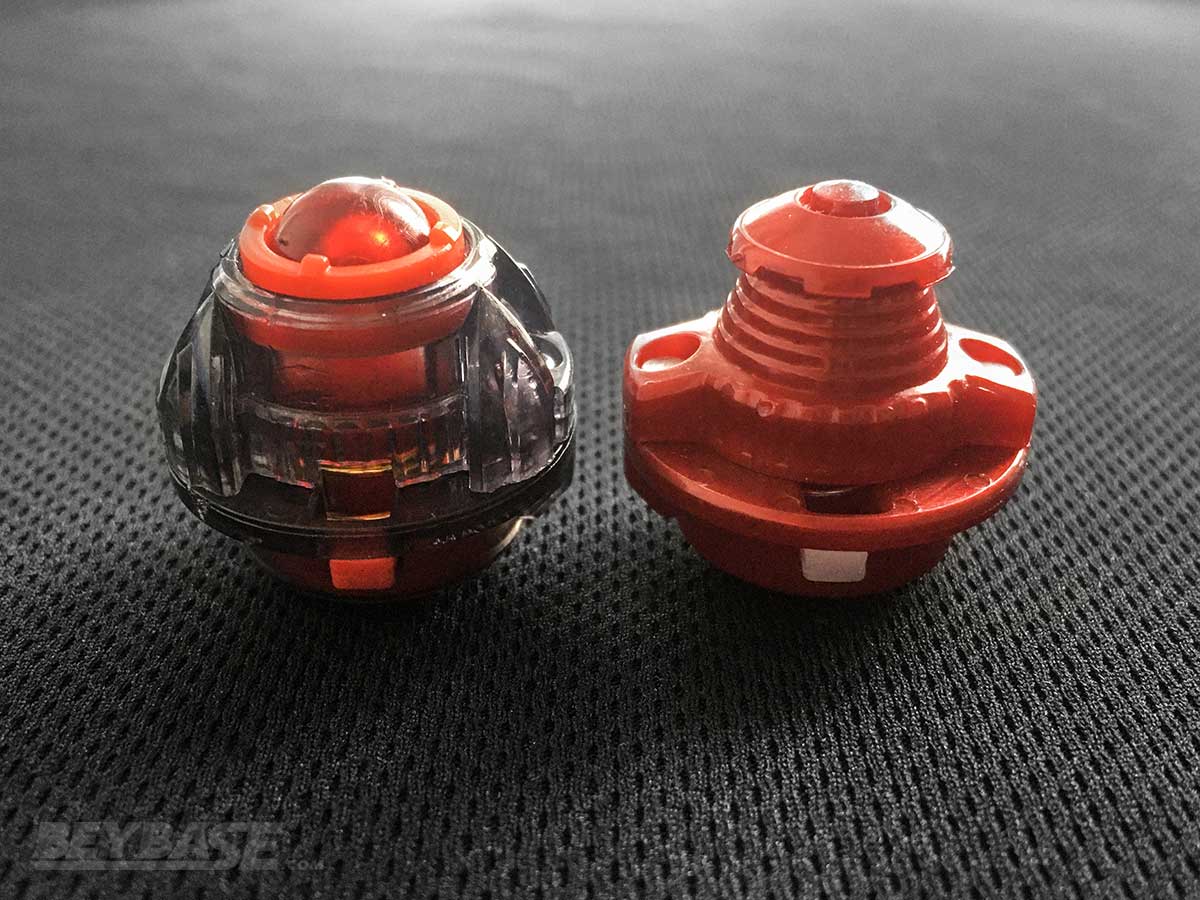
Archer Hercules Wheel Revolve vs. Archer Hercules Wheel Atomic’
- aH.Wh.R: 1 wins (1 OS)
- aH.Wh.At’: 8 wins (8 OS)
- Atomic’ Win Percentage: 89%
The result of this matchup could differ a lot depending on the Atomic’ user as well as the balance and wear on the opposing Revolve Driver; a worn Revolve won’t fall over quite as easily and given that it is sharp it is much easier for the user to launch at full power than Atomic’. But if you’re able to control Atomic’ and keep it in the stadium, it can easily beat Revolve.
Atomic’ vs. Never
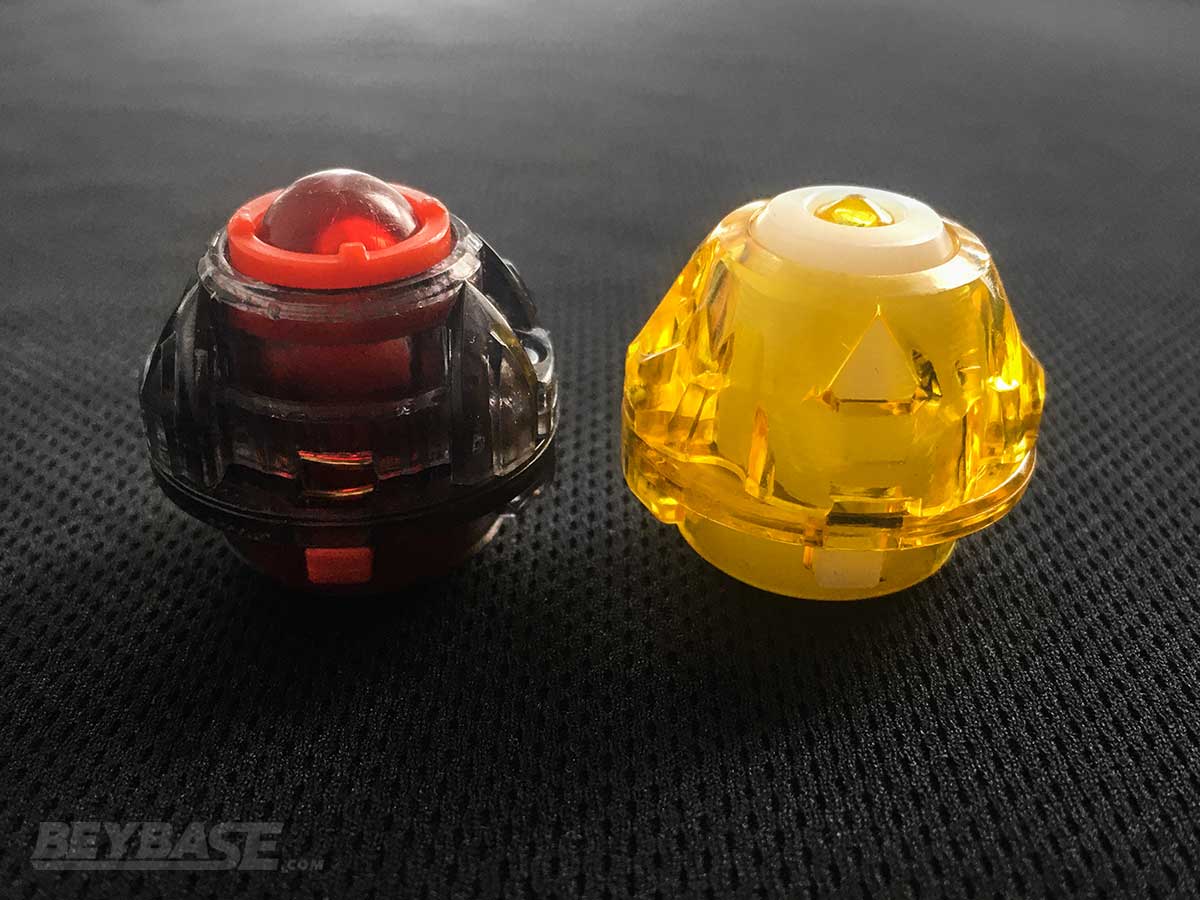
Archer Hercules Wheel Never vs. Archer Hercules Wheel Atomic’
- aH.Wh.Nv: 2 wins (2 KO)
- aH.Wh.At’: 8 wins (8 OS)
- Atomic’ Win Percentage: 80%
The Never Driver was specifically designed to be shorter than normal Drivers, but despite this Atomic’ is never disrupted by it. It didn’t even score a win by outspin here.
Atomic’ vs. Moment
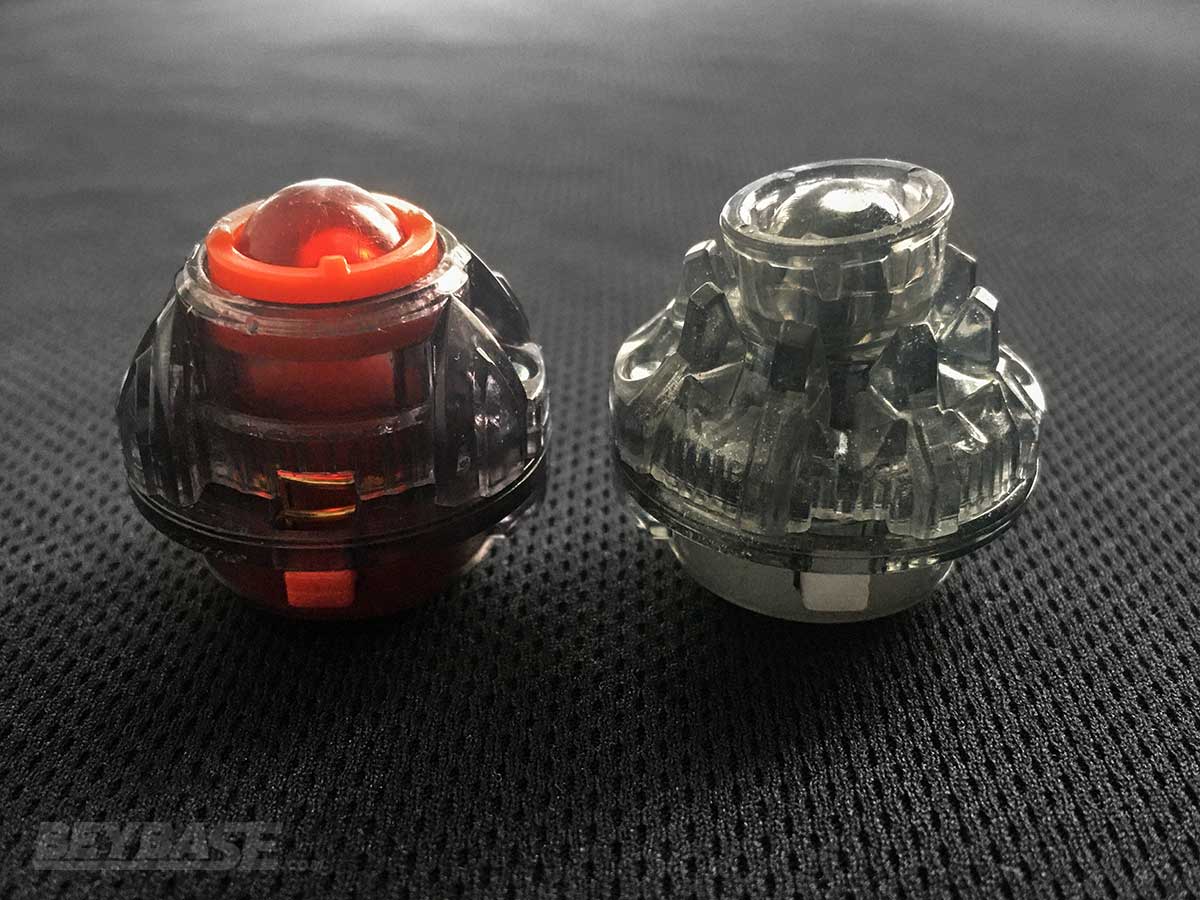
Archer Hercules Wheel Moment vs. Archer Hercules Wheel Atomic’
- aH.Wh.Mm: 3 wins (2 OS, 1 KO)
- aH.Wh.At’: 7 wins (8 OS)
- Atomic’ Win Percentage: 70%
- 1 Draw
The Moment Driver is actually a little bit taller than the Atomic’ Driver, and this set is where maybe you can start to see what will become an issue for Atomic’: taller opponents.
Atomic’ vs. Wave’
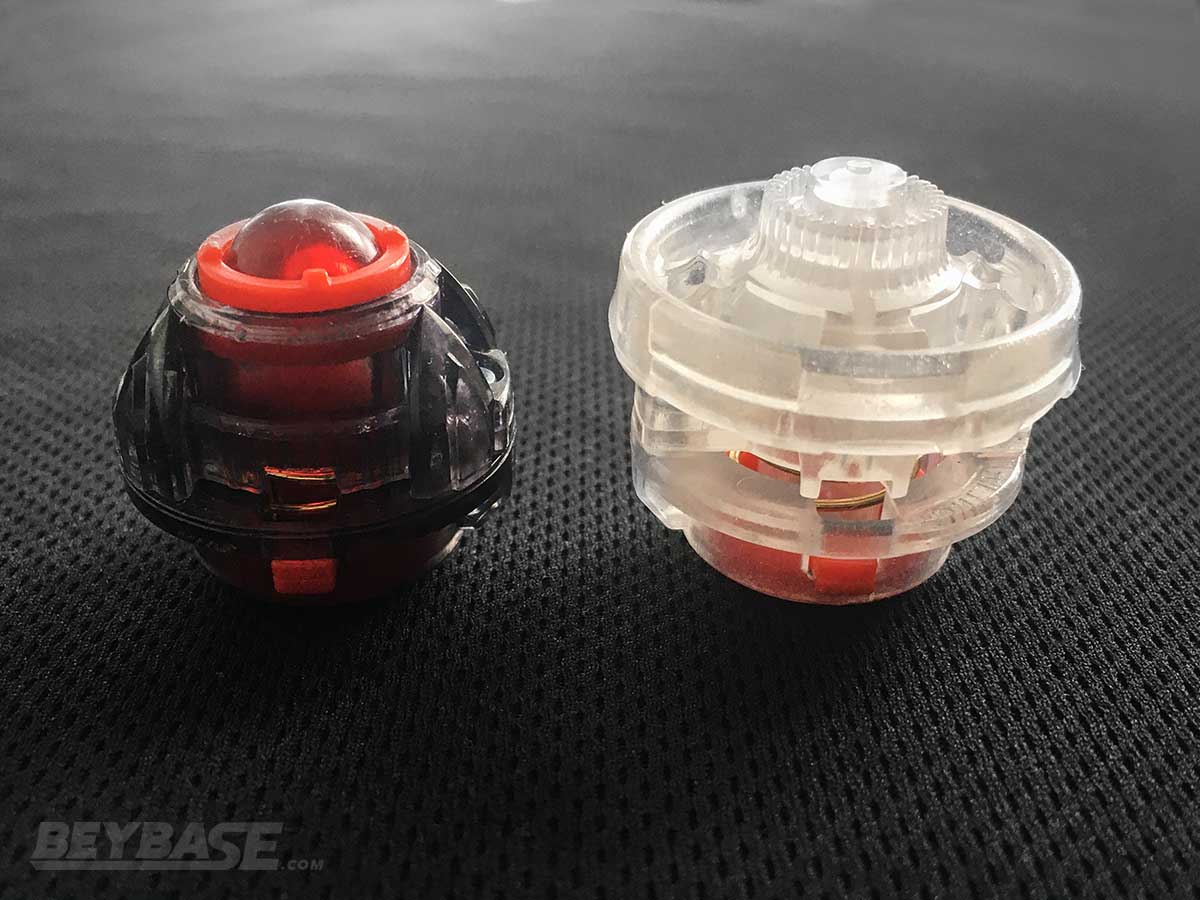 alt=”atomic dash and wave dash drivers”>
Archer Hercules Wheel Wave’ vs. Archer Hercules Wheel Atomic’
- aH.Wh.Wv’: 5 wins (4 OS, 1 KO)
- aH.Wh.At’: 5 wins (5 OS)
- Atomic’ Win Percentage: 50%
Wave’ is where the height issue becomes most apparent. At times Atomic’ is able to maintain its balance in the centre of the stadium and outspin it, but other times, it gets smashed down and loses.
Atomic’ vs. Hybrid
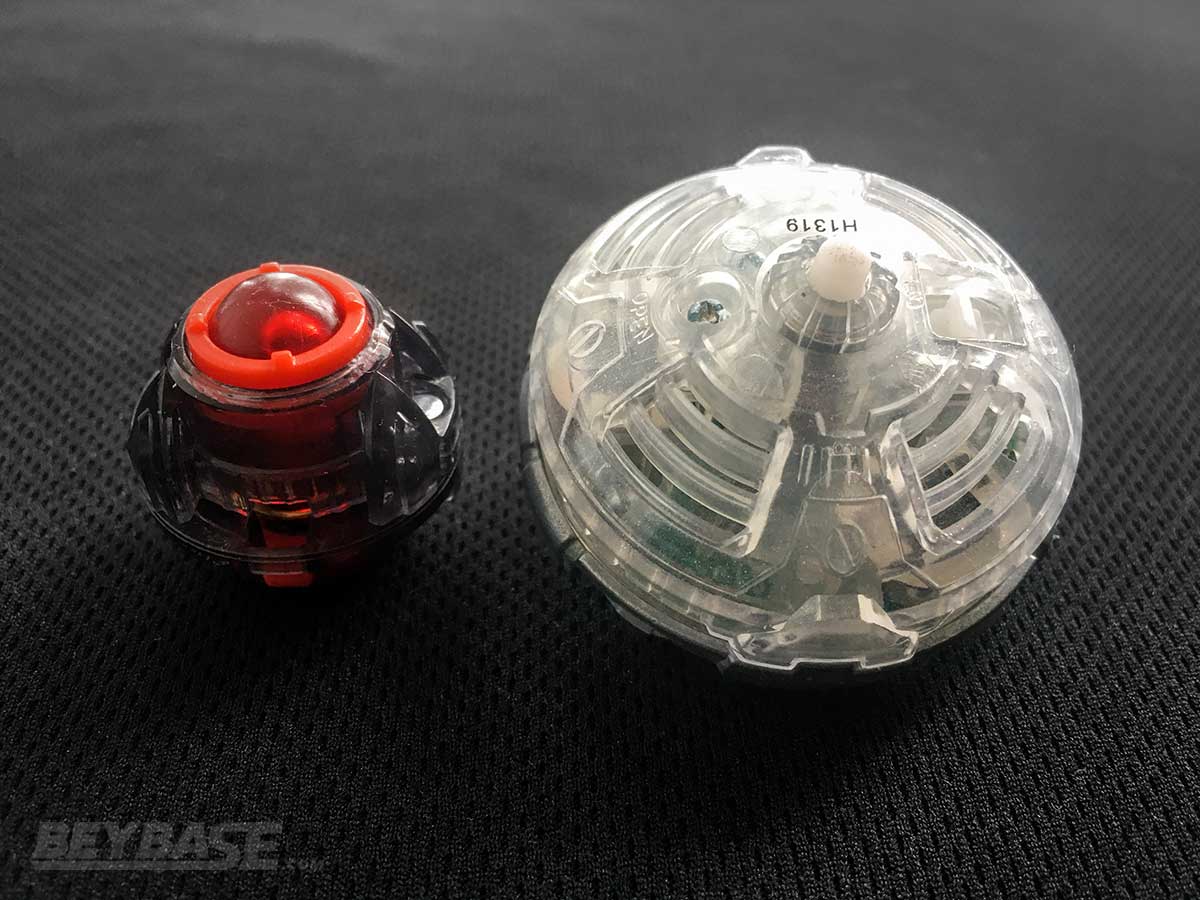
Hell Salamander Hybrid vs. Hell Salamander Wheel Atomic’
- hS.Hy: 8 wins (7 OS, 1 KO)
- hS.Wh.At’: 2 wins (1 OS, 1 BF)
- Atomic’ Win Percentage: 20%
The Hybrid Driver is also taller than Atomic’. In this matchup, Atomic’ stood no chance.
Hybrid is interesting for a lot of reasons, but one which I’d like to highlight here is accessibility. It has only been released one time: in the B-153 Gatinko Customize Set back in October 2019. Atomic and Atomic’ on the other hand, have now been released in various different random boosters, sets, and boosters 11 times.
For this reason, Atomic and Atomic’ might be the most accessible, most competitive Driver in Beyblade Burst. And this accessibility is likely why it was able to continue seeing play for so long despite being obviously outclassed for same-spin stamina (and also opposite-spin LAD) by Hybrid for so long.
That said, my feeling is that Atomic/Atomic’ do have a bit better defensive capability than Hybrid (especially now with the burst resistance of Atomic’), so it does have that going for it.
Testing Atomic’ with Dynamite Battle combos
The pre-Dynamite Battle testing in the previous section gives a good baseline for the performance of Atomic’ particularly for alternative tournament formats which focus on eras before Beyblade Burst DB, but now we will take a look at how it fares in the current day as part of combinations using DB parts:
Atomic’ vs. Drift, Zone’+Z, and Bearing’
Dynamite (F Gear) Ragnaruk Giga Drift-3 vs. Dynamite (F Gear) Ragnaruk Giga Atomic’-3
- D(F)RG.Gg.Dr-3: 0 wins
- D(F)RG.Gg.At’-3: 8 wins (8 OS)
- Atomic’ Win Percentage: 100%
Dynamite (F Gear) Ragnaruk Giga Zone’+Z-3 vs. Dynamite (F Gear) Ragnaruk Giga Atomic’-3
- D(F)RG.Gg.Zn’+Z-3: 2 wins (2 OS)
- D(F)RG.Gg.At’-3: 8 wins (8 OS)
- Atomic’ Win Percentage: 80%
Vanish Fafnir Over Bearing’-3 vs. Vanish Fafnir Giga Atomic’-3
- VFF.Ov.Br’-3: 2 wins (1 OS, 1 KO)
- VFF.Gg.At’-3: 8 wins (8 OS)
- Atomic’ Win Percentage: 80%
These first three sets demonstrate the Atomic Dash Driver’s same-spin dominance against three top tier stamina Drivers: Bearing’, Zone’+Z, and Drift. Zn’+Z and Dr in particular are not known for their same-spin stamina, so the results here are unsurprising.
The result against Bearing’ on the other hand, is notable. The original Atomic also produces a similar result against the original Bearing Driver, but the reason it is notable is because as of late it feels as if Bearing’ and Bearing have come to be seen as Drivers you can rely on for same-spin stamina matches, at least to a certain degree.
This is likely because Bearing’/Bearing up until the release of the High Xtend Plus Dash Driver had arguably the highest overall combination of same-spin ability and opposite spin “Life After Death” of any competitive Driver in the game. In most cases, it could beat Drivers like Zone’+Z, Drift, and Rise and was also not as prone to self-KOing when launched at full power compared to some of those Drivers. It was therefore a relatively ‘safe’ choice.
HXt+’ threw a wrench in things because as was demonstrated in our Greatest Raphael review, it and Br’ are relatively equal for both same- and opposite-spin matches.
So, to see that the Atomic Dash Driver can beat Bearing’ for same-spin stamina even on low-sitting DB combos reinforces just how good it is. But unfortunately, it is against HXt+’ where things begin to go south for it. Despite what you might predict, Atomic’ as it turns out cannot similarly dominate against HXt+’.
I will preface the following tests with the fact that I had initially meant to conduct them as complete mirror matches, but you’ll see that one combo was using the 3 Armor here and one was using the 9 Armor. This matters, as was noted in the Armor stamina testing included in our Ultimate Valkyrie review.
I didn’t notice this until later on, but as a result it painted an interesting picture related not only to the performance of Atomic’, but how Armors and Disks of varying weights can affect the results of a battle:
Atomic’ vs. High Xtend+’
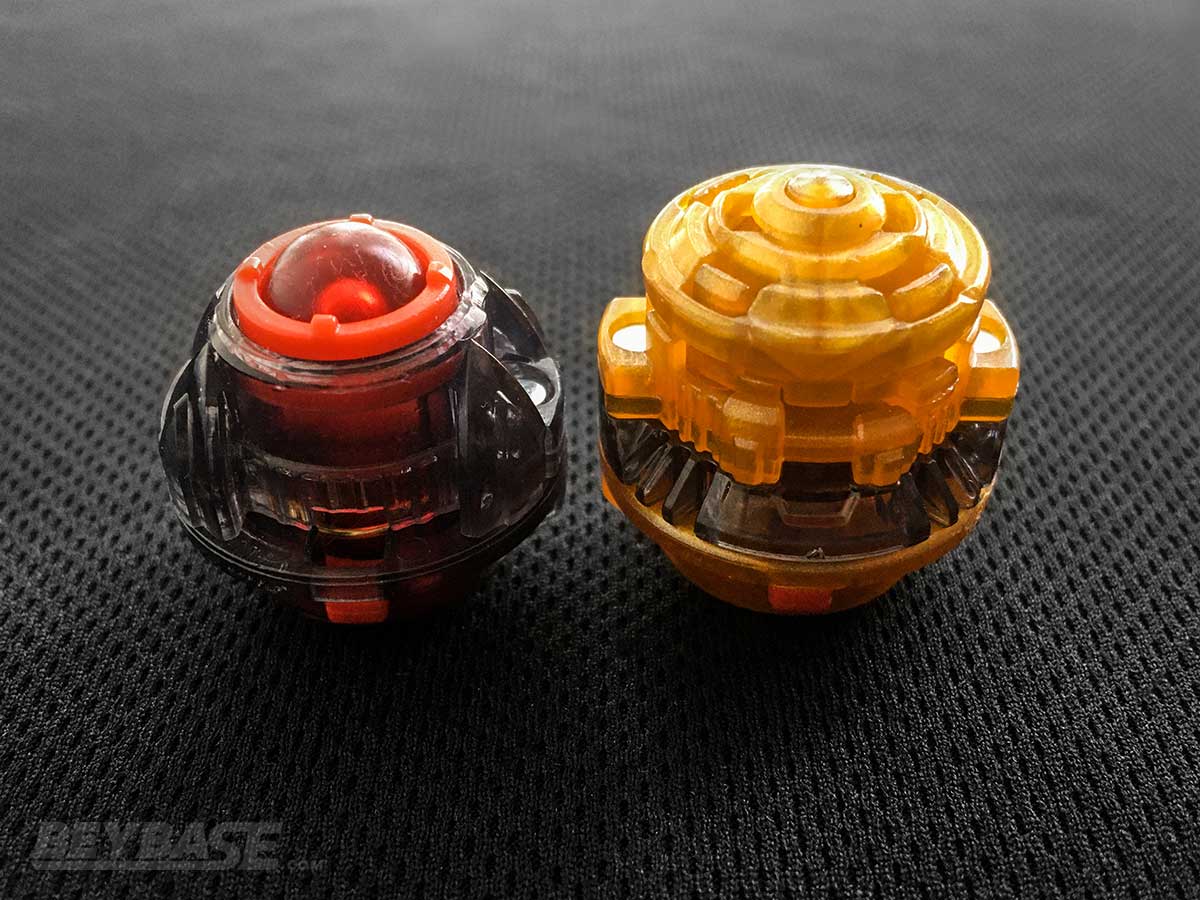
Dynamite (F Gear) Ragnaruk Giga High Xtend+’-3 vs. Dynamite (F Gear) Ragnaruk Giga Atomic’-9
- D(F)RG.Gg.HXt+’-3: 7 wins (7 OS)
- D(F)RG.Gg.At’-9: 3 wins (3 OS)
- Atomic’ Win Percentage: 30%
- D(F)RG.Gg.HXt+’-3: 3 Star, 32.74g Giga Disk
- D(F)RG.Gg.At’-9: 1 Star, 33.18g Giga Disk
Dynamite (F Gear) Ragnaruk Giga High Xtend+’-9 vs. Dynamite (F Gear) Ragnaruk Giga Atomic’-3
- D(F)RG.Gg.HXt+’-9: 3 wins (3 OS)
- D(F)RG.Gg.At’-3: 7 wins (7 OS)
- Atomic’ Win Percentage: 70%
- D(F)RG.Gg.HXt+’-9: 1 Star, 33.18g Giga Disk
- D(F)RG.Gg.At’-3: 3 Star, 32.74g Giga Disk
Dynamite (F Gear) Ragnaruk Giga High Xtend+’-9 vs. Dynamite (F Gear) Ragnaruk Giga Atomic’-3
- D(F)RG.Gg.HXt+’-9: 4 wins (4 OS)
- D(F)RG.Gg.At’-3: 6 wins (5 OS, 1 KO)
- Atomic’ Win Percentage: 60%
- D(F)RG.Gg.HXt+’-9: 3 Star, 32.74g Giga Disk
- D(F)RG.Gg.At’-3: 1 Star, 33.18g Giga Disk
If you found these a bit difficult to parse, I’ll sum it up for you: HXt+’ had 14 wins, At’ had 16 wins. Their performance was basically equal and varied depending on the Armor and Disk being used.
When At’ did have the advantage during the second set, it tended to look like it was going to lose, but then was able to knock HXt+’ off balance and stay upright for longer (sometimes by a wide margin) at the end of the battle … in the first set it was basically the opposite.
Already, despite my botched testing setup, the fact that I was able to record all of the data about the different Disks and Armors used for each one begins to help illustrate–perhaps more adequately than the proper set would have–that this matchup is volatile.
It depends a lot on the minutiae of the combos in play (Armors, Disk weights, balancing, etc) as well as the launch strength and style of the player using them. In these tests I used the Long BeyLauncher LR in order to make doing the tests bearable and avoid the self-KOing produced by the Full Custom BeyLauncher LR in the Burst BeyStadium Standard Type when used for these combos.
In a real tournament you would probably want to use a stronger launcher and would therefore have to be very mindful of your launch technique and strength for both of them (particularly At’), as well as what launcher your opponent is using.
Atomic’ vs. High Xtend+’
Dynamite (F Gear) Ragnaruk Giga High Xtend+’-3 vs. Dynamite (F Gear) Ragnaruk Giga Atomic’-3
- D(F)RG.Gg.HXt+’-3: 6 wins (5 OS, 1 KO)
- D(F)RG.Gg.At’-3: 4 wins (3 OS, 1 KO)
- Atomic’ Win Percentage: 40%
- D(F)RG.Gg.HXt+’-3: 3 Star, 32.74g Giga Disk
- D(F)RG.Gg.At’-3: 1 Star, 33.18g Giga Disk
To try and bring things back to what I had initially intended, I conducted the above set where both combos used the 3 Armor. The result was again basically the same as the combined results of the three sets above, all things considered.
Atomic vs. High Xtend+’
Benchmark: Dynamite (F Gear) Ragnaruk Giga High Xtend+’-3 vs. Dynamite (F Gear) Ragnaruk Giga Atomic-3
- D(F)RG.Gg.HXt+’-3: 9 wins (8 OS, 1 KO)
- D(F)RG.Gg.At-3: 11 wins (11 OS)
- Atomic Win Percentage: 55%
- Switched Disks half-way through
- B-131 Atomic Driver (Small Ball) used
Finally, this benchmark shows that the performance of the original Atomic Driver in terms of stamina is basically the same as the Atomic Dash Driver, even when using the small ball variant which is slightly different. Although, perhaps notable here is that At had 11 wins by OS and HXt+’ had 8 with one KO.
Does the Atomic Dash Driver have good Defense?
The Atomic Dash Driver is not really a defense type Driver per se, but basically nothing in use within the Beyblade Burst metagame these days is. As such, the question really being asked here is: how good is the Atomic Dash Driver’s defense in comparison to other stamina Drivers?
The answer is that it is passable. Not the worst, but not the best.
These tests and the below commentary explain why. All tests completed with the Full Custom BeyLauncher LR.
GBH.Gg.MX-2 vs. D(F).BL.Gg.At’/HXt+’/Zn’+Z-3
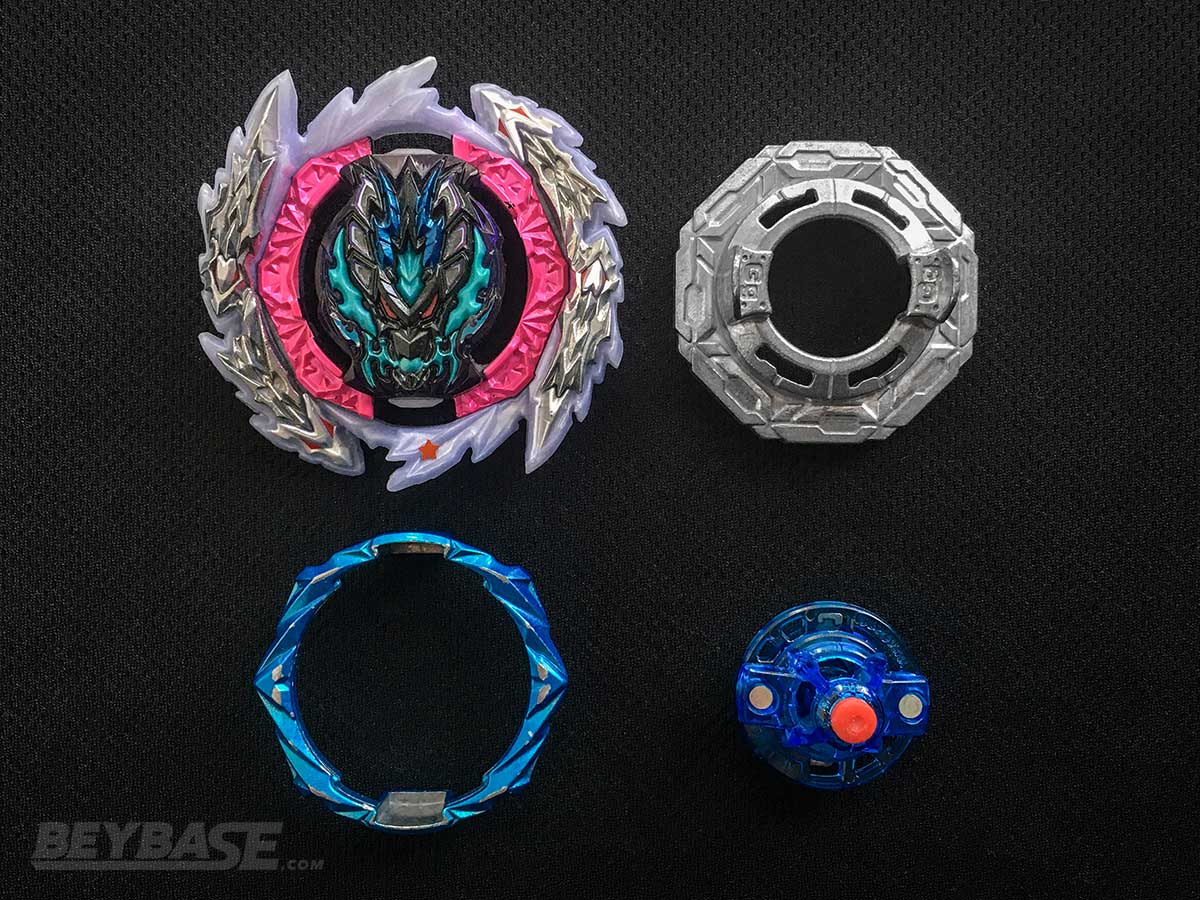
Guilty Bahamut Giga Metal Xtreme-2 vs. Dynamite (F Gear) Belial 2 Giga Atomic’-3
- GBH.Gg.MX-2: 4 wins (1 OS, 3 KO)
- D(F)RG.Gg.At’-3: 6 wins (5 OS, 1 KO)
- Atomic’ Win Percentage: 60%
Benchmark: Guilty Bahamut Giga Metal Xtreme-2 vs. Dynamite (F Gear) Belial 2 Giga High Xtend+’-3
- GBH.Gg.MX-2: 6 wins (6 KO)
- D(F)RG.Gg.HXt+’-3: 4 wins (4 OS)
- High Xtend+’ Win Percentage: 40%
Benchmark: Guilty Bahamut Giga Metal Xtreme-2 vs. Dynamite (F Gear) Belial 2 Giga Zone’+Z-3
- GBH.Gg.MX-2: 4 wins (4 KO)
- D(F)RG.Gg.HXt+’-3: 7 wins (7 OS)
- Zone’+Z Win Percentage: 64%
Because this is a small sample size, and because attack types are so reliant on their user to perform, the difference in performance between these three Drivers communicated solely by the data is minor. But it does exist.
The original Xtend Plus Driver had poor defense, and the High Xtend+’ Driver is no different, as we explained in our review of Greatest Raphael Over High Xtend+’.
Zone’+Z though, as we demonstrated in our review of Guilty Longinus Karma Metal Destroy-2 and as was apparent again during the tests conducted for this article, has superior defensive capability in comparison to common stamina type Drivers like Bearing and High Xtend+’ thanks to the weight of the +Z Chip. Three of Guilty’s four KOs against Zn’+Z came in the final three rounds of testing only after I had improved my shot and positioning; in a tournament environment you might not get that chance.
The Atomic’ Driver sits somewhere in between Zn’+Z and HXt+’ for defense … it doesn’t have the weight to bolster it like Zn’+Z, but the wide free-spinning ball tip and outer ring help it to absorb some hits better than HXt+’ does.
If I were to add Drift and Bearing’ into a KO defense ranking purely based on experience though, it would look something like this:
- Zone’+Z Driver
- Bearing’ Driver
- Drift Driver
- Atomic’ Driver
- High Xtend+’ Driver
Verdict: How good is the Atomic’ Driver?
The Atomic’ Driver is a competitive stamina Driver for same-spin stamina matches.
When considering whether to use Atomic’ or not–or any of the Drivers on the above list, for that matter–it is imperative that you consider where each of them sits on each relevant spectrum: same-spin stamina, opposite-spin stamina, and defense.
Atomic’ would be #5 on the above list for opposite-spin stamina, but tied for #1/2 for same-spin stamina when all else is equal. Knowing this as well as how it controls, you can start to make the mental calculations necessary to determine how ‘good’ it is and if it would be suitable for use in whatever competitive situation you find yourself in.
The above list is obviously not comprehensive, but at the end of the day Atomic’ finds itself in a middling position on average among other competitive Drivers, forcing its usage to be limited in the standard Burst Format.
It is plagued by the power creep felt throughout Beyblade Burst part design and launcher strength since the original version was first released in 2017.
The original Atomic Driver is one of the most used Drivers of all time among winners of WBO Burst Format events, making it a legendary part among longtime players. But it’s usage has fallen dramatically because of the aforementioned power creep. While the Atomic Dash Driver has solved one of the inherent and intentional weaknesses built into the original version: burst resistance, it doesn’t solve what has contributed the most to its slow death: opposite spin performance.
The Atomic’ Driver’s same-spin stamina is extremely high and is usable at the highest level of competitive play against many opponents even to this day, but because it lacks the opposite spin capability of its contemporaries and it also extremely difficult to control–especially with modern launchers that have higher RPM–it is hard to recommend that it be used in the standard Burst Format.
An exception to this for the standard Burst Format might be in multiple Beyblade formats such as 3on3 or 5G especially where you can sometimes get away with more specialized combos more easily. And to be fair, even the Driver Atomic’ has the most trouble with–High Xtend+’–has trouble staying in the stadium using high RPM launchers like the Full Custom BeyLauncher LR, and also has poorer defense, so it is possible that you could thread the needle and find a place for Atomic’ in certain situations.
If Atomic’ had a decisive edge in the same-spin stamina department against High Xtend+’, the risk versus reward scenario for the standard Burst Format would have been much more intriguing and Atomic’ would have been a staple for competitive play. But it’s not. If Takara-Tomy ever releases a High Atomic’ Driver this might be a discussion worth revisiting, though.
The areas where Atomic’ might have more influence are in alternative formats based around pre-Dynamite Battle parts. Our testing demonstrated that Atomic’ (and Atomic) can be among the top tier options for same-spin there because of the nature of the construction of pre-DB systems.
Should you buy B-195 Prominence Valkyrie Over Atomic’-0?
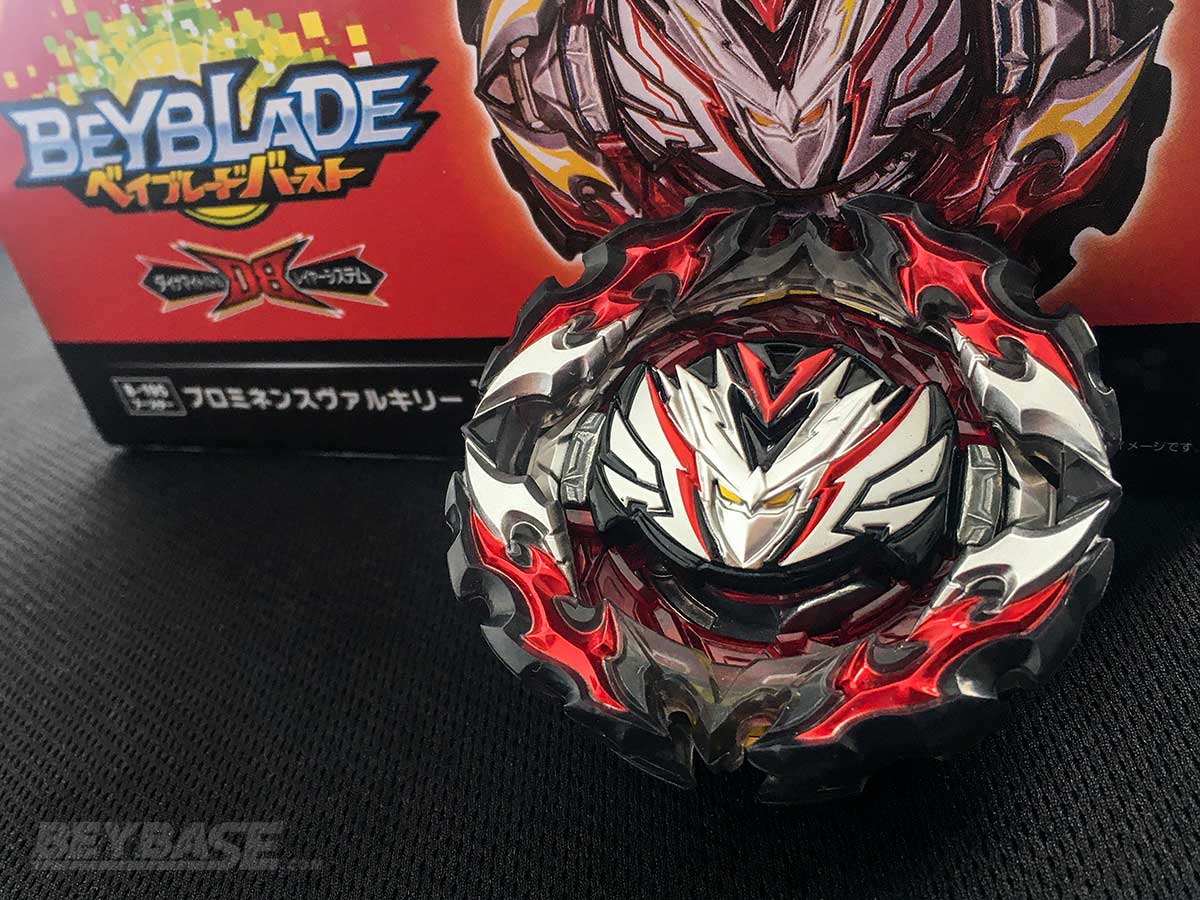
Yes. B-195 Prominence Valkyrie Over Atomic Dash-0 is worth buying for most Beyblade Burst players.
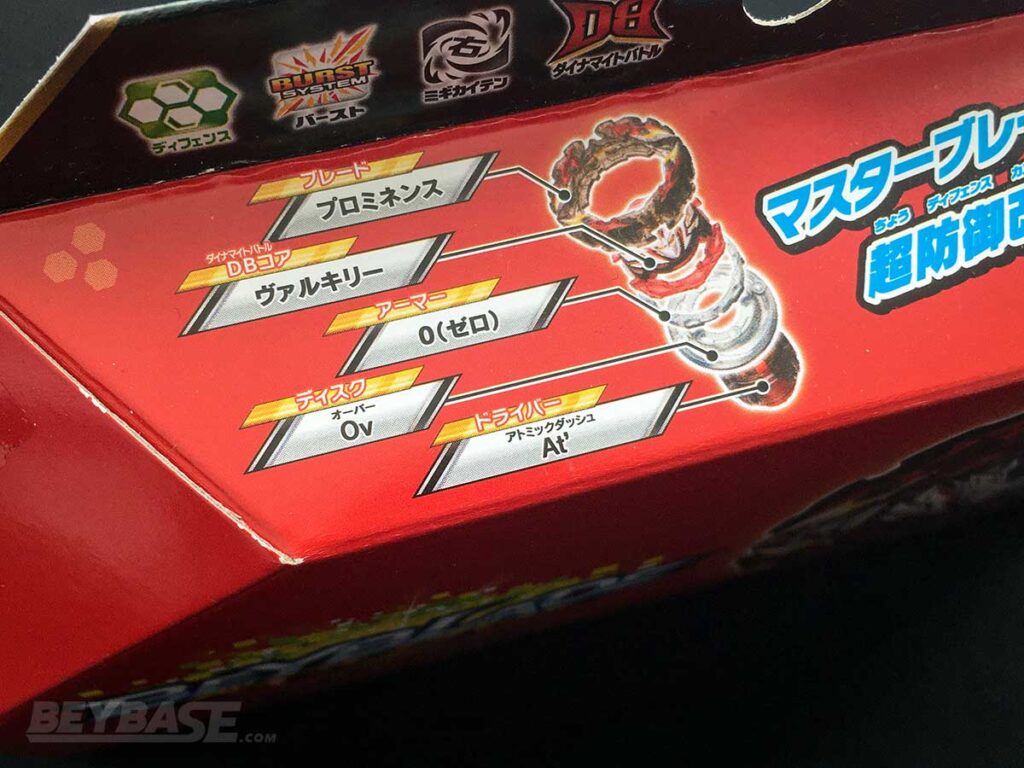
For new players, it is a great entry point into the series. This is because every part in this booster is usable for competitive play and as a stock combo it is arguably the best in all of Beyblade Burst Dynamite Battle.
For experienced players, they know that having multiple copies of strong parts is always beneficial for both competition and testing purposes. This booster offers an easy way to obtain second copies of competitive parts, including those such as the Prominence Blade which previously were locked behind expensive multi-Beyblade sets.
Where to Buy B-195 Prominence Valkyrie Over Atomic’-0

Heads up: If you buy something through some of the links on this post, you won’t pay any extra, but I’ll get a small commission. This helps me keep things running. Thanks for your support!
What do you think of Prominence Valkyrie Over Atomic’-0? Comment below!
If you’re thinking of picking up the B-195 Prominence Valkyrie Over Atomic Dash-0 and have any questions, feel free to ask below and I’ll do my best to answer.
And if you’ve already picked it up, I’d love to hear about your thoughts and testing experiences with it!
Photo Gallery
Or become a BeyBase HQ member to get early article access and behind-the-scenes updates. Thank you!
6 thoughts on “How Good is Prominence Valkyrie Over Atomic’-0? (B-195 Beyblade Review)”
Comments are closed.




I have a question about HXt+’ vs At’. If HXt+’ uses Over disk while At’ has Giga disk, who would likely win more in same-spin stamina battle? Both drivers use the same armor regardless. Anyways, thanks for the concise review Kei!
Hey Noctua, that’s a good question. I do think the Over Disk has slightly better stamina than the Giga Disk when all else is equal, so maybe Over would win because HXt+’ is tall enough that the wideness of Over usually won’t negatively impact it, at least for same-spin matchups. I used Giga in my tests only because I wanted to only compare the Drivers specifically with as few variables as possible, and Over probably wouldn’t work the best with Atomic’ due to its height.
I am very interested in the RECOMMENDED PROMINENCE BLADE COMBO: PROMINENCE BELIAL TAPERED MOBIUS-0. Would it be better to use Drift instead of Mobius-0? I know that Mobius-0 has a better chance of riding the arena edge and doesn’t scrape as much as Drift, but I’m still on the fence here.
It depends what you’re looking for because Drift and Mobius–although similar–do perform differently, as you’ve noted. Unawakened Drift also has probably a bit better same-spin stamina if you can control it. But Mobius is probably slightly better on average for opposite spin than Drift when awakened. There’s a lot of variables to consider such as your launching ability and the matchup you anticipate as well. Both are usable, ultimately.
Hello Blader Kei,
First off, I would like to appreciate the amount of effort you’ve put into creating this blog post. The content itself is highly detailed, informative and has helped me understand the intricacies of Prominence Valkyrie (especially the Atomic driver). I learned a lot about the Atomic driver and finally figured out how to use the Valkyrie 1 chip properly thanks to this post.
Secondly, I am a user of the Atomic driver and I want to share my experiences with you. The Atomic driver is one of the godliest drivers in the DB stadium. Me and my friends regularly play battle royale in the DB stadium, and every time the Atomic driver is used, it absolutely crushes all other drivers. You mentioned that Atomic tends to self KO; in the DB stadium the sheer size of the stadium fixes this problem. Furthermore, since it’s possible to launch the Atomic driver full power with a Custom Bey launcher LR in the DB stadium, any blader can utilize Atomic’s stamina to its fullest potential. However, looking from a competitive standpoint, Atomic is too uncontrollable in the standard type stadium when launched with a Custom Bey launcher LR. The Atomic driver is too erratic to win consistently in the standard stadium. Personally, I would tend to use High Xtend+’ as it looks more controllable and consistent in the standard stadium.
Additionally, I want your thoughts as a professional blader on if and how anyone can burst Prominence Valkyrie stock combo. The Beybladegeeks recently uploaded a video on every powerful attack type vs Prominence Valkyrie (they tried to burst it). No bey succeeded in getting even a single click on Prominence Valkyrie. Do you think the new Divine blade with its metal implants will be able to burst Prominence Valkyrie, or can Guilty Bahamut Over Metal Xtreme-2 do the job?
Lastly, Kei, I appreciate the hours you put in to maintain this blog and provide bladers with invaluable information about the game. Me and my friends have learned lots about bey parts and Beyblade itself from Beybase. Thank you for your effort and keep up the good work.
At’ with Wheel (and Dynamite F+L) did better vs same spin Br/Hxt than At’ with a DB disc and low mode layer when I tried it out (didn’t like how any of the high mode left spin layers performed tho).