Affiliate Disclosure: If you buy something through some of the links on this post, you won’t pay any extra, but we’ll get a small commission. This helps us keep things running. Thanks for your support!
Discovering the Best Beyblade Burst Dynamite Combos for Tournaments at HIGH PARK THROWDOWN 12
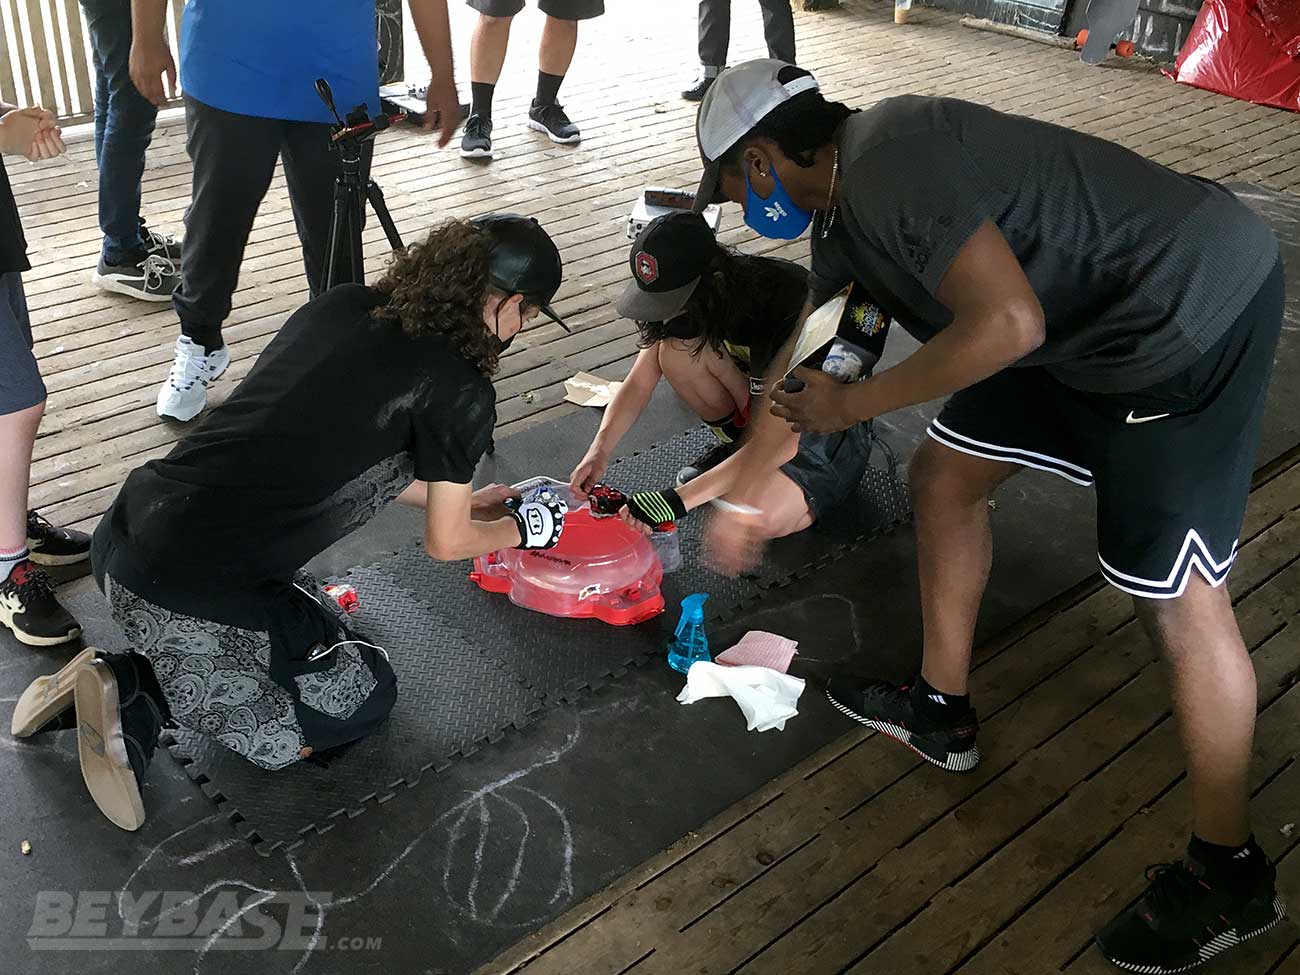
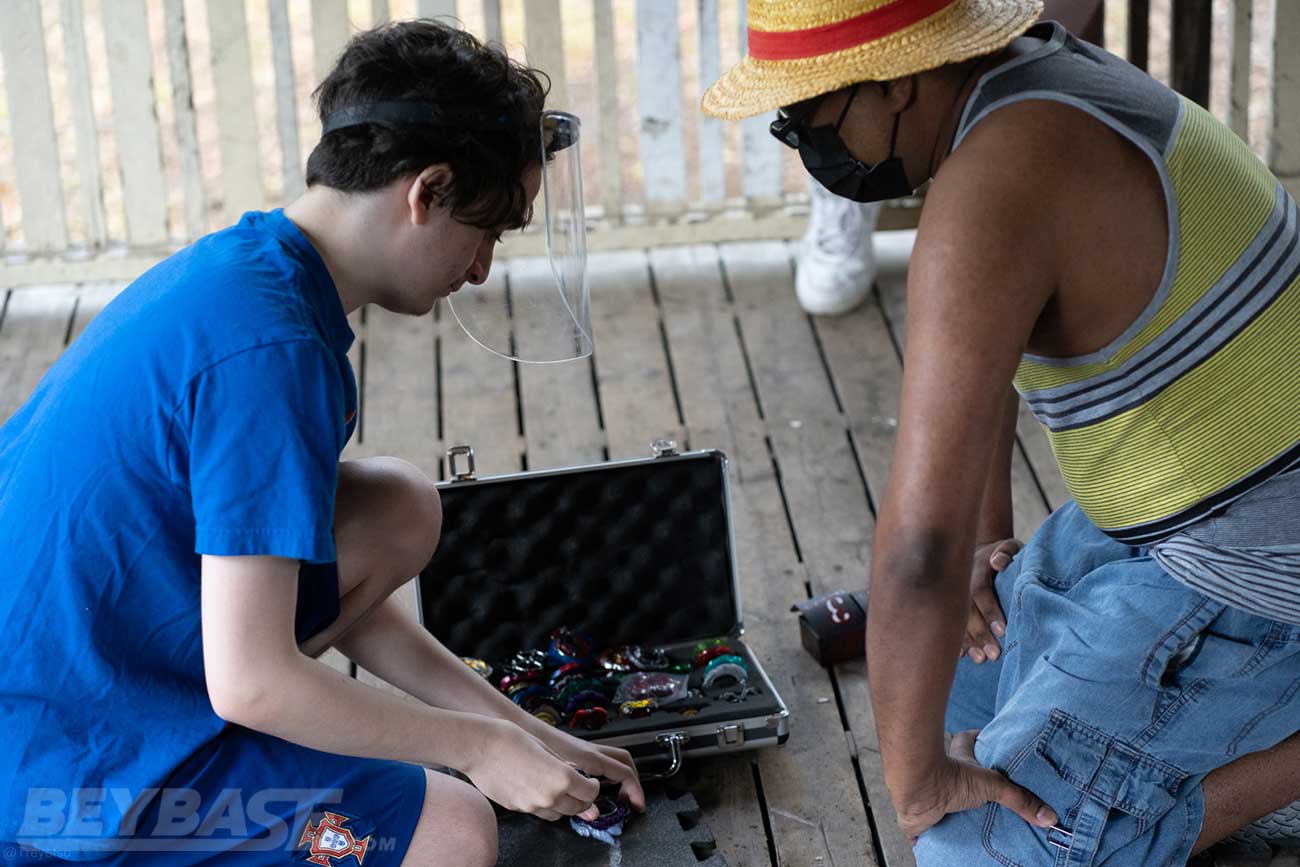
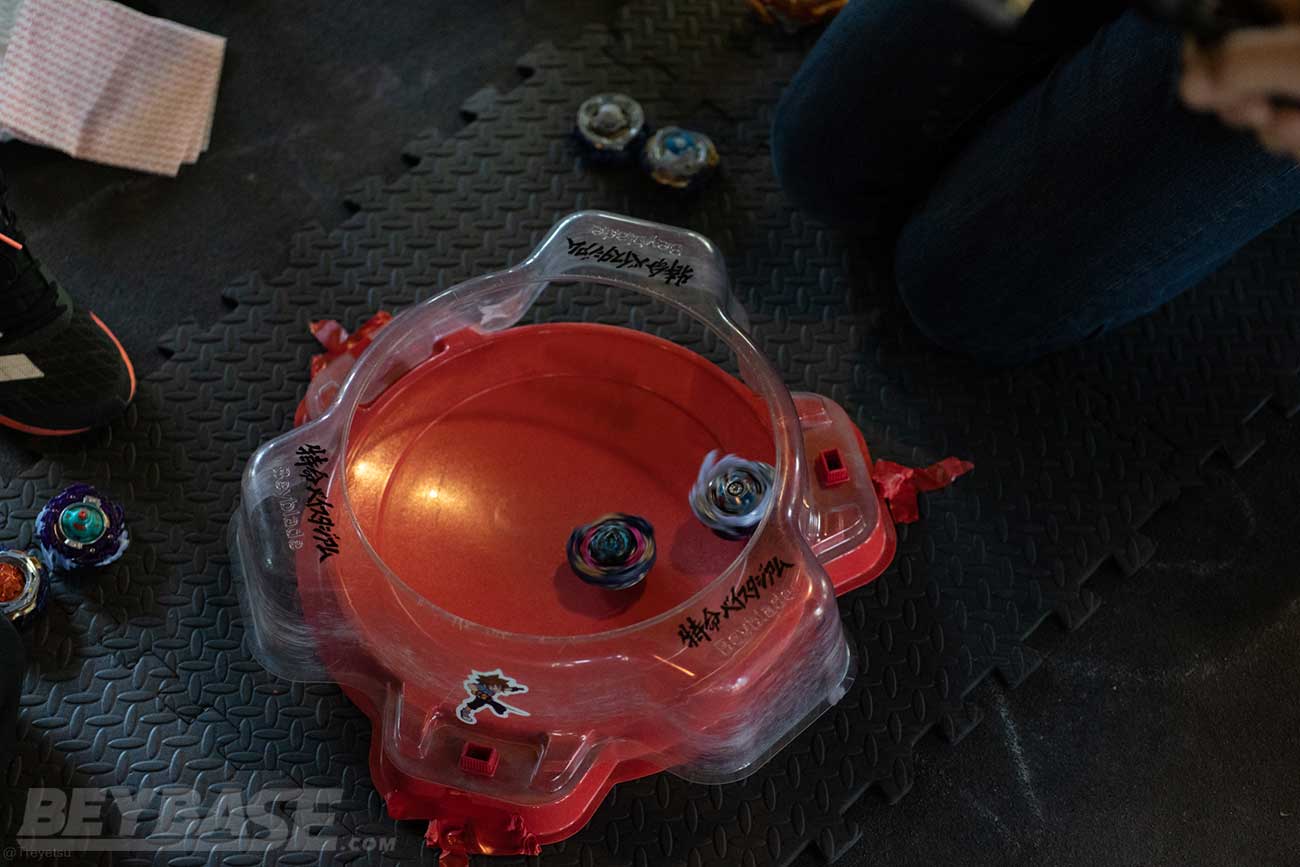
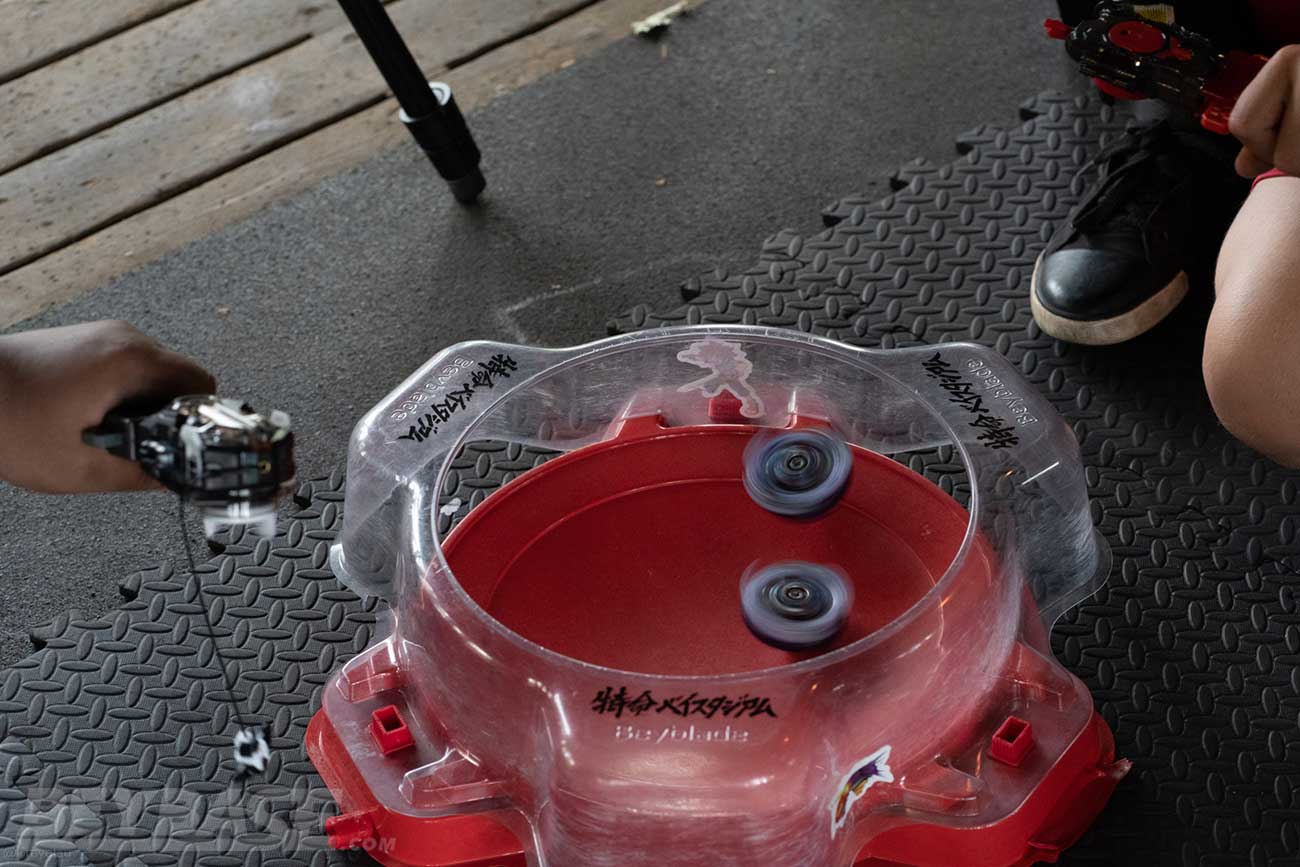
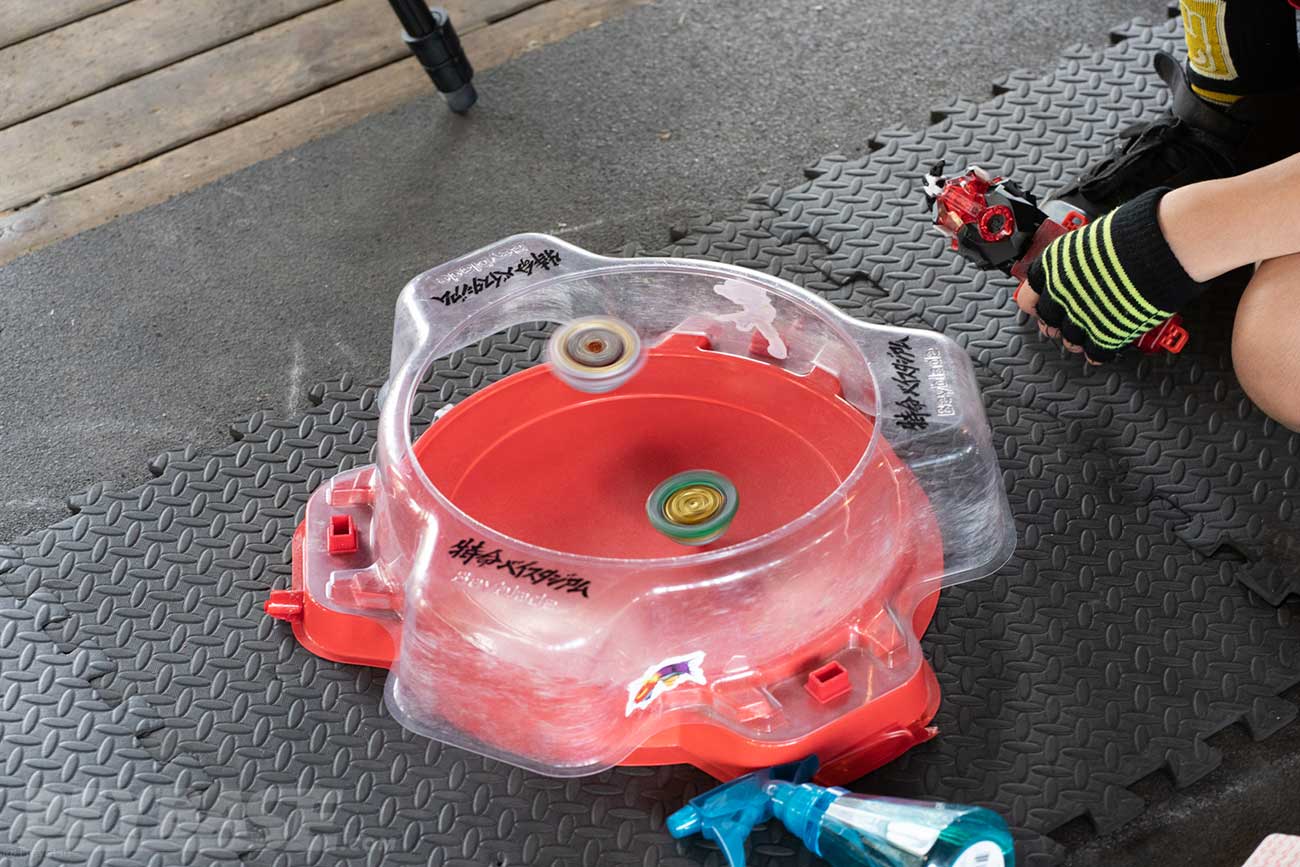
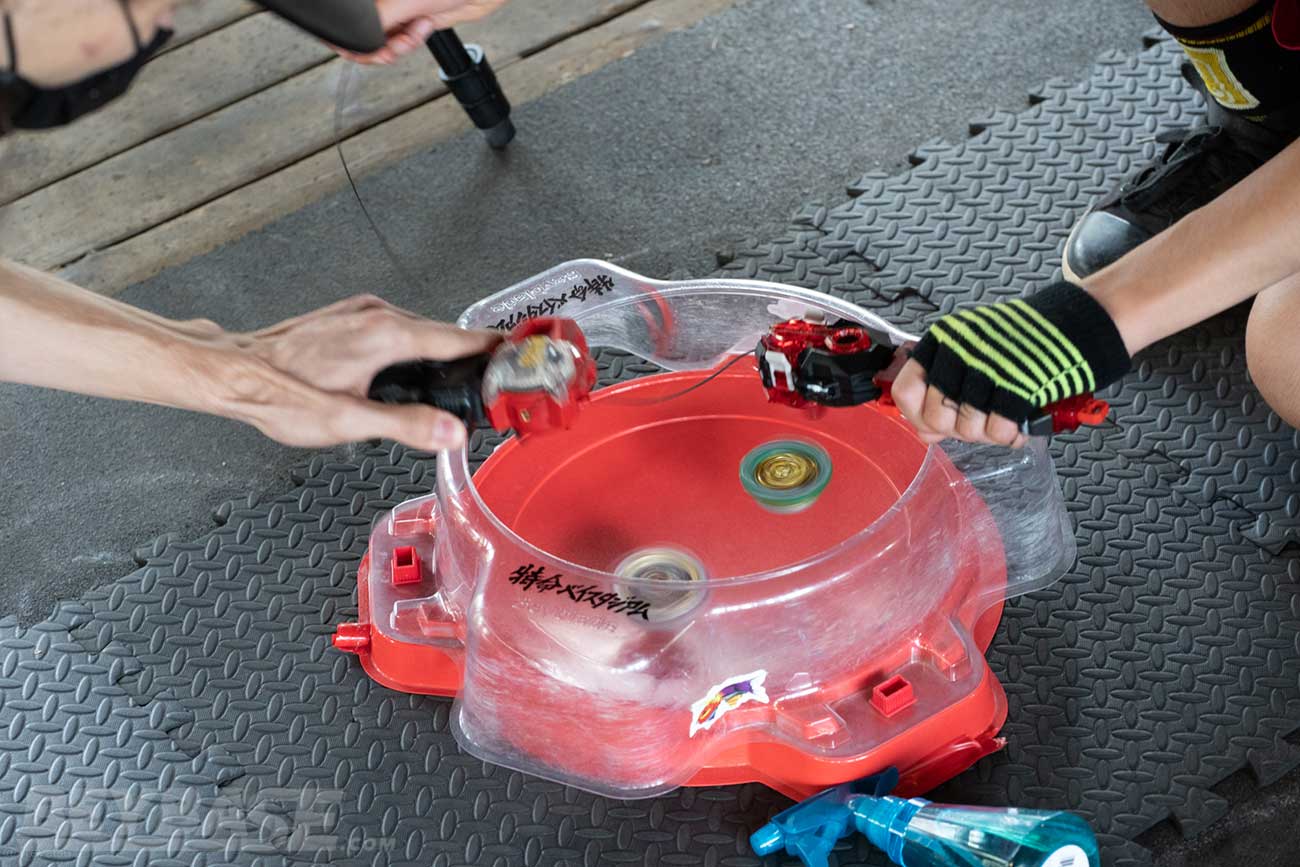
On July 4, 2021 the Toronto Beyblade community gathered for HIGH PARK THROWDOWN 12 at High Park. It was played using Burst Format with some experimental rules that I explained in the first part of this article series.
This second part acts as a direct report about the tournament itself and what the best Beyblade Burst Dynamite Battle combos for tournaments are right now based on the list of combinations used by the top three winning players of the tournament.
We will take a look here at a breakdown of the tournament itself, including the First Stage, Final Stage, as well as what those tournament winning combinations were.
Beyblade Burst Sparking parts are still hanging in there … but by the end of this event it became quite apparent that Beyblade Burst Dynamite Battle was beginning to take over.
Scroll down to read more about what the best combos were and how they worked.
Tournament Details
- Date: July 4, 2021
- Location: High Park – Toronto, ON
- Format: Burst Format – Unranked (Rulebook)
- WBO Event Page
- Challonge Bracket
BeyBase HIGH PARK THROWDOWN 12 Article Series
- Part 1: How to Prepare for a Competitive Beyblade Burst Tournament (HIGH PARK THROWDOWN 12 Report)
- Part 2: What are the Best Beyblade Burst Dynamite Battle Combos for Tournaments? (HIGH PARK THROWDOWN 12 Report)
Champions aren’t born overnight. In my latest article, I break down how my pursuit of knowledge, adaptability, and reproducibility compounded into victory at a 256-player G2 tournament.
Sponsored: Order the newest Beyblades at malloftoys.com!
Heads up: If you buy something through Mall of Toys, you won’t pay any extra, but I’ll get a small commission. This helps me keep things running. Thanks for your support!
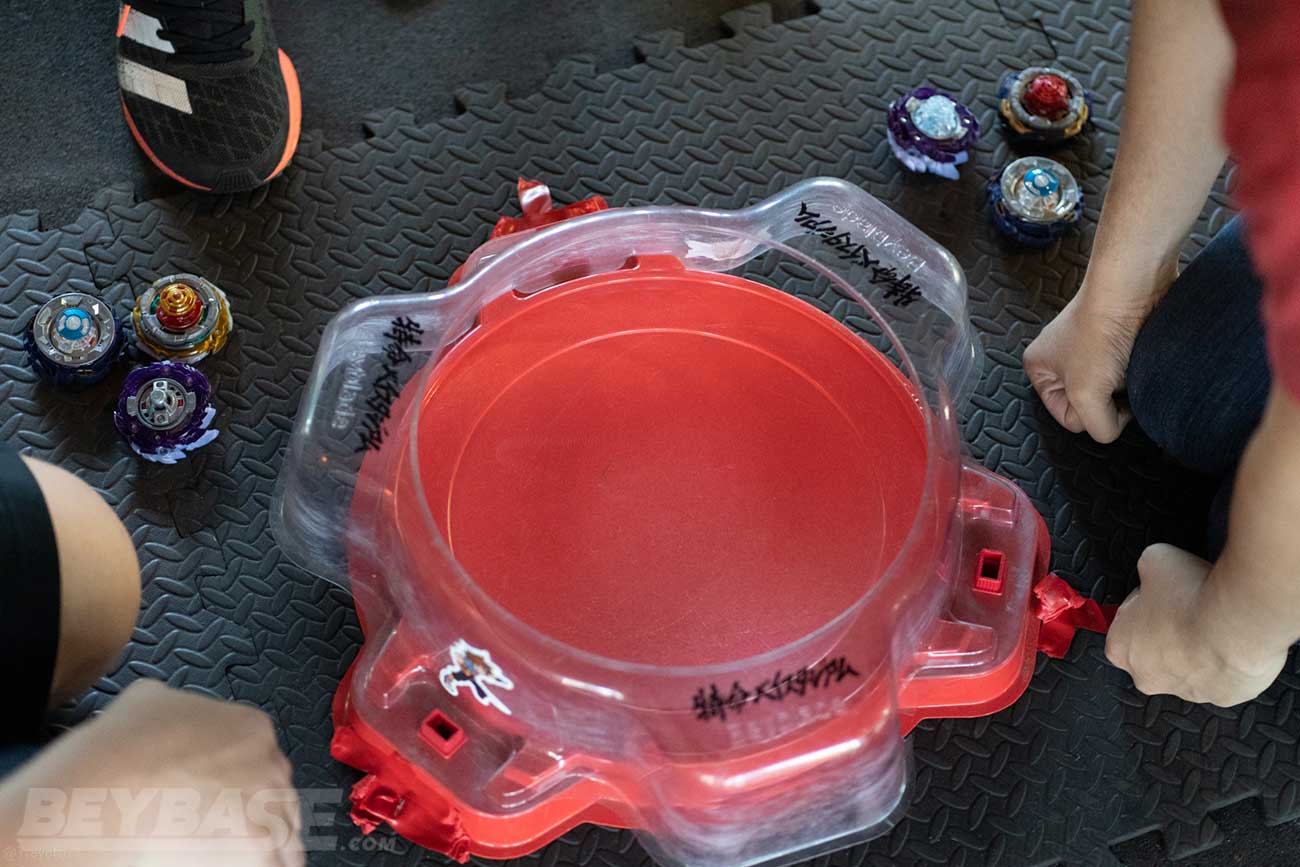
First Stage Report
This tournament was played with 14 players using the Block Round Robin format.
7 of the Top 10 ranked players on the WBO’s Burst Format Rankings participated, which made for a very competitive event!
Tournament Participants
Group A
Group B
General First Stage Observations
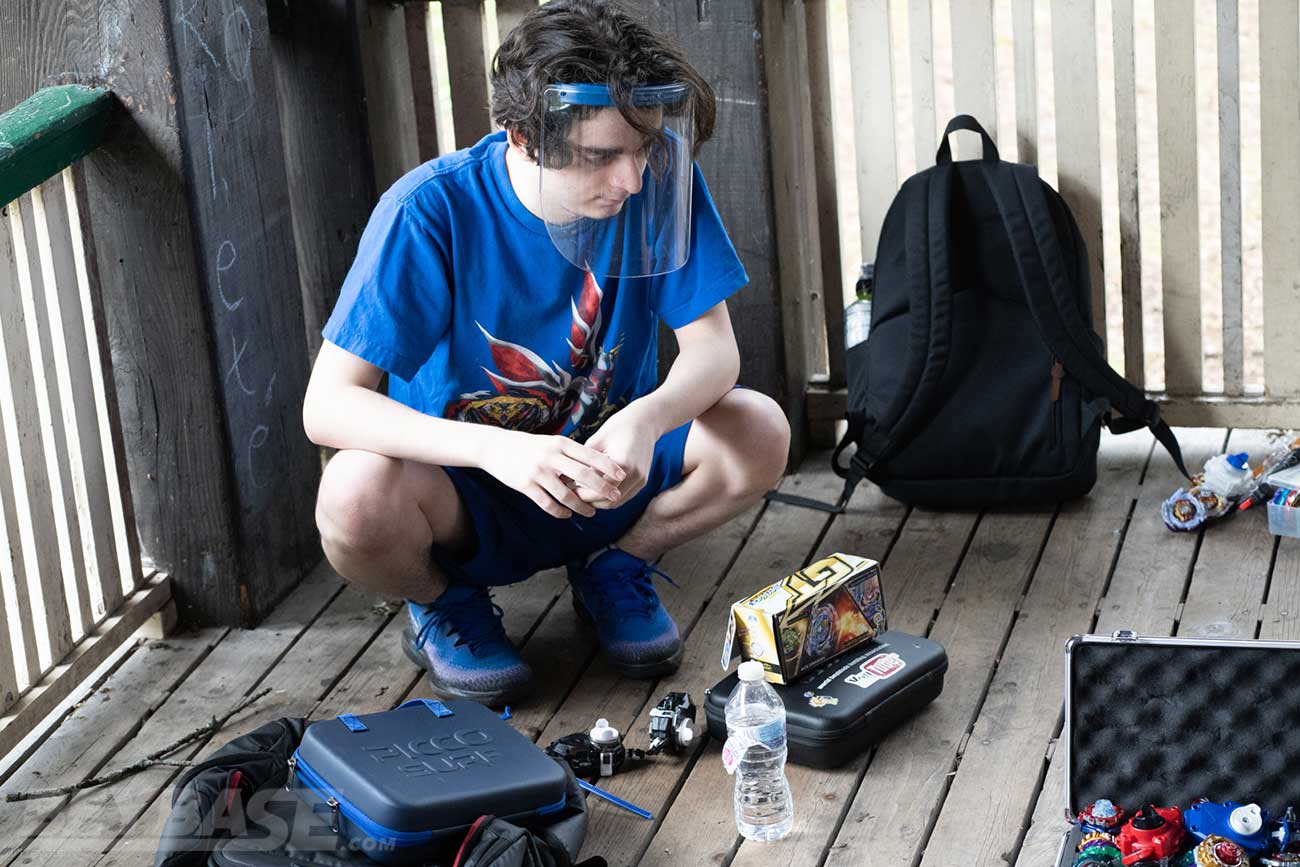
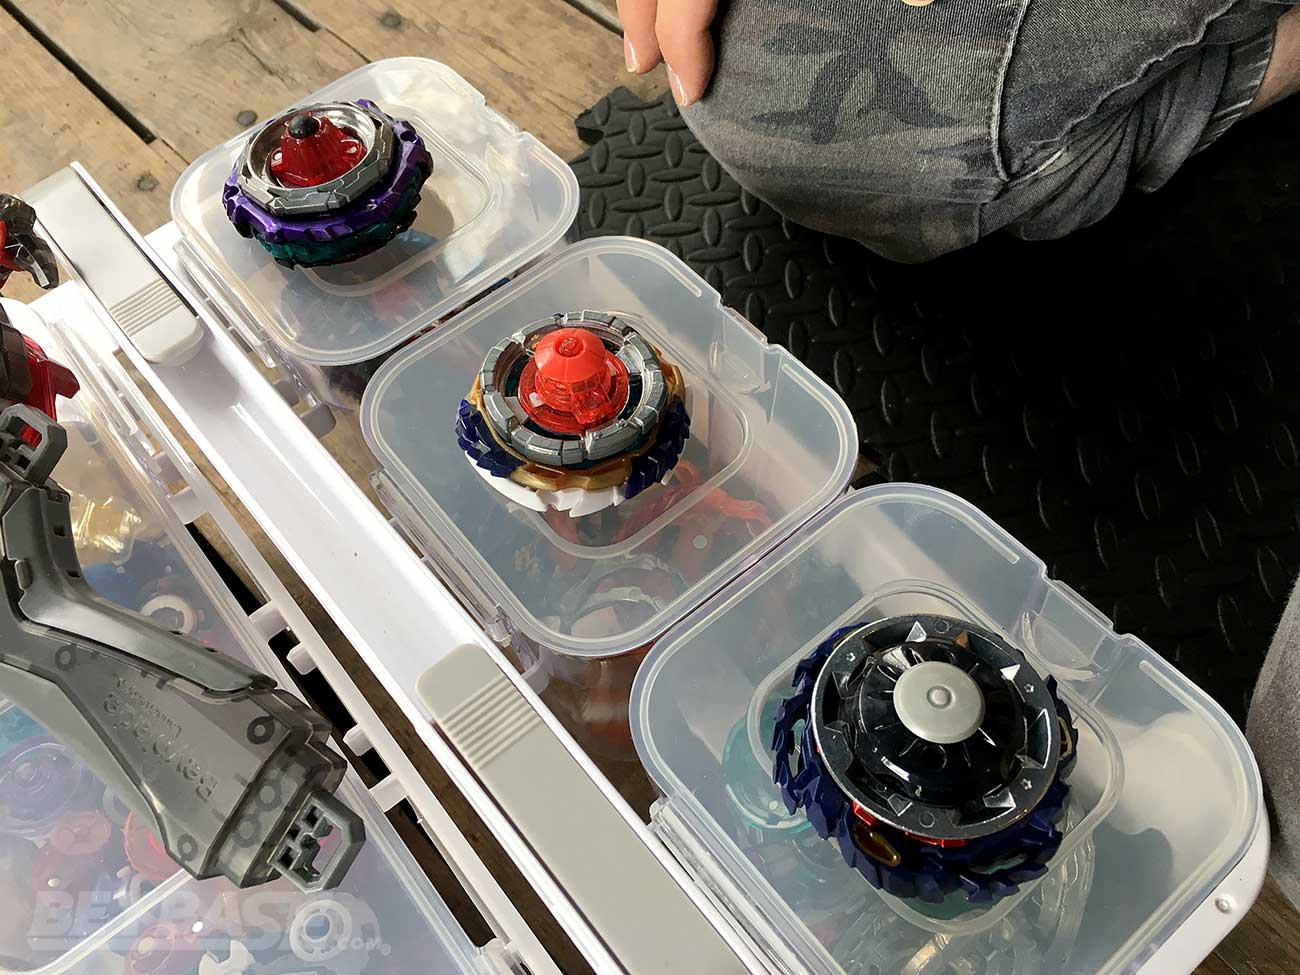
While there were many skilled players participating in this tournament, it was clear to me that this was the first Toronto event in nearly 10 months.
Not all players in attendance had the absolute newest parts yet; OldSchool™ literally opened up brand new B-171 Beyblade Burst Sparking Triple Booster Set, Rage Longinus, World Spriggan, and Glide Ragnaruk on the spot before the tournament. It was actually his first tournament since Beyblade Shogatsu 2020 in January 2020 and he only had that stuff because I bought it for him in the fall last year.
henwooja1 had also just bought some of the new Beyblade Burst Dynamite Battle products and was opening them up before the tournament.
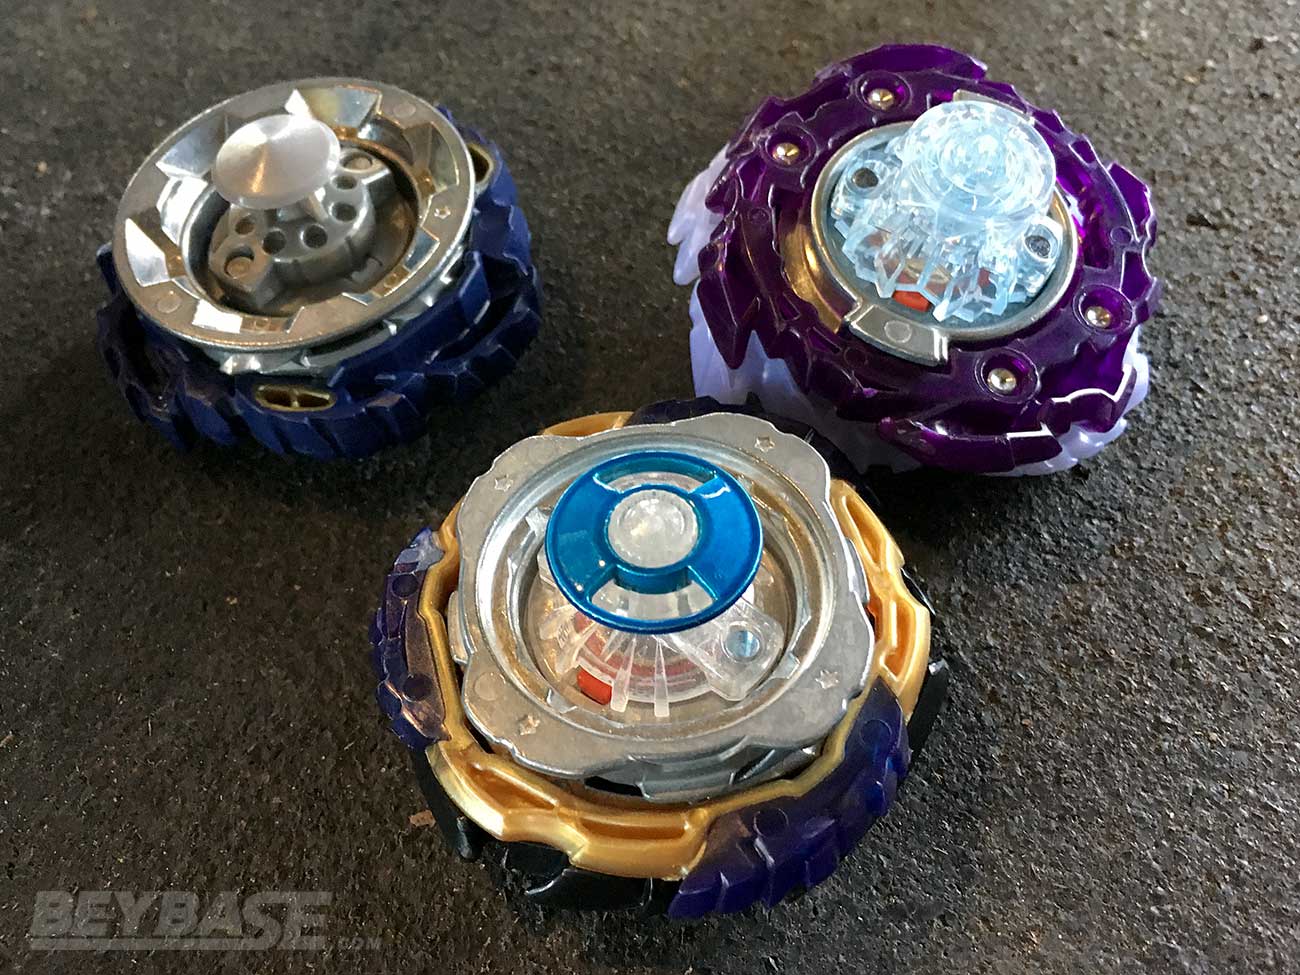
There was a definite mix of both Beyblade Burst Sparking and Beyblade Burst Dynamite Battle parts on display throughout the first stage. But overall, it was clear that DB parts such as the Vanish Blade, Dynamite Blade (with F Gear), Giga Disk, and Tapered Disk were a step above the rest.
The primary exception to this was the Rage Ring; almost every deck included one Rage 3A-based combo. Typically on the Xtreme Dash Driver or Destroy Dash Driver.
This to me is one of the luxuries of WBBA 3on3 Battle Format used for all battles in the first stage: it almost incentivizes having an attack type in your deck because of their inherent versatility. That incentive is technically inherent to the type itself, but in WBBA 3on3 Battle Format, if you run into a situation where you don’t feel it is useful, you can always de-prioritize it in your initial sequence or re-order.
In doing so, you aren’t necessarily as crippled as you would be if it was WBO Deck Format because your opponent doesn’t get the luxury of knowing whether you’ve prioritized it or not by watching if you choose to use it over several rounds of that type of battle. They’ll only find out after the fact.
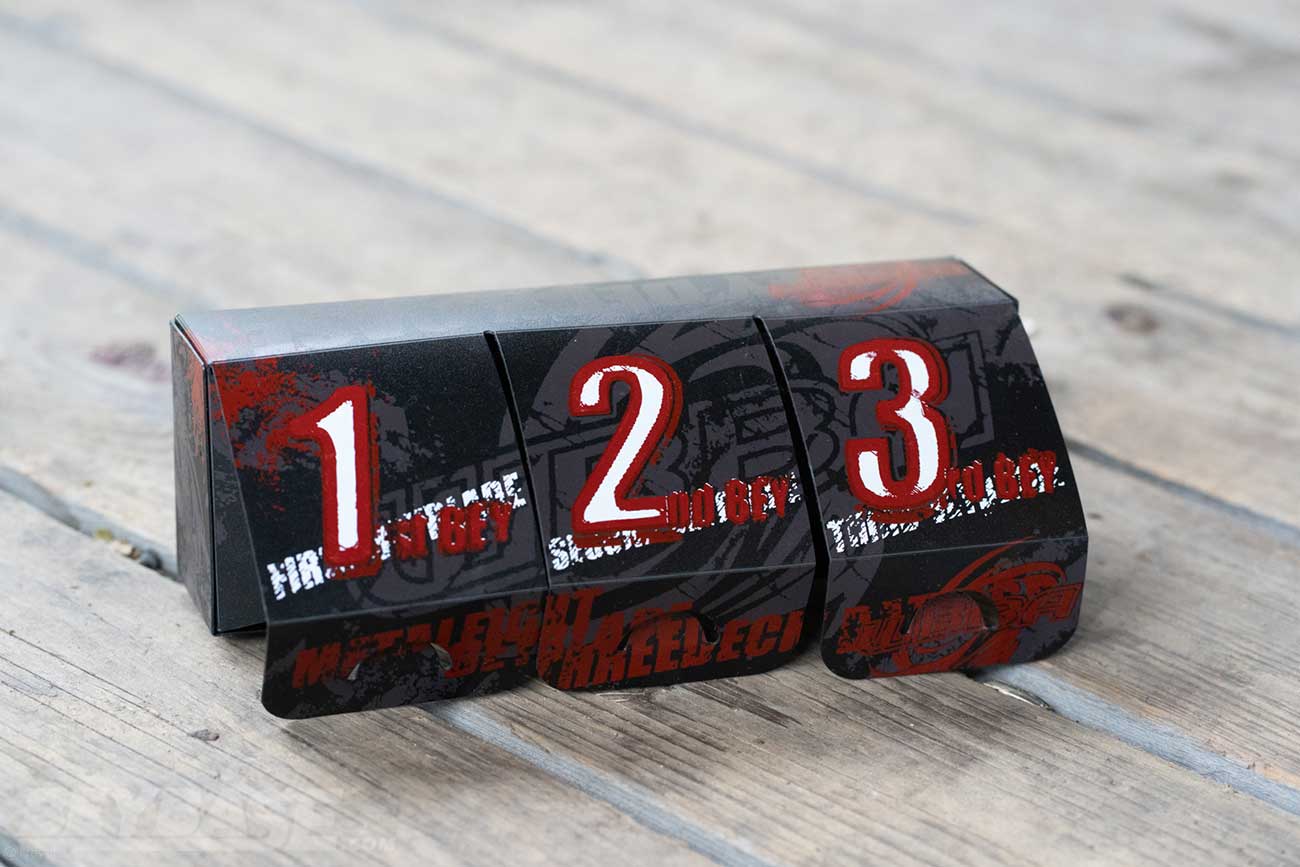
Pick 3, Choose 1 Format also incentivizes attack types to a degree, but it often can become more of a scare tactic than anything else; the purpose can be to disincentivize your opponent from using something rather than actually planning to use it yourself.
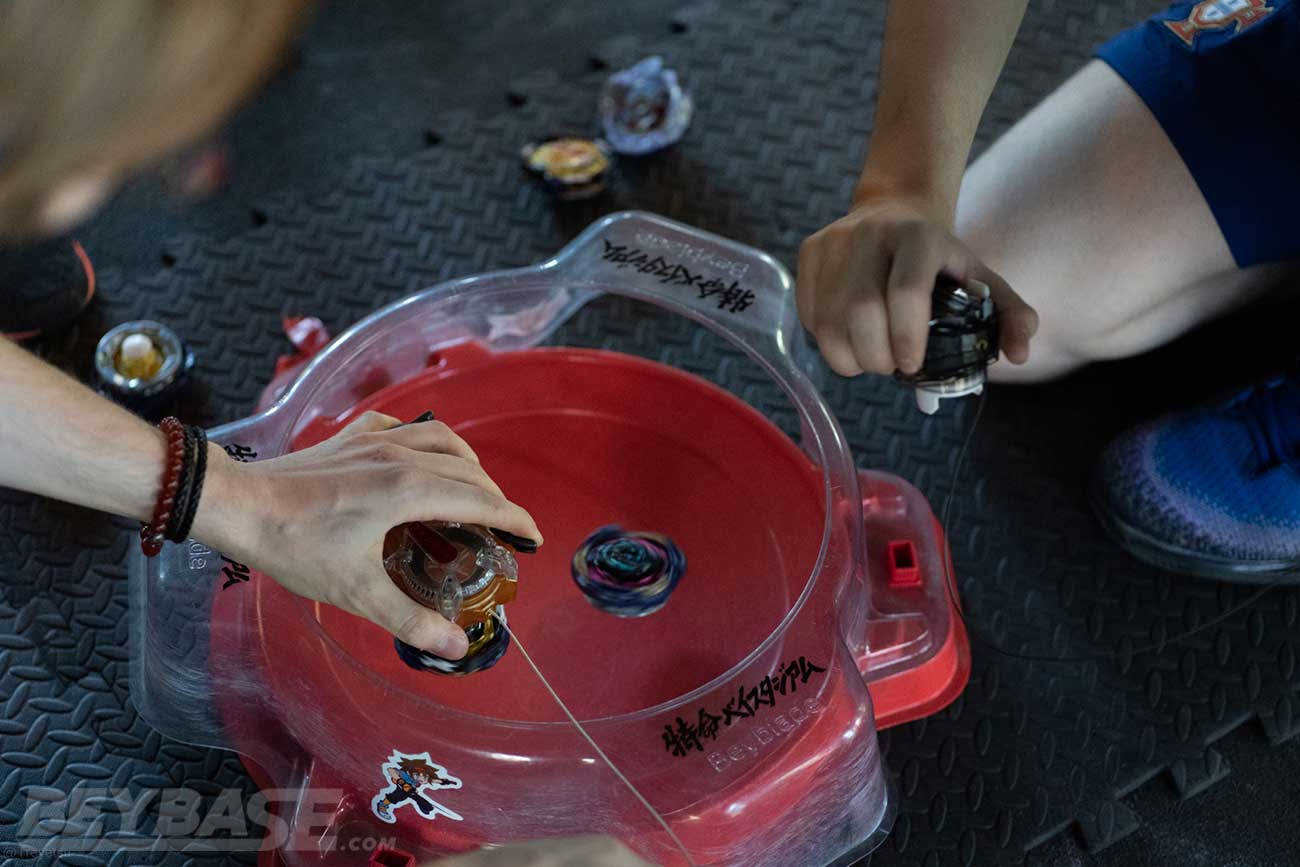
First Stage Battle Videos
Blader Kei’s First Stage Matches
All decks below listed in the initial chronological order they were set in for the WBBA 3on3 Format battle.
Round 1 – Kei vs. OldSchool™ (3-0 Win)

OldSchool™’s Deck
- Judgment Diabolos Blitz Destroy’
- Tempest Dragon Xtend+ 2B
- Rage Longinus Xtreme’ 3A
I knew OldSchool™ didn’t have any of the new Beyblade Burst Dynamite Battle parts and had observed his first few matches, so I had a good idea of what he would be using here.
One thing to note here that also was prevalent among other players was their usage of the Judgement Layer Base; as I talked about in part of this series, Judgement is something I had tested with and considered using as a surprise pick during this tournament to deal with Dynamite Blade combos, but evidently I wasn’t the only one with this idea! OldSchool™ used it, as did 1234beyblade, BladerBeast, and maybe a few others.
At this stage of the tournament I had decided to play it “safe” and go with a purely stamina-based line up for my deck. There was a few reasons for this:
First, my awakened Rise Driver could provide aggression when needed.
Second, it was a bit out of the ordinary for me and maybe not what opponents would expect.
Third, I wasn’t confident many opponents would be able to KO combos using parts like the Drift Driver and Rise in opposite spin even if they were using something like Rage on the Xtreme Dash Driver. In general, while part of me still believed in attack types, there was another part of me that was questioning them at this point in the Beyblade metagame. I wanted to see if all-stamina could be successful even in WBBA 3on3 Format.
My deck was:
- Dynamite (F Gear) Belial Tapered Drift-6
- Tempest Solomon (MCC) Wheel Never 1S
- Vanish Bahamut Giga Rise-10

I knew that as long as MCC TSl.Wh.Nv 1S didn’t run into Judgement, I’d be in good shape against OldSchool™.
I got favourable matchups in the first two rounds and went up 2-0.
However, in the third round, I ran into Judgement with my MCC TSl.Wh.Nv 1S … I was worried about bursting here as they are worth two points in this format, so I launched extremely weakly so as to hopefully avoid that and take just a one point loss. I can’t remember exactly what happened, but OldSchool™ didn’t launch well and I ended up winning the round to take the match 3-0! It was pretty funny.
Round 2 – Kei vs. BladerBeast (3-2 Win)
BladerBeast’s Deck
- Master Diabolos Wheel Zone’+Z
- Rage Longinus Xtreme’ 3A
- Tempest Dragon Xtend+ 1A
This match actually had to be re-done because when we first played it was discovered after the match that BladerBeast had accidentally included two copies of the Diabolos Sparking Chip in his deck (Master Diabolos Wheel Zone’+Z, Rage Longinus Xtreme’ 3A, Naked Diabolos Wheel Drift). I actually lost that match 3-1.
I went with an all left-spin deck featuring Rage Diabolos Drift 2B, Roar Fafnir Giga Rise-3 and Vanish Bahamut Tapered Bearing-10 in the first match.

I’m fairly certain I lost with RDb.Dr 2B in the first round, which sort of cemented my growing hesitancy about that combo, despite a similar one ranking number two on my recent The Top 5 Best Beyblade Burst Combos of 2021 list. To be fair though, it had a bad matchup against both the Master and Rage combos in BladerBeast’s deck. In my mind it had a chance against both of them and a really good chance against Naked, but I overestimated it a bit.
It’s also tough going back to that combo after playing with Dynamite or Vanish on Drift which are much more controllable.
In the rematch, I believe I switched back to a deck similar to the one I used in my match against OldSchool™. It was close, but I was able to pull through with a 3-2 victory!
Round 3 – Kei vs. originalzankye (0-3 Loss)
originalzankye’s Deck
- Vanish Bahamut Tapered Drift-10
- Dynamite (F Gear) Ragnaruk Giga Never-3
- Rage Helios 2 MCC Jolt’ 3A
In this match I used the same stamina-focused deck as my match with OldSchool™ and second match against BladerBeast.
Zankye got some good matchups here and took the match 3-0.
For instance, in round two, his DRG.Gg.Nv-3 (F) outspun my MCC TSl.Wh.Nv 1S. I was on the fence about using the Tempest Ring at all going into this event.
Tempest was used a decent amount by the winners of the Florida Beyblade Premier: The Beyblade Summer Games in early June, but I had noticed that in Summer Spiny Tops on June 27th that none of the winners used Tempest.
The Tempest Ring does have a weight advantage still and I figured it would have more straight up stamina than the Dynamite Blade with F Gear, but not in this round. I’ll want to test this matchup more.
Round 4 – Kei vs. Hato (3-0 Win)
Hato’s Deck
- Dynamite (F Gear) Belial Giga Xtend+-2
- Vanish Fafnir Tapered Drift-10
- Rage Fafnir Destroy’ 3A
After losing to Zankye (and technically losing to BladerBeast the first time around) it was in my mind that perhaps my stamina-heavy deck composition up until that point wasn’t going to cut it.
So, for this match I decided to switch things up and go to a more balanced and threatening deck composition. I decided to go with the following in this order:
- Rage Helios 2 (Metal Chip Core) Quick’ 3A
- Vanish Bahamut Tapered Bearing-10
- Dynamite Belial (F Gear) Giga Rise-6
In round one I was able to quickly take advantage of the MCC RHl2.Qc’ 3A’s aggression and knocked-out DBL.Gg.Xt+-2 (F).
The Xtend Plus Driver has always seemed a bit easier to KO than things like the Drift Driver to me, so it was a decent matchup as I was confident in my shooting ability.
In round two, I outspun VFF.Tp.Dr-10 with VBH.Tp.Br-10 thanks to the Bearing Driver’s superior same-spin stamina.
And in round three, my DBL.Gg.Rs-6 (F) was able to resist being KOed by RFn.Ds’ 3A.
After this convincing win, I felt a lot more comfortable moving forward. The inclusion of Rage made me feel a lot more confident because it is just a bit less reliant on facing specific spin directions to win as some of the other combos.
Round 5 – Kei vs. Tempest546 (3-2 Win)
Tempest546’s Deck
- World Lucifer 2 Xtend+ 2B
- Rage Spriggan Atomic 3A
- Tempest Solomon Wheel Drift 1S
With my newfound confidence in the deck composition I employed starting with my battle with Hato, I was able to win again here by a score of 3-2.
It was closer than I thought it would be considering the somewhat unorthodox Tempest546 was using. He switched things up a lot almost every match against each player, so it was hard to predict what he would do.
Round 6 – Kei vs. ratgoon (3-0 Win)
ratgoon’s Deck
ratgoon was a new player who I believe is one of Hato’s friends.
He had a lot of the newest parts and used some good combos, but often mixed in with that were one or two that were a little bit below what I would qualify as top tier. You can see that above through his inclusion of BHy.Xc’ 1A.
He also used things like Dynamite (F Gear) on Eternal and Roar on Keep’ in other matches, which generally didn’t fare too well from what I saw.
In round one, I was able to outspin his DRG.Gg.Mm-3 (F) with DBL.Tp.Br-6.
In round two, I KOed his BHy.Xc’ 1A with MCC RHl2.Qc’ 3A.
In round three, I KOed his RFF.Tp.Dr-6 with VBH.Gg.Rs-10.
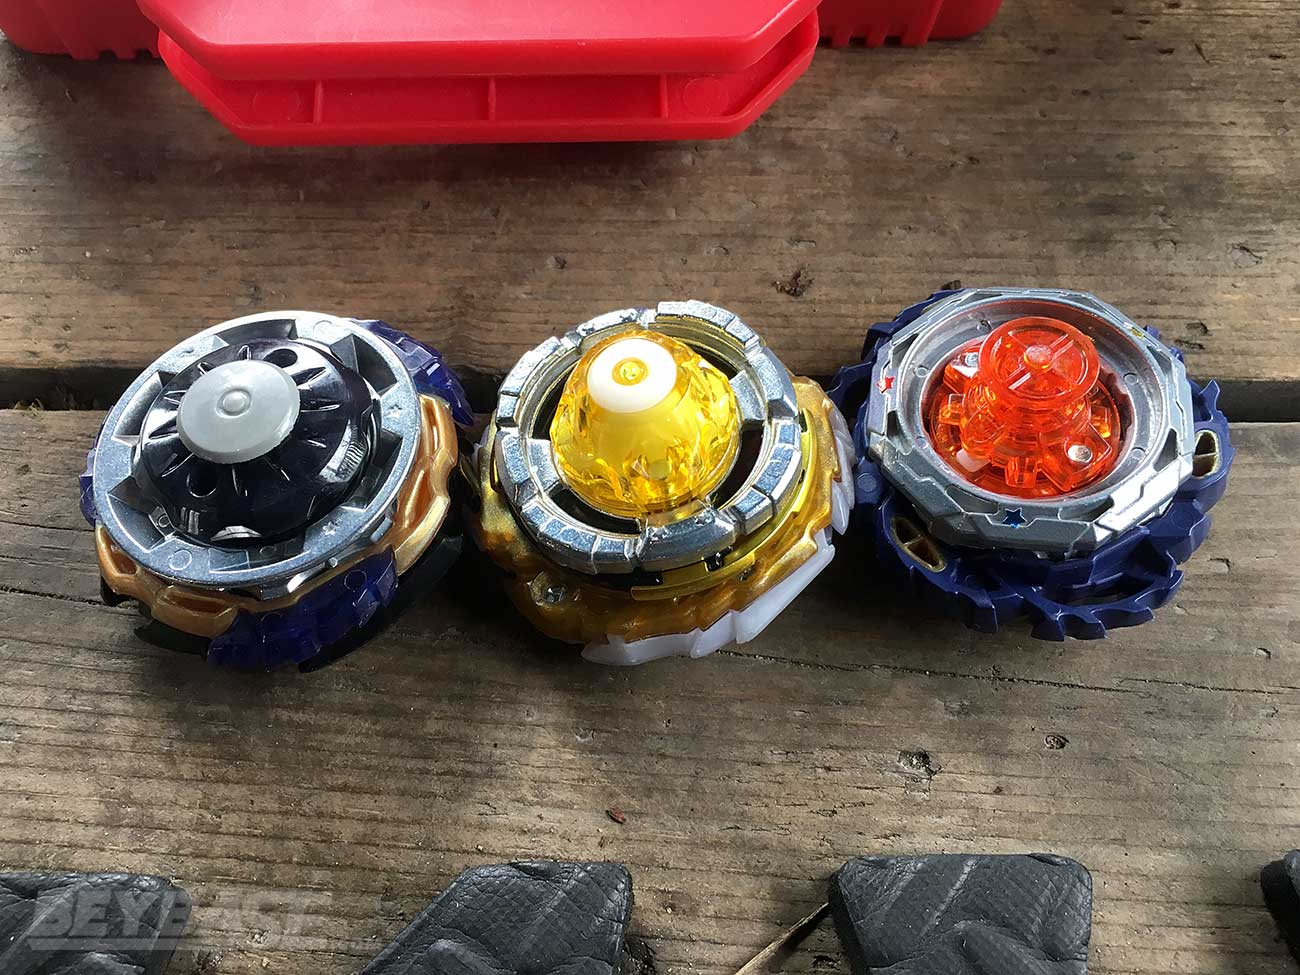
Top 4 Popular Beyblade Burst Parts During HIGH PARK THROWDOWN 12 (Burst Format)
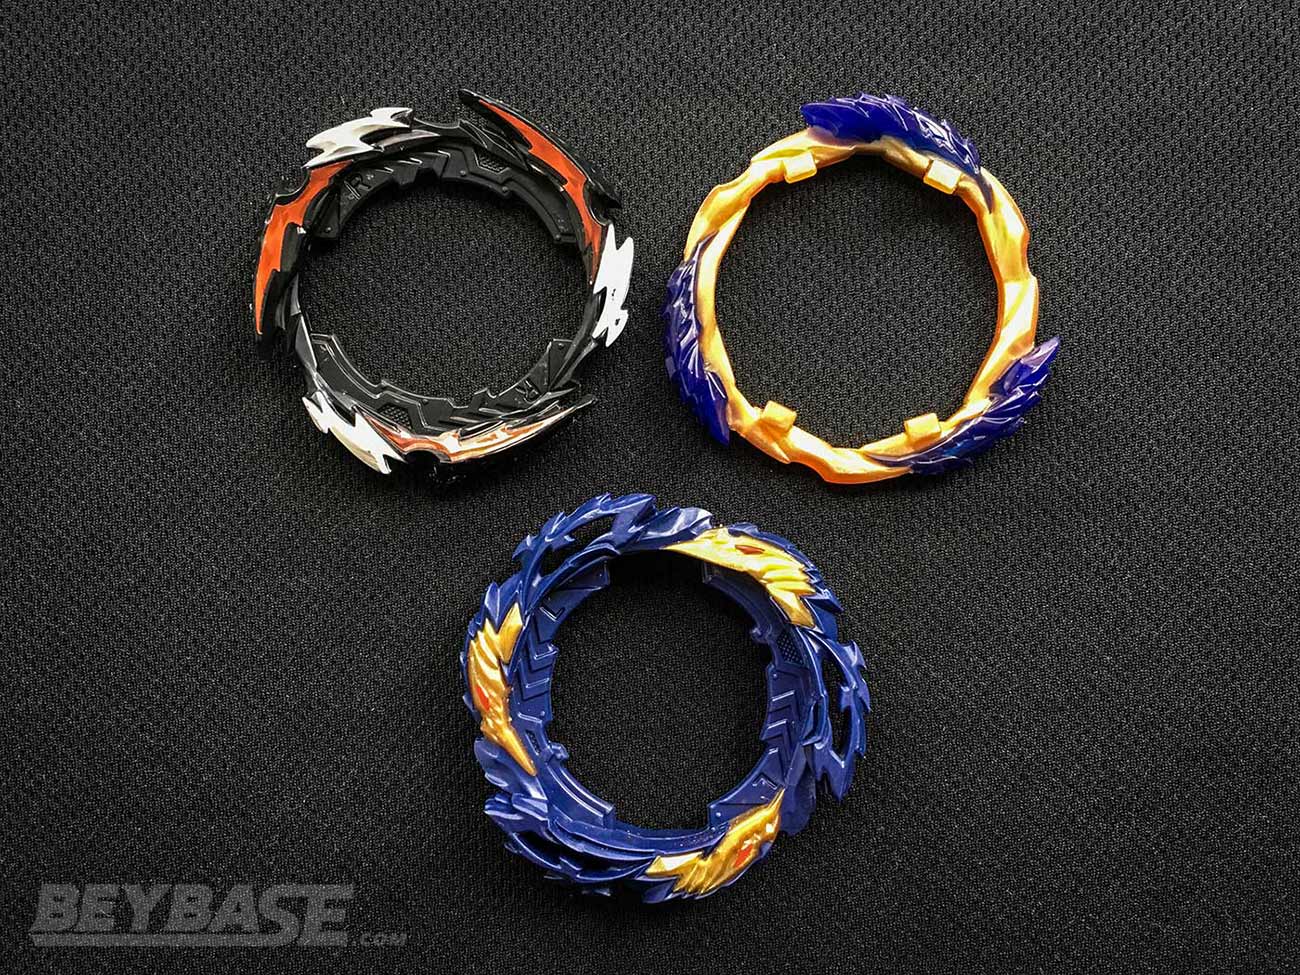
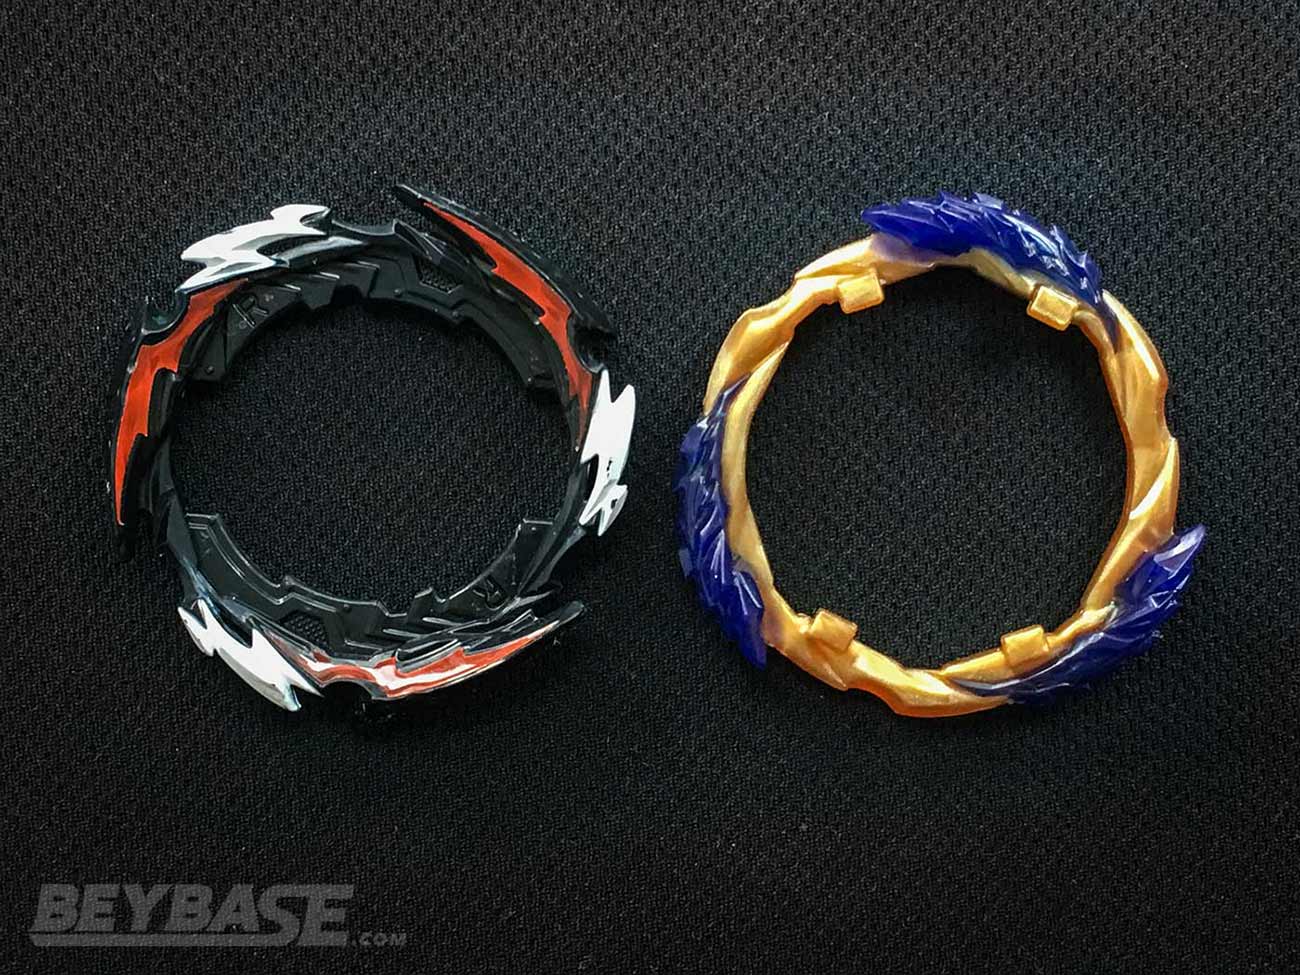
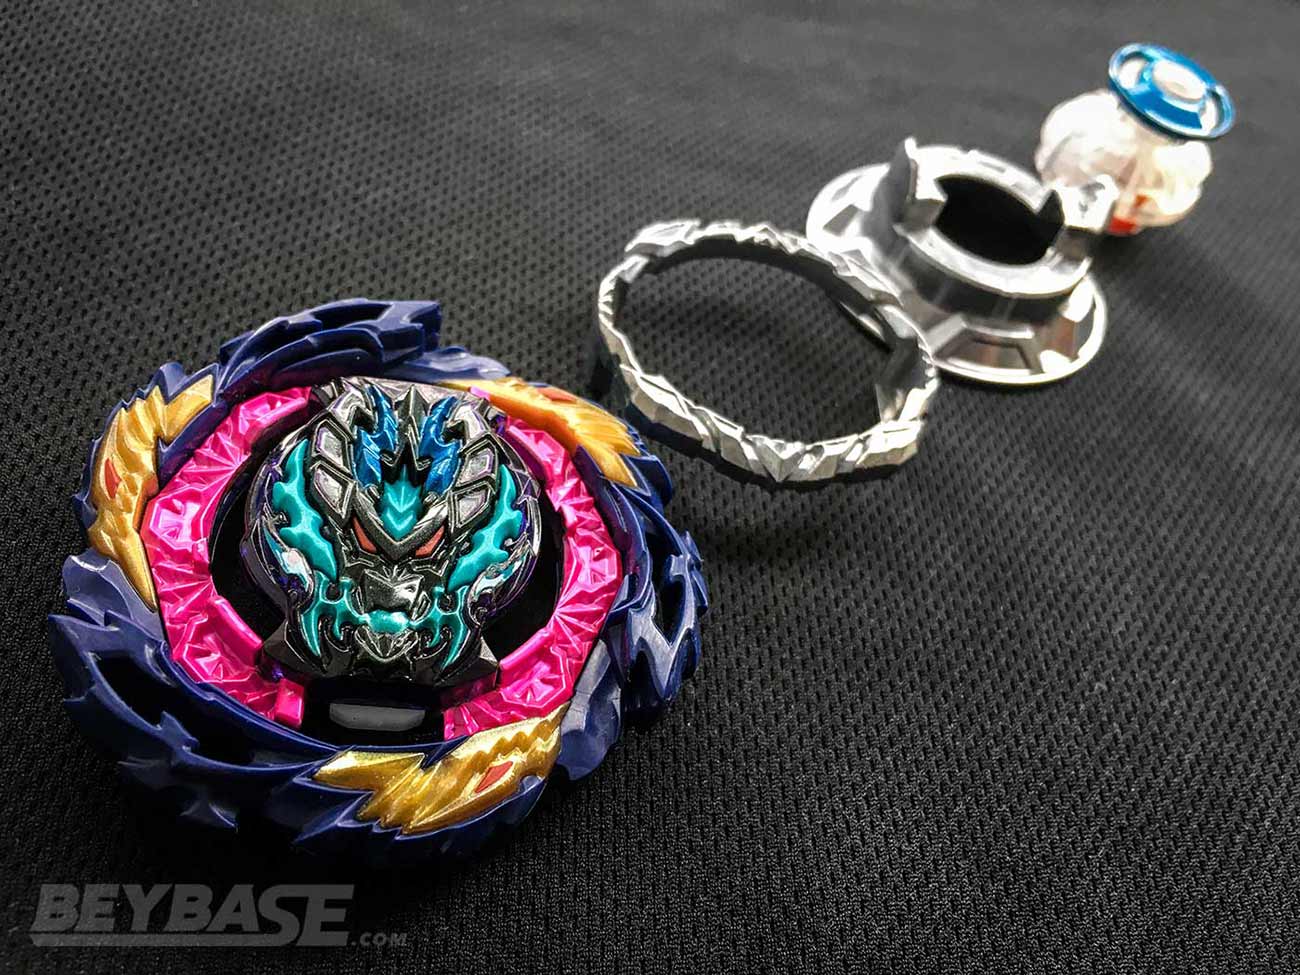
Vanish Blade & Dynamite Blade + F Gear
I’m listing these two together because they really felt interchangeable during this event depending on if you wanted a right-spin (Dynamite Blade and F Gear) or left-spin (Vanish Blade) combo.
Almost all players in HIGH PARK THROWDOWN 12 (Burst Format) utilized at least one–if not both–of these parts if they owned them.
They were typically set up on the Tapered Disk or Giga Disk alongside the Drift Driver, Bearing Driver, or Zone’+Z Driver.
It’s not a stretch in my mind to say that you would have been hard pressed to win this tournament without them.
Where to buy the Vanish Blade & Dynamite Blade + F Gear
Heads up: If you buy something through some of the links on this post, you won’t pay any extra, but I’ll get a small commission. This helps me keep things running. Thanks for your support!
-
Dynamite Blade:
- B-180 Booster Dynamite Belial.Nx.Vn-2
- B-182 Beyblade Dynamite Battle Entry Set
- B-186 Random Booster Vol. 26 – 04: Dynamite Ragnaruk Nexus Just-6
-
Vanish Blade & F Gear:
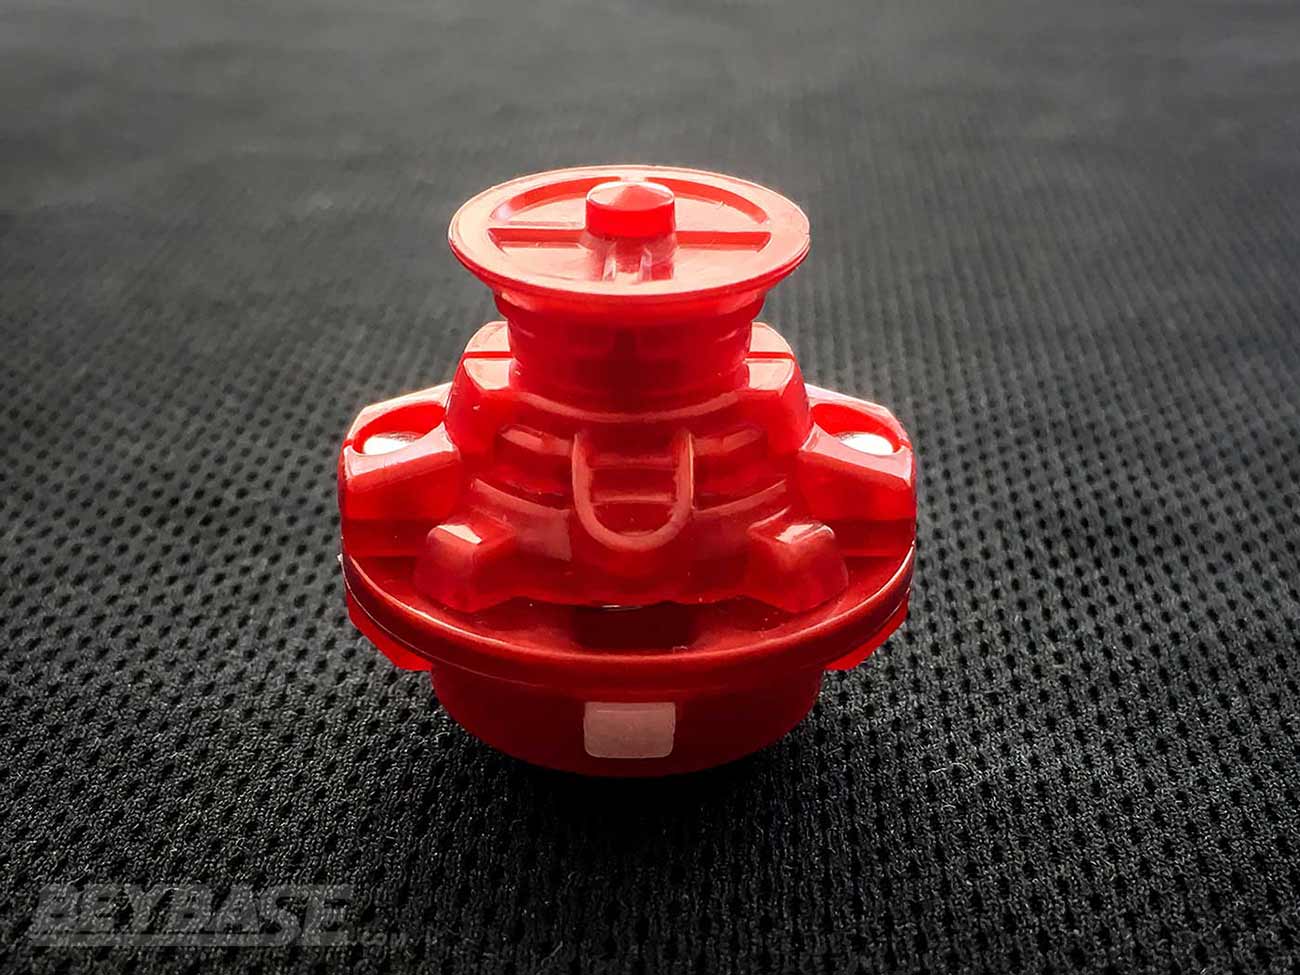
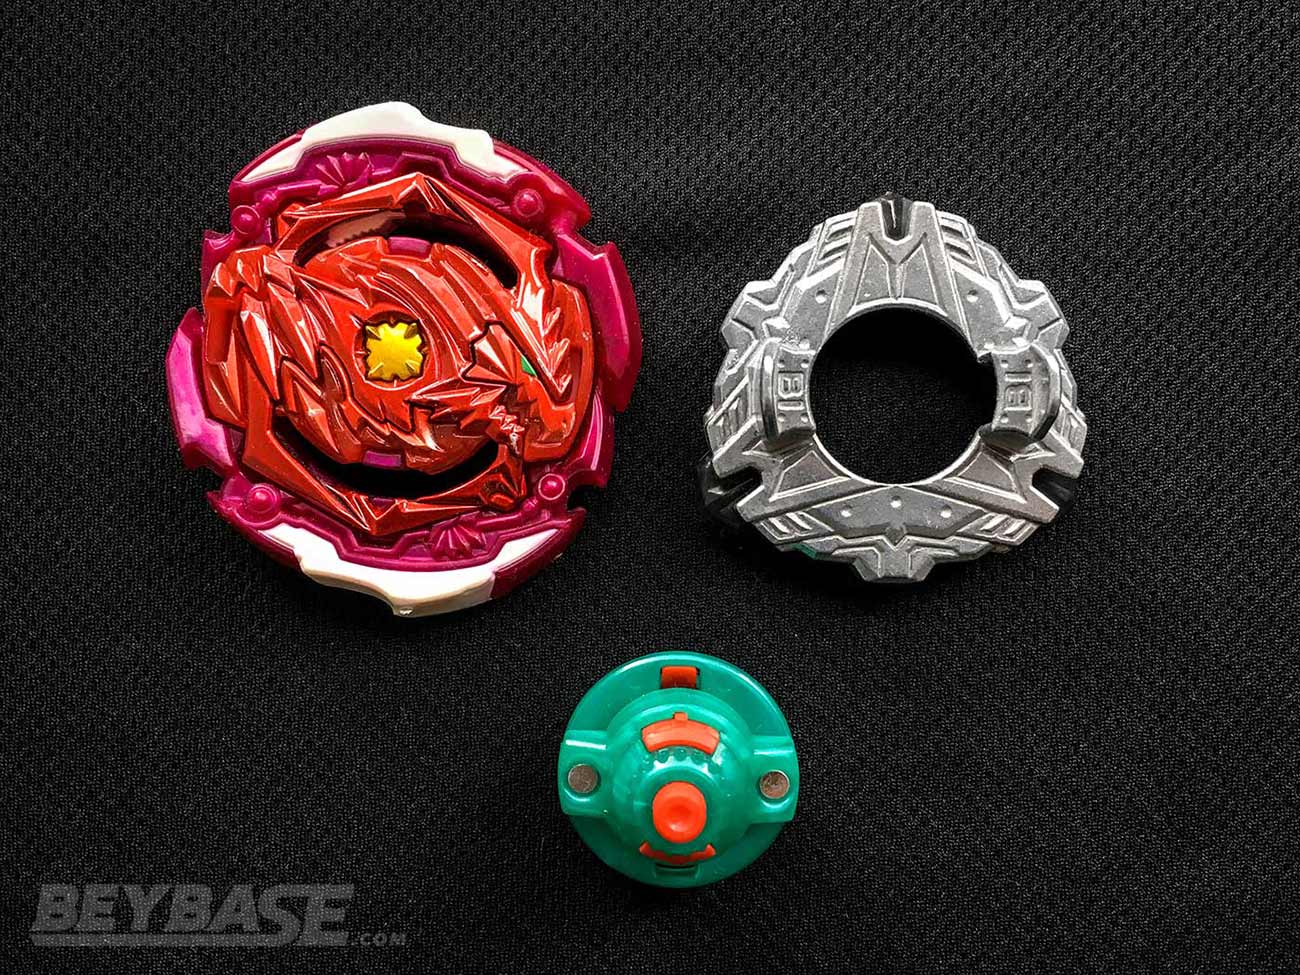
Bearing Driver
In my recent How Competitive Beyblade Burst Has Evolved From 2019 To 2021 article, I stated the following regarding the Bearing Driver:
The past year has not been so kind to Xtend+’s former counterpart: the Bearing Driver.
In 2019-2020, Bearing was represented in 22.2% of winning combinations. In 2020-2021, Bearing usage plummeted to 3.5% due to Zone’+Z and Drift. It’s safe to say it is outclassed now, which is a bit shocking given the roughly two and a half years it held strong in the upper echelon of stamina Drivers.
This was based on data up until the end of Beyblade Burst Sparking.
However, at the Florida Beyblade Premier: The Beyblade Summer Games, third place finisher The Supreme One brought it back through her use of Vanish Fafnir Tapered Bearing-2 and -6.
Then, a few weeks later, at Summer Spiny Tops in Maryland first place finisher geetster99 and second place finisher Yami also used Bearing.
So, clearly I spoke too soon!
At this event, Tahoor and myself in particular also decided to use it. I personally found the movement produced by it on Vanish and Dynamite (F Gear) to be extremely balanced and steady. And on both of those Layers one of its greatest and common weaknesses–low burst resistance–didn’t seem to come into effect.
It has more stamina than same-spin Drift. Against Zone’+Z in the same-spin direction it seemed to come down to the individual strength of each player.
In opposite spin, based on previous testing Drift and Zone’+Z did have better performance … but this was before the beginning of Beyblade Burst Dynamite Battle. For some reason, with the Tapered Disk, the Bearing Driver seemed to be a lot closer to both of them.
This is something I personally need to test more, but it’s clear that at the moment Bearing is back as a legitimate threat.
Where to buy the Bearing Driver
Heads up: If you buy something through some of the links on this post, you won’t pay any extra, but I’ll get a small commission. This helps me keep things running. Thanks for your support!
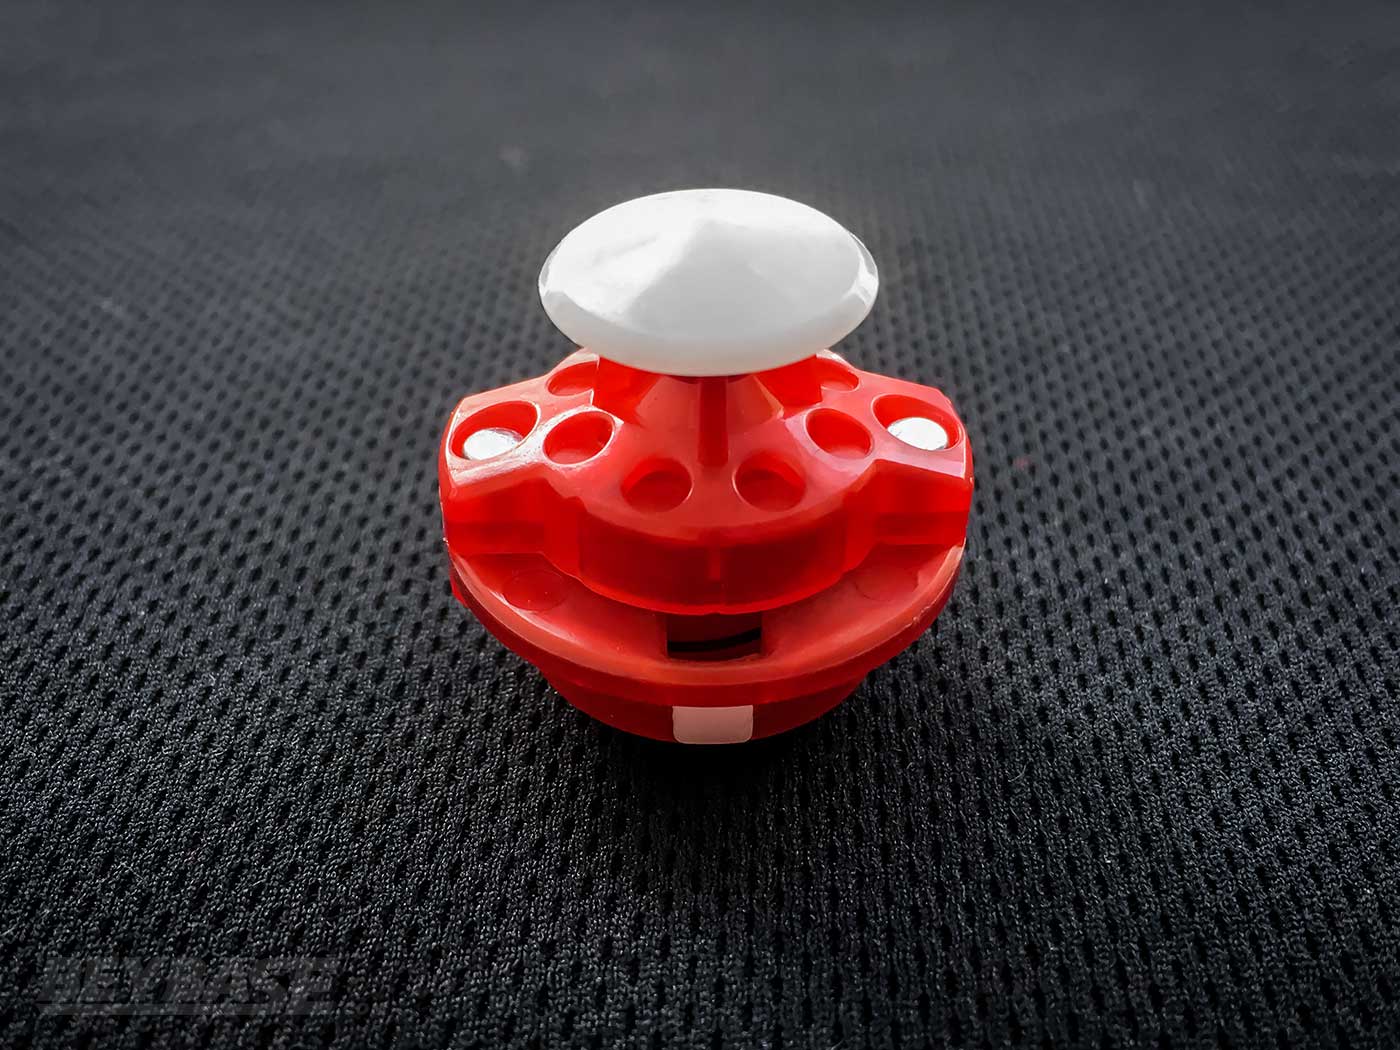
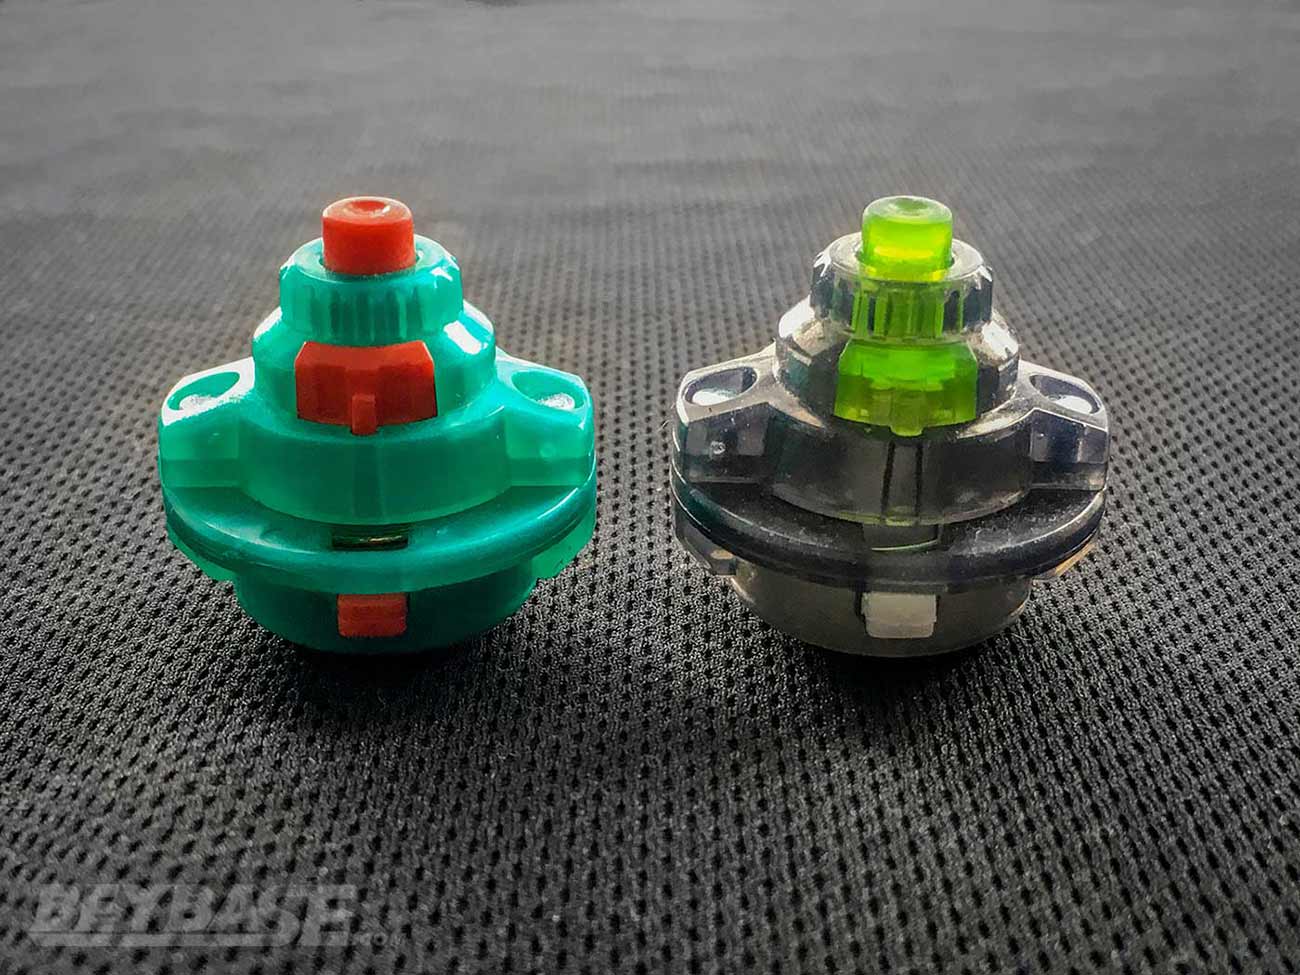
Rise Driver
I was the only person in the tournament using the Rise Driver, so technically … you could say it wasn’t one of the most popular parts in this event. But it was just so good for me I couldn’t leave it off this list.
I explained in more detail in the first part of this report regarding what I tested using the Rise Driver, used, and why.
But essentially, what makes it so good (when awakened/worn down) is that it offers top tier opposite spin performance and the ability to circle the tornado ridge at very high speeds to knock-out other opponents. There’s no other Driver who carries both of these qualities in the same way.
Where to buy the Rise Driver
Heads up: If you buy something through some of the links on this post, you won’t pay any extra, but I’ll get a small commission. This helps me keep things running. Thanks for your support!
-
Rise:
- B-139 Wizard Fafnir Ratchet Rise Sen
- B-181 Random Booster Vol. 25 – 02: Cyclone Ragnaruk Nexus Rise-2
Sponsored: Order the newest Beyblades at malloftoys.com!
Heads up: If you buy something through Mall of Toys, you won’t pay any extra, but I’ll get a small commission. This helps me keep things running. Thanks for your support!
Final Stage Report
Finalists
- Tahoor (6-0)
- originalzankye (5-1)
- Kei (5-1)
- henwooja1 (4-2)
Leading the pack of finalists was Tahoor, with a perfect record of 6-0! He hasn’t made the finals in too many tournaments before that I can remember, so it was cool to see him doing well!
originalzankye made the finals for the fourth straight standard Burst Format tournament.
I (Kei) made the finals for the ninth straight time in standard Burst Format tournaments across Toronto and Los Angeles.
And henwooja1 was appearing for the fourth time in the past five standard Burst Format tournaments in Toronto.
Semi-Finals: henwooja1 vs. originalzankye
The video tells the story here. henwooja1 just did not have an answer to Vanish Bahamut Tapered Zone’+Z-10.
Being able to watch the Vanish Fafnir Tapered Bearing-10 vs. Vanish Bahamut Tapered Zone’+Z-10 matchup multiple times was key information for me given my affinity for Bearing over the last few rounds of the first stage.
henwooja1’s Deck
- Vanish Fafnir Tapered Bearing-10
- Tempest Lucifer 2 Wheel Atomic 1S
- Rage Helios 2 (MCC) Drift 3A
originalzankye’s Deck
- Vanish Bahamut Tapered Zone’+Z-10
- Dynamite (F Gear) Ragnaruk Giga Never-3
- Rage Helios 2 (Metal Chip Core) Drift 3A
Semi-Finals: Kei vs. Tahoor
Normally, in the finals of an event I switch up my strategy and use a few combos that I didn’t during the first stage. This time, I felt so confident in my deck that I didn’t change a thing.
The only real variance in what I was using since my loss to Zankye in the first stage was deciding whether to use the Bearing Driver on Vanish or Dynamite and the Rise Driver on Vanish or Dynamite.
During the Beyblade Selection phase for this match, Zankye was offering advice to Tahoor and Justin TC was offering advice to me as he had been in the same block with Tahoor during the first stage (this was all declared to each player as per WBO rules).
Knowing that Zankye was helping Tahoor, Justin and I had the feeling that his deck would end up being somewhat similar to what Zankye’s had been in the first round of the finals.
They weren’t the exact same, but if you compare the two using the data above and below you’ll see what I mean.
After seeing his deck, I knew the only potentially bad matchup was my DBL.Gg.Rs-6 (F) versus his DBL.Nx.Zn’+Z-3 (F). And I knew that my Vanish combo stood a chance against each combo in his deck; especially because I believed I had a better Bearing Driver and could outlaunch him in the near mirror match against his Vanish combo.
I was correct and was able to win the match 5-0 with help from my Vanish and Dynamite combos via OS and KOs.
Kei’s Deck
- Vanish Bahamut Tapered Bearing-10
- Dynamite (F Gear) Belial Giga Rise-6
- Rage Helios 2 (Metal Chip Core) Quick’ 3A
Tahoor’s Deck
- Vanish Fafnir Tapered Bearing-2
- Dynamite (F Gear) Belial Nexus Zone’+Z-3
- Rage Helios 2 (Metal Chip Core) Destroy’ 3A
3rd Place Match: Tahoor vs. henwooja1
This was a close match with a lot of Rage and Tempest combos in use.
Towards the end of the match Tahoor’s Vanish combo won against henwooja1’s TLc2.Wh.Xt+ 1S combo with Xt+ in attack mode.
Then, Tahoor was able to ultimately pull through with a 5-3 victory using his MCC RHl2.Ds’ 3A to KO henwooja1’s Tempest combo.
Tahoor’s Deck
- Vanish Fafnir Tapered Bearing-2
- Dynamite (F Gear) Belial Nexus Zone’+Z-3
- Rage Helios 2 (Metal Chip Core) Destroy’ 3A
henwooja1’s Deck
- Vanish Fafnir Tapered Bearing-10
- Tempest Lucifer 2 Wheel Xtend+ 1S
- Rage Helios (Metal Chip Core) Drift 3A
Final Match: Kei vs. originalzankye
For the third straight standard Burst Format tournament, Zankye and I were meeting in the final match! We did it at BE A HIRO where Zankye was victorious, then Justin TC’s Birthday Bash where I was able to win.
He’s been one of the strongest performing players in recent history during our tournaments here in Toronto (as well as at Beyblade West in Los Angeles).
We both stuck with the same decks we had won with in the semi-finals for this match.
Assuming that would be the case here, I surmised that based on the information I was able to garner from his first match with henwooja1, he would believe that he could defeat Bearing with Zone’+Z in same-spin. But I had confidence that I could overcome it due to the strength of my launch and Bearing Driver.
I was able to take a 2-0 lead thanks to this as we both chose to open the match with our Vanish Blade combos.
From here I don’t recall the exact sequence of events, but he was able to tie things up at 2-2.
After he realized he would not be able to win the same-spin matchup against my Vanish combo, the match then shifted towards many, many opposite spin matchups. There were a lot of ties between MCC RHl2.Dr 3A and my DBL.Gg.Rs-6 (F).
And to my surprise, there ended up being some ties between my VBH.Tp.Br-10 and his DRG.Gg.Nv-3 (F). When preparing for this match, I had assumed I would win that matchup, so it was pretty shocking to see that happen. The Never Driver is definitely something I will want to test more! I had tested it a bit in preparation for this tournament, but admittedly it represented a slight blindspot in my knowledge.
There was also one round where I used MCC RHl2.Qc’ 3A and self-KOed against his MCC RHl2.Dr 3A, which is where he earned his third and final point.
Then, I believe he made a mistake and switched into his Vanish combo despite having lost to mine twice early on in the match. I took advantage of this and won the next point by repeating my earlier success and winning by outspin with VBH.Tp.Br-10 versus his VBH.Tp.Zn’+Z-10.
Ultimately, I was able to win the match by a score of 5-3 to win the tournament!
Kei’s Deck
- Vanish Bahamut Tapered Bearing-10
- Dynamite (F Gear) Belial Giga Rise-6
- Rage Helios 2 (Metal Chip Core) Quick’ 3A
originalzankye’s Deck
- Vanish Bahamut Tapered Zone’+Z-10
- Dynamite (F Gear) Ragnaruk Giga Never-3
- Rage Helios 2 (Metal Chip Core) Drift 3A
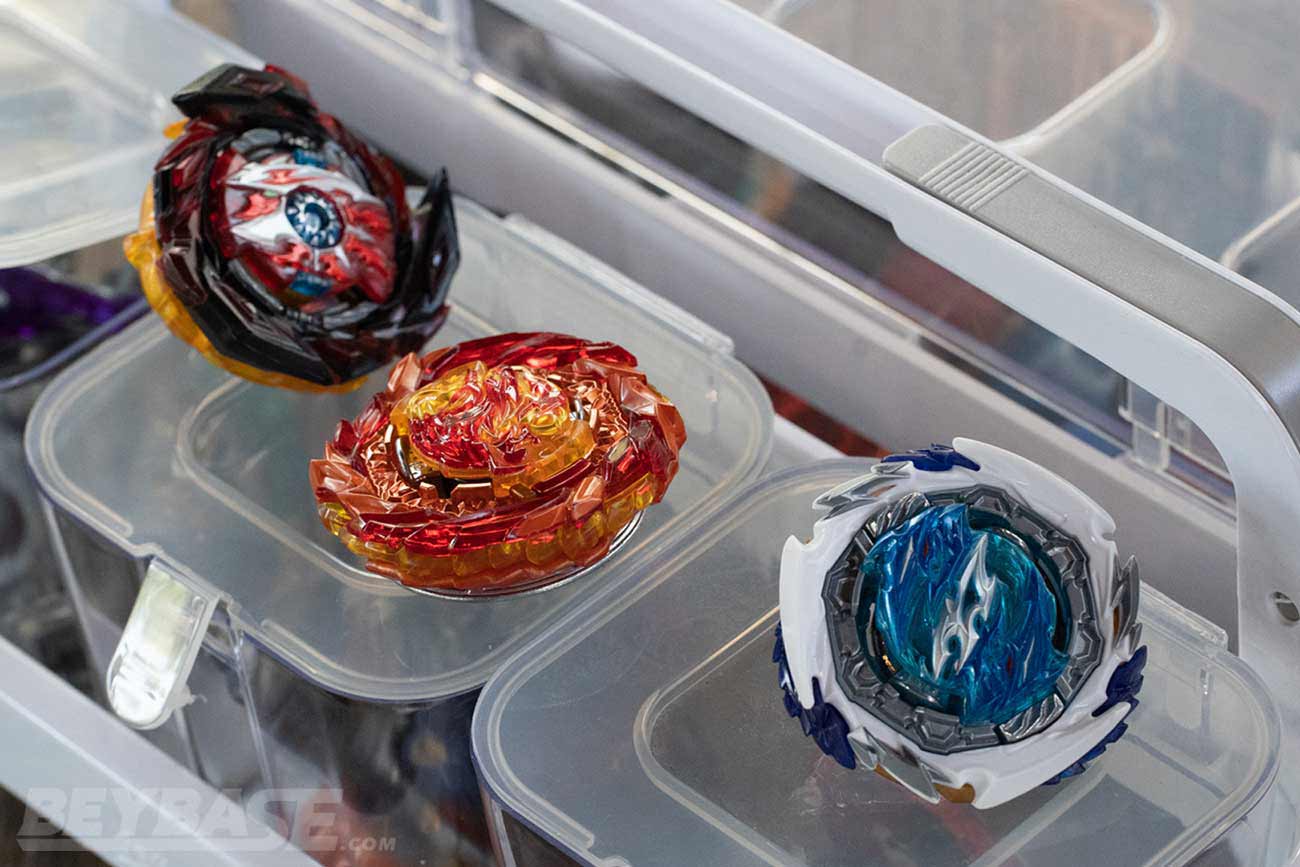
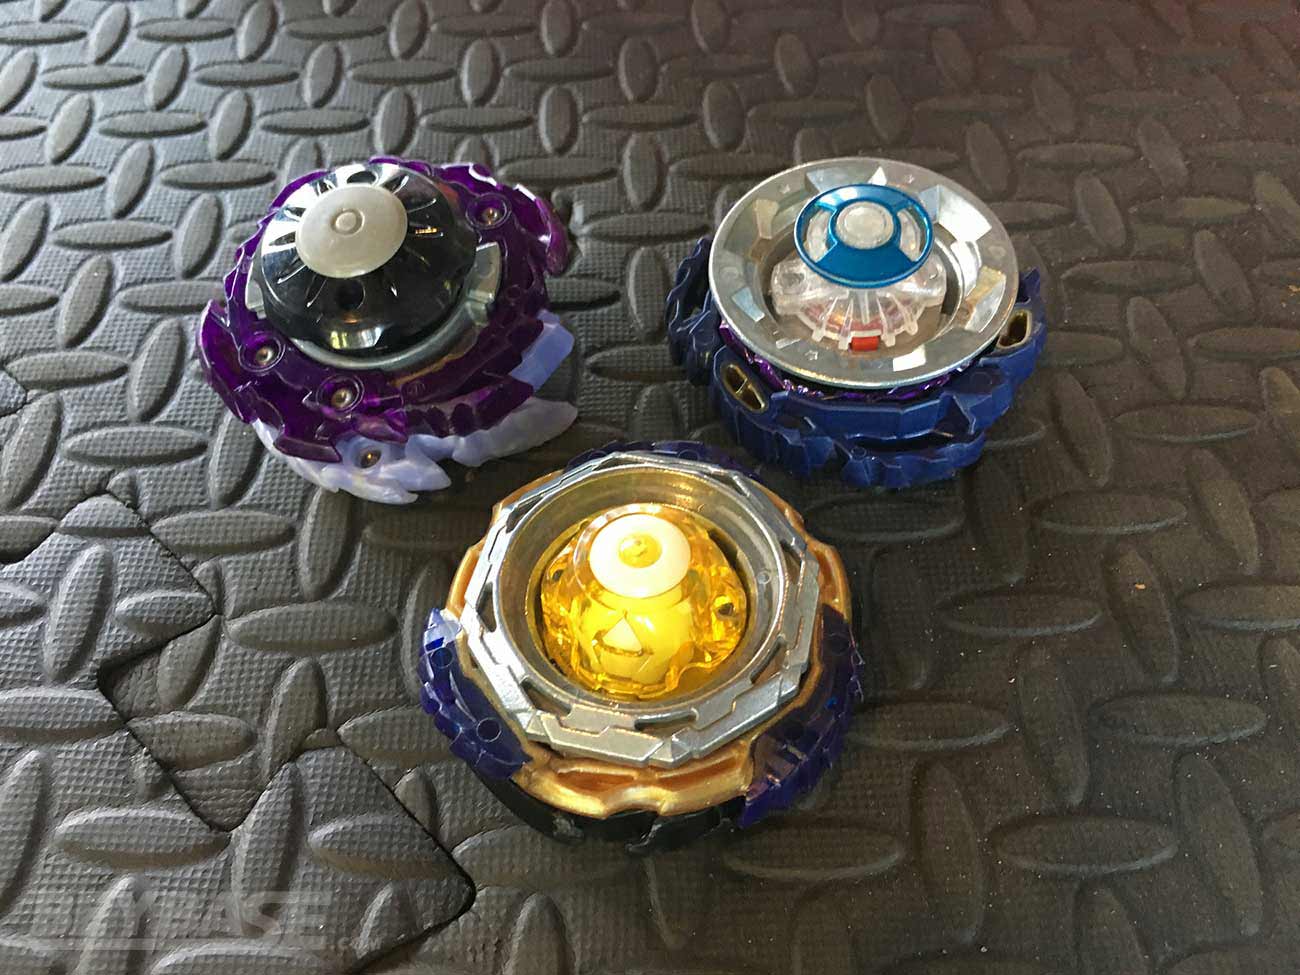
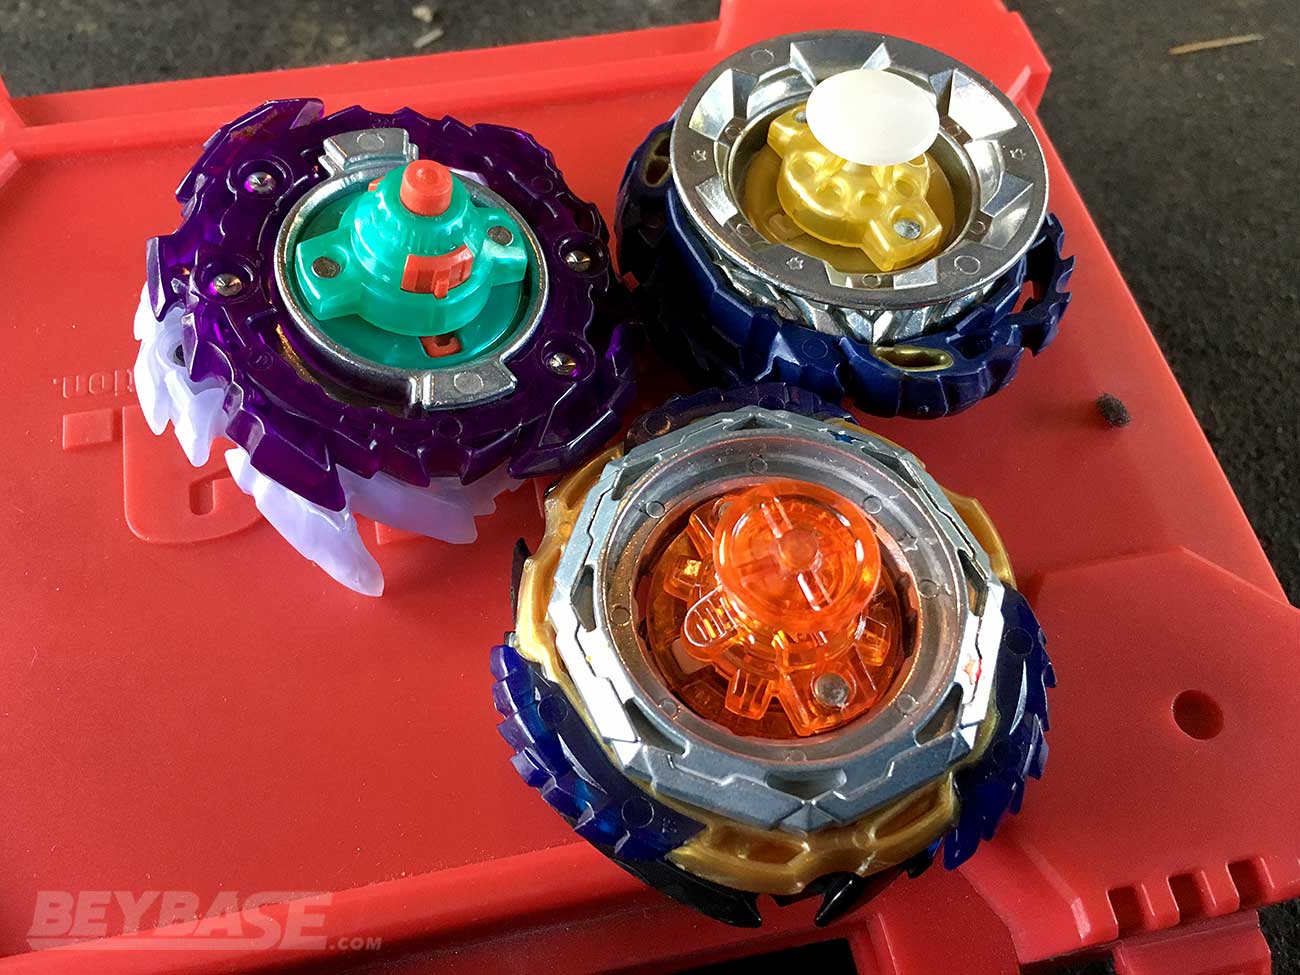
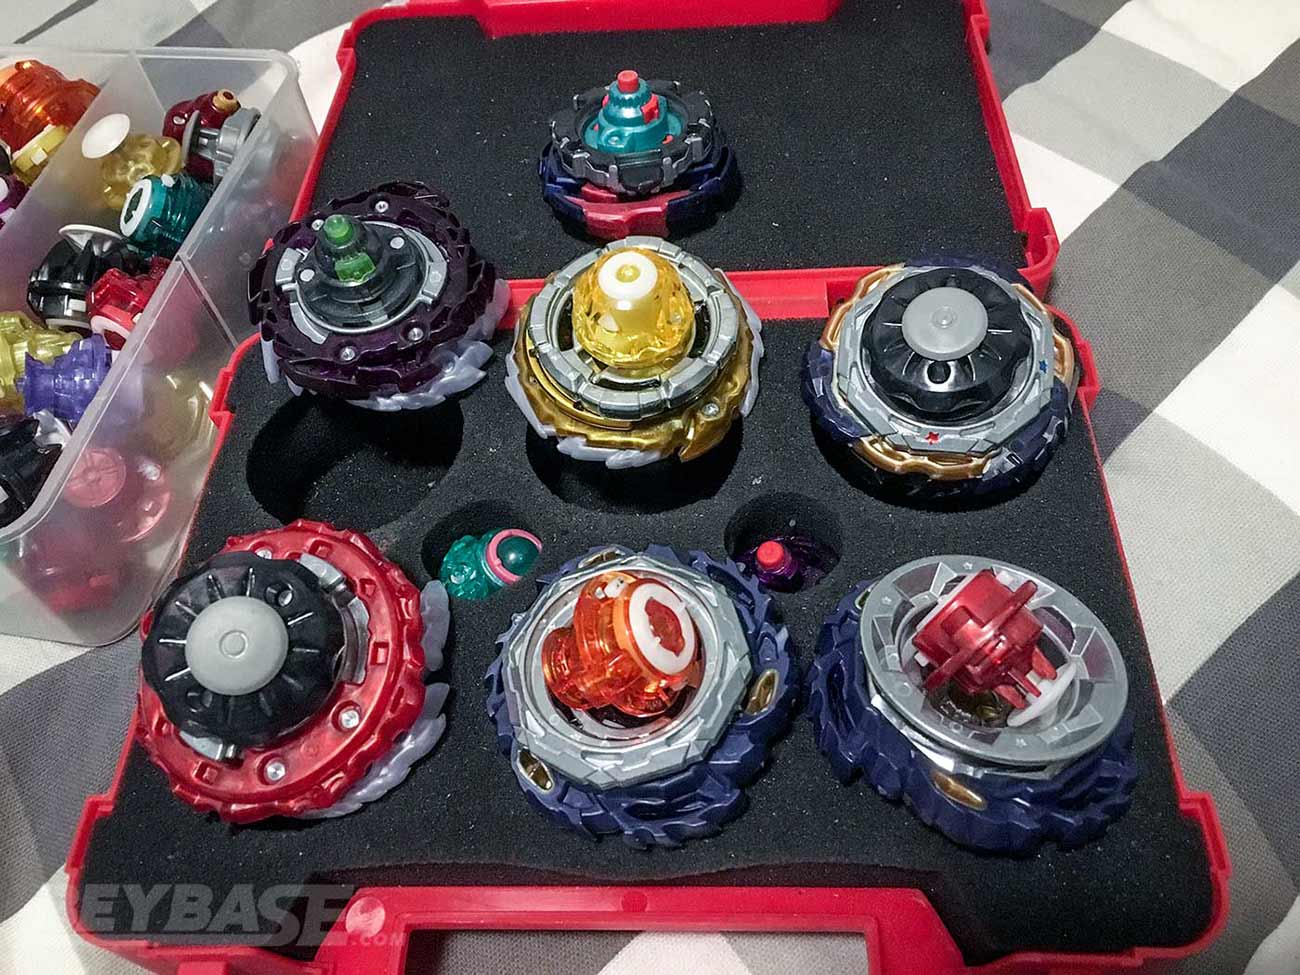
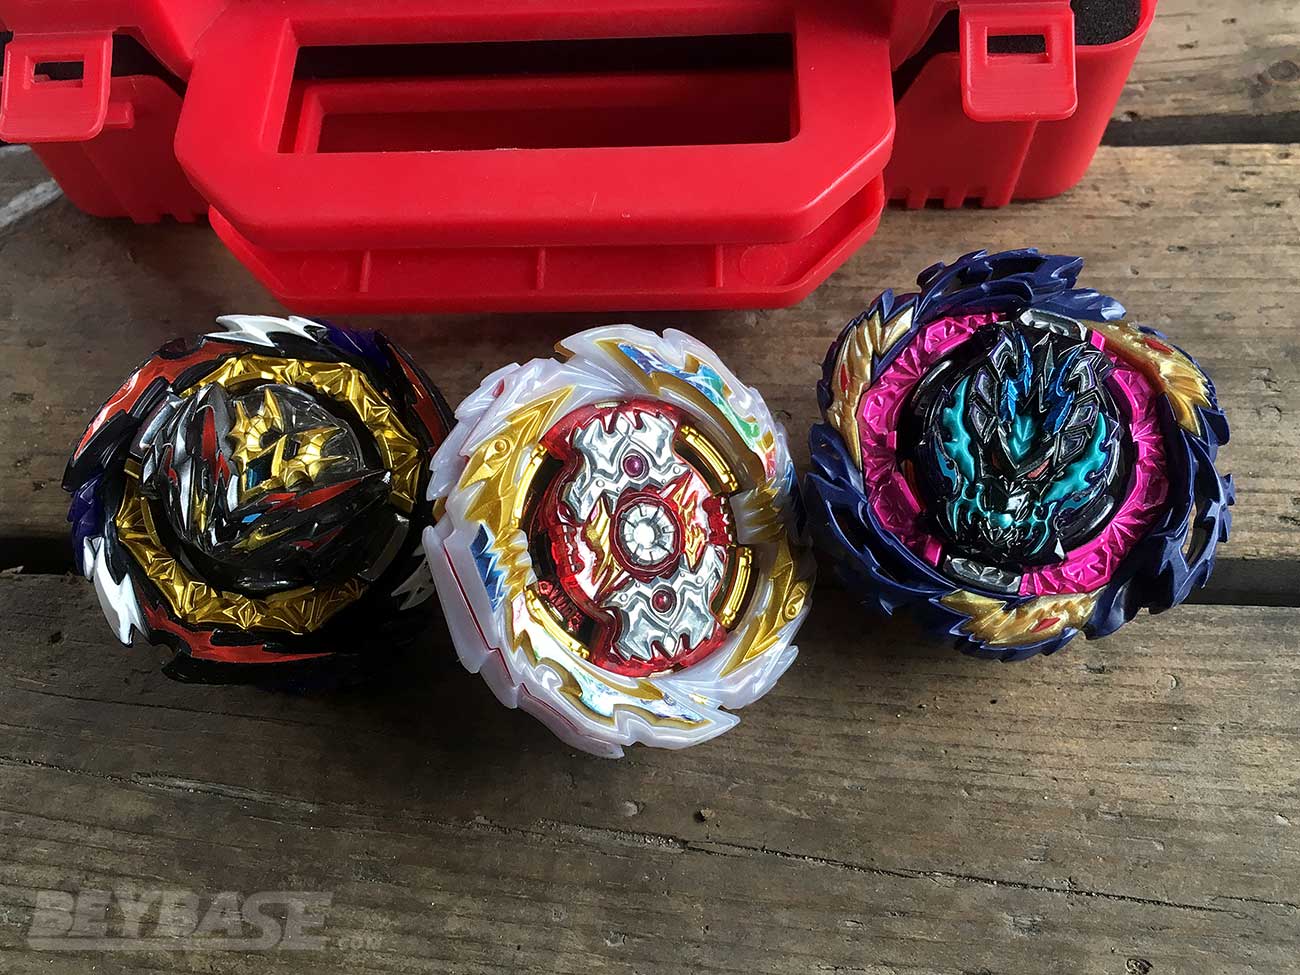
Tournament Winning Combinations (Best Beyblade Burst Dynamite Battle Combos)

Of the 18 winning combos at HIGH PARK THROWDOWN 12, 14 used Beyblade Burst Dynamite Battle parts.
At this moment, Beyblades like these represent some of the best Beyblade Burst Dynamite Battle combos for tournaments.
If you are looking for somewhere to start in building a competitive collection right now, look no further:
1st: Kei
- Dynamite (F Gear) Belial Tapered Drift-6
- Dynamite (F Gear) Belial Giga Rise-6
- Dynamite (F Gear) Belial Tapered Bearing-6
- Vanish Bahamut Giga Rise-10
- Vanish Bahamut Tapered Bearing-10
- Tempest Solomon (Metal Chip Core) Wheel Never 1S
- Rage Helios 2 (Metal Chip Core) Quick’ 3A
2nd: originalzankye
- Dynamite (F Gear) Ragnaruk Giga Never-3
- Vanish Bahamut Tapered Zone’+Z-10
- Vanish Bahamut Tapered Drift-10
- Rage Helios 2 (Metal Chip Core) Jolt’ 3A
3rd: Tahoor
- Dynamite (F Gear) Belial Nexus Zone’+Z-3
- Dynamite (F Gear) Belial Nexus Bearing-3
- Vanish Fafnir Tapered Bearing-2
- Vanish Fafnir Tapered Zone’+Z-2
- Rage Helios 2 (Metal Chip Core) Destroy’ 3A
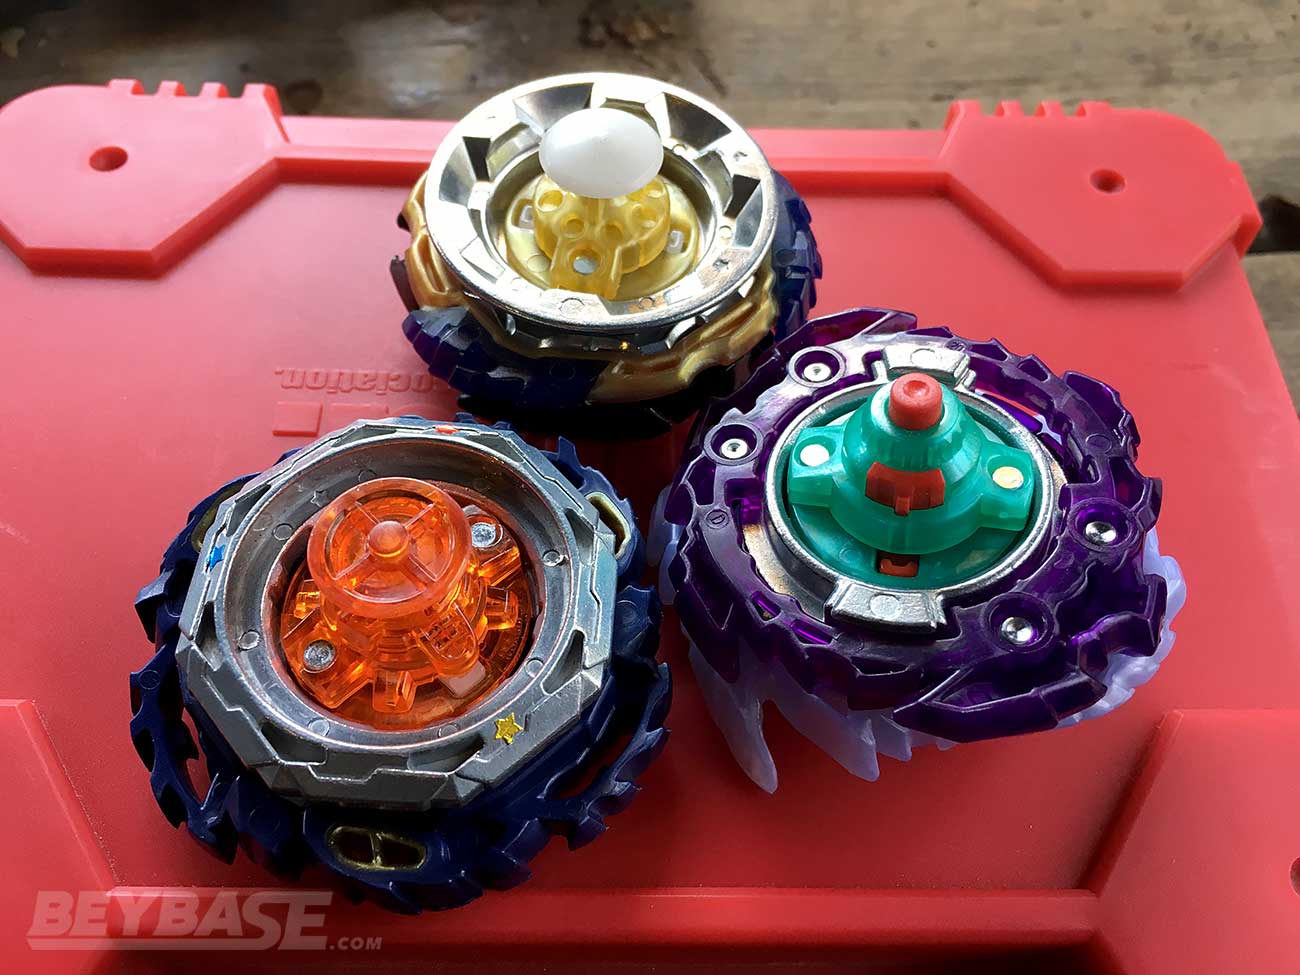
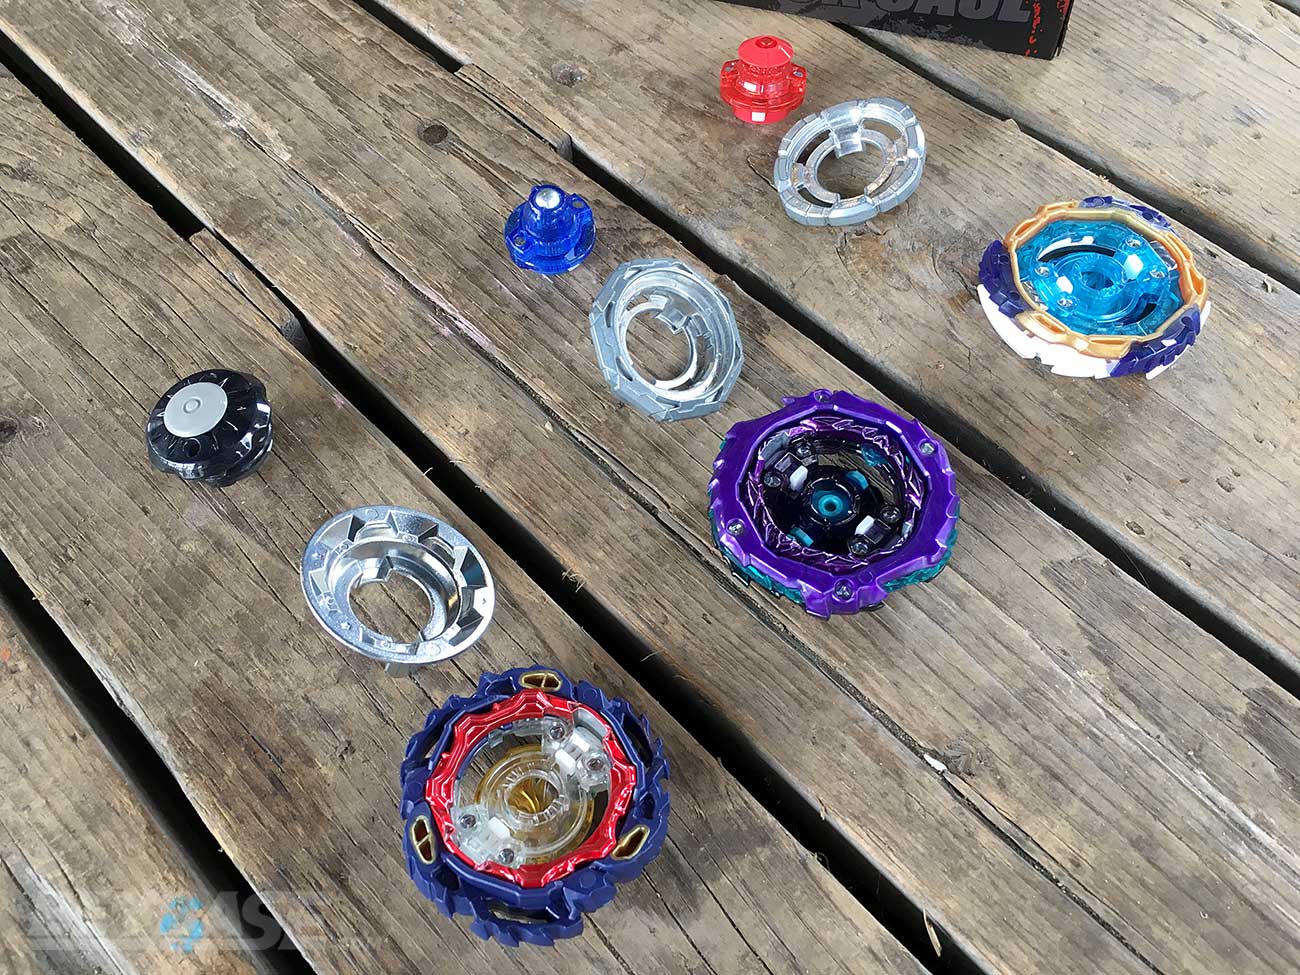
How to Build the Winning Beyblade Combinations
Here’s what you need to build some of the strongest winning Beyblade combinations from HIGH PARK THROWDOWN 12 (Burst Format):
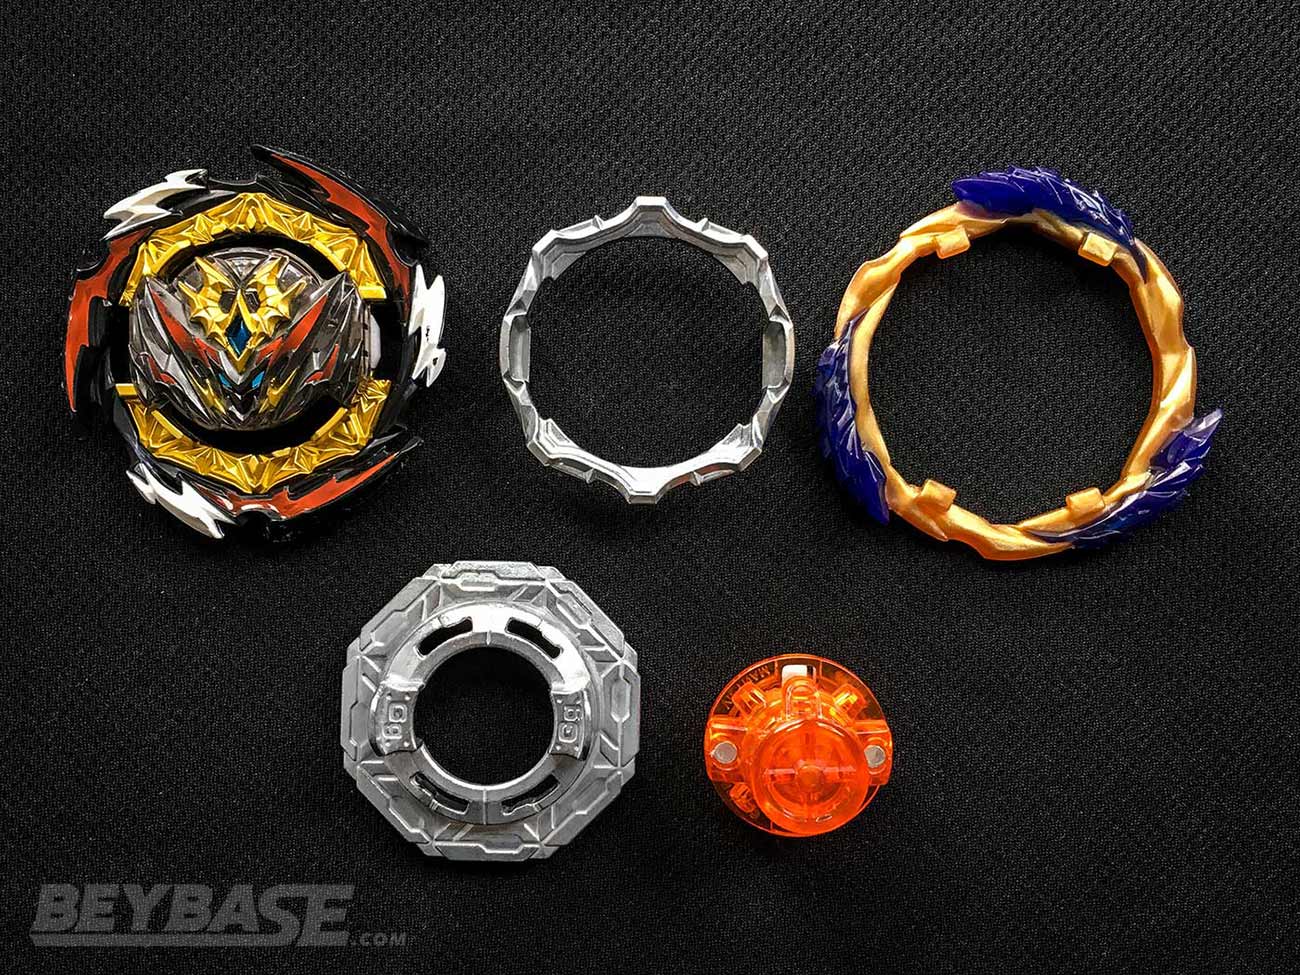
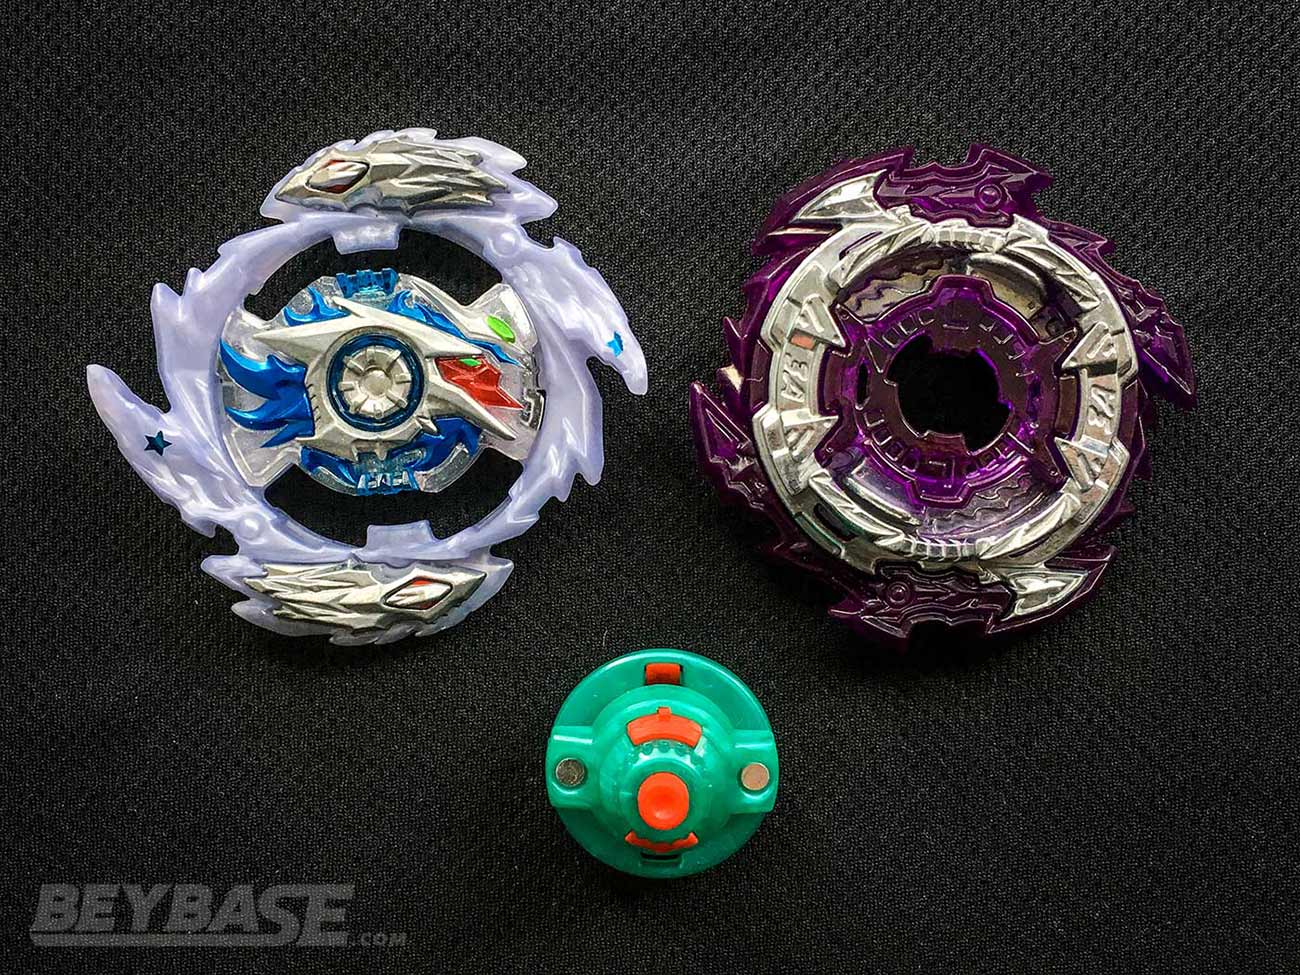
Vanish Bahamut Tapered Zone’+Z-10
-
Vanish Blade & Tapered Disk:
-
Bahamut Dynamite Core & 10 Armor:
- B-186 Random Booster Vol. 26 – 01: Roar Bahamut Giga Moment-10
-
Zone’+Z Driver:
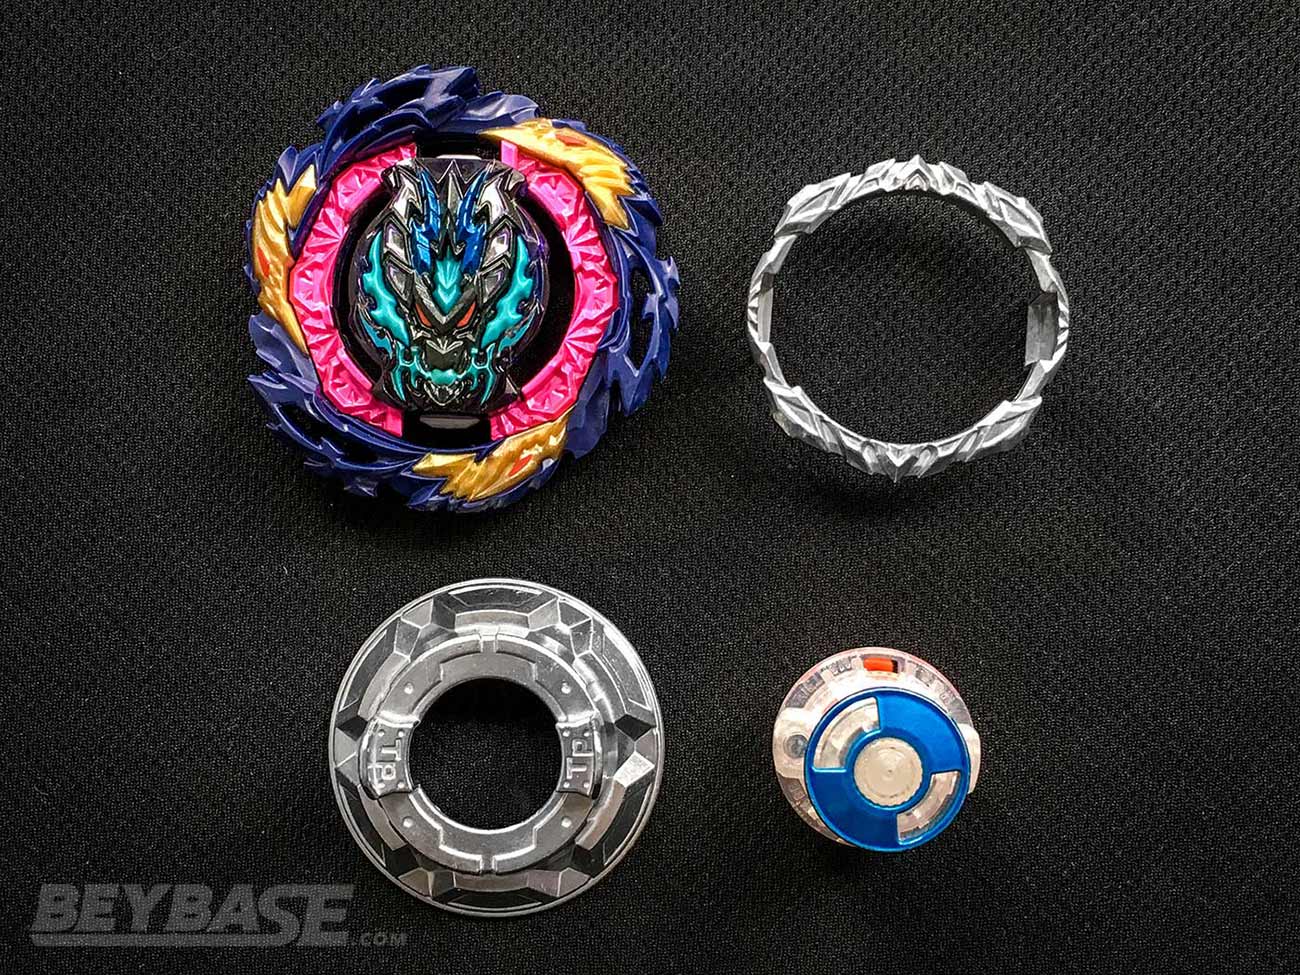
Dynamite (F Gear) Belial Giga Rise-6
-
Dynamite Blade:
- B-180 Booster Dynamite Belial.Nx.Vn-2
- B-182 Beyblade Dynamite Battle Entry Set
- B-186 Random Booster Vol. 26 – 04: Dynamite Ragnaruk Nexus Just-6
-
F Gear:
-
Giga Disk & 6 Armor:
- B-181 Random Booster Vol. 25 – 01: Cyclone Ragnaruk Giga Never-6
-
Rise Driver:
Rage Helios 2 (Metal Chip Core) Quick’ 3A
-
Rage Ring & 3A Chassis:
-
Helios 2 Sparking Chip & Metal Chip Core:
-
Quick’ Driver:
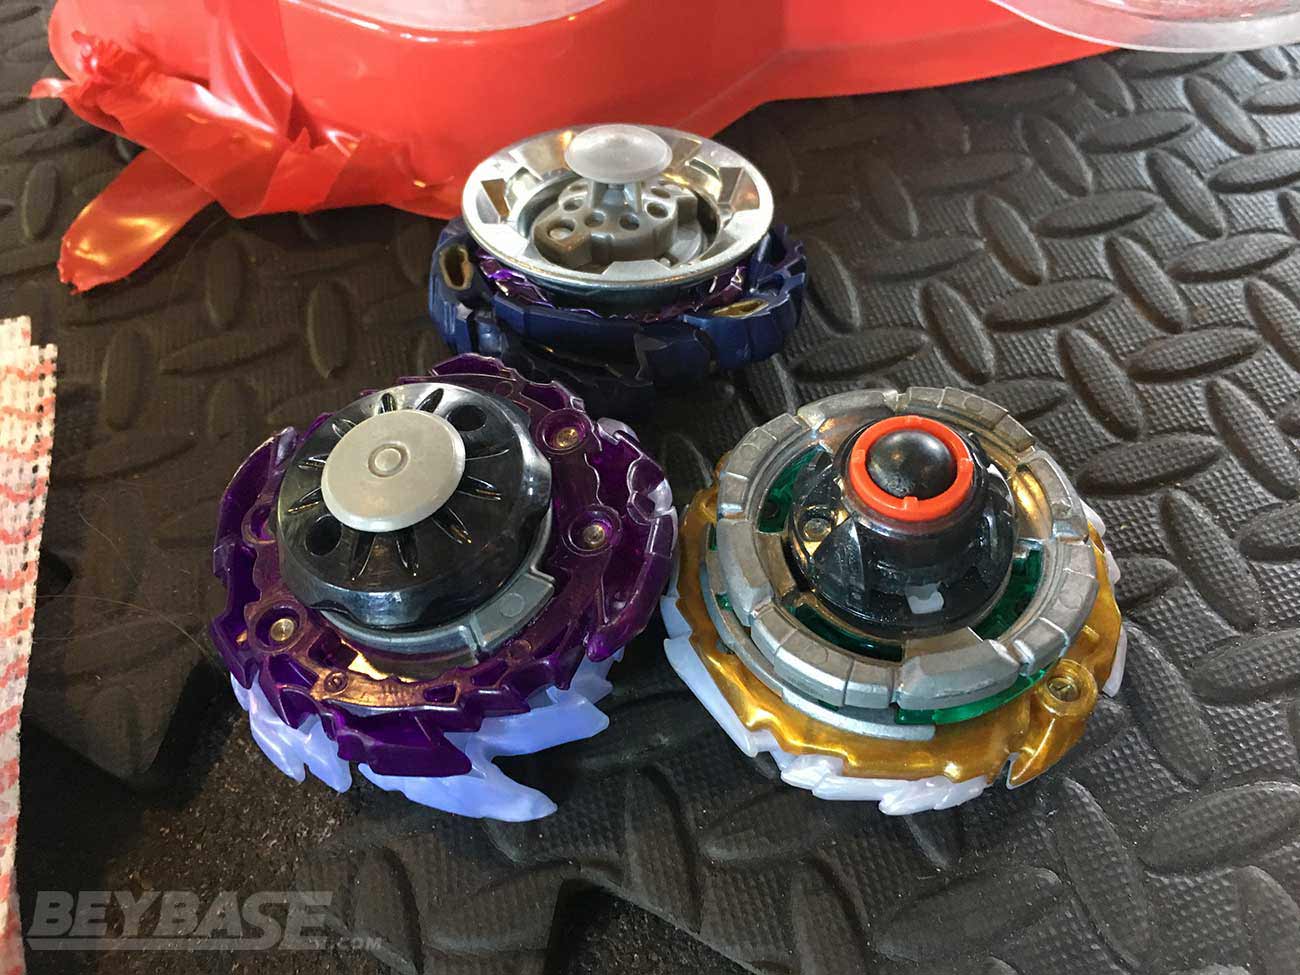
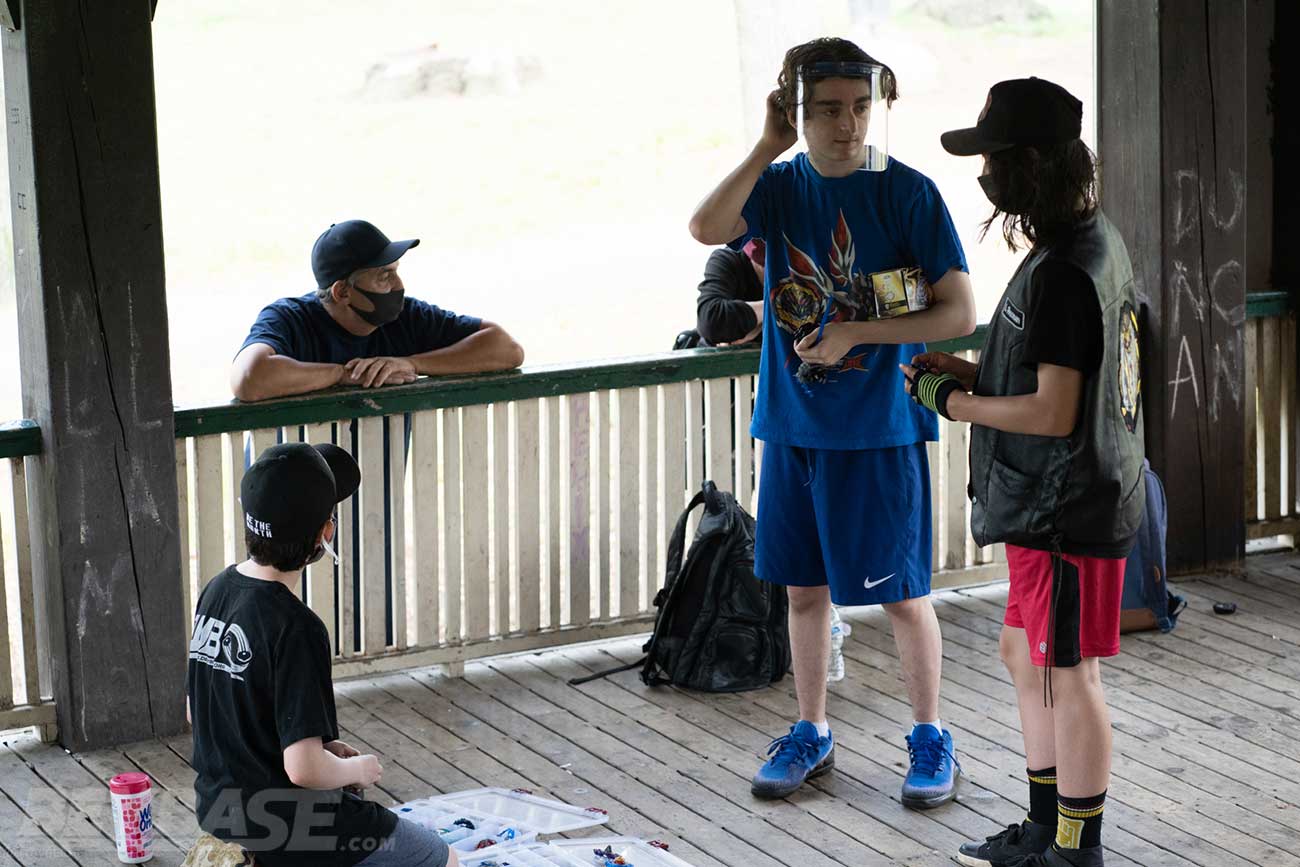
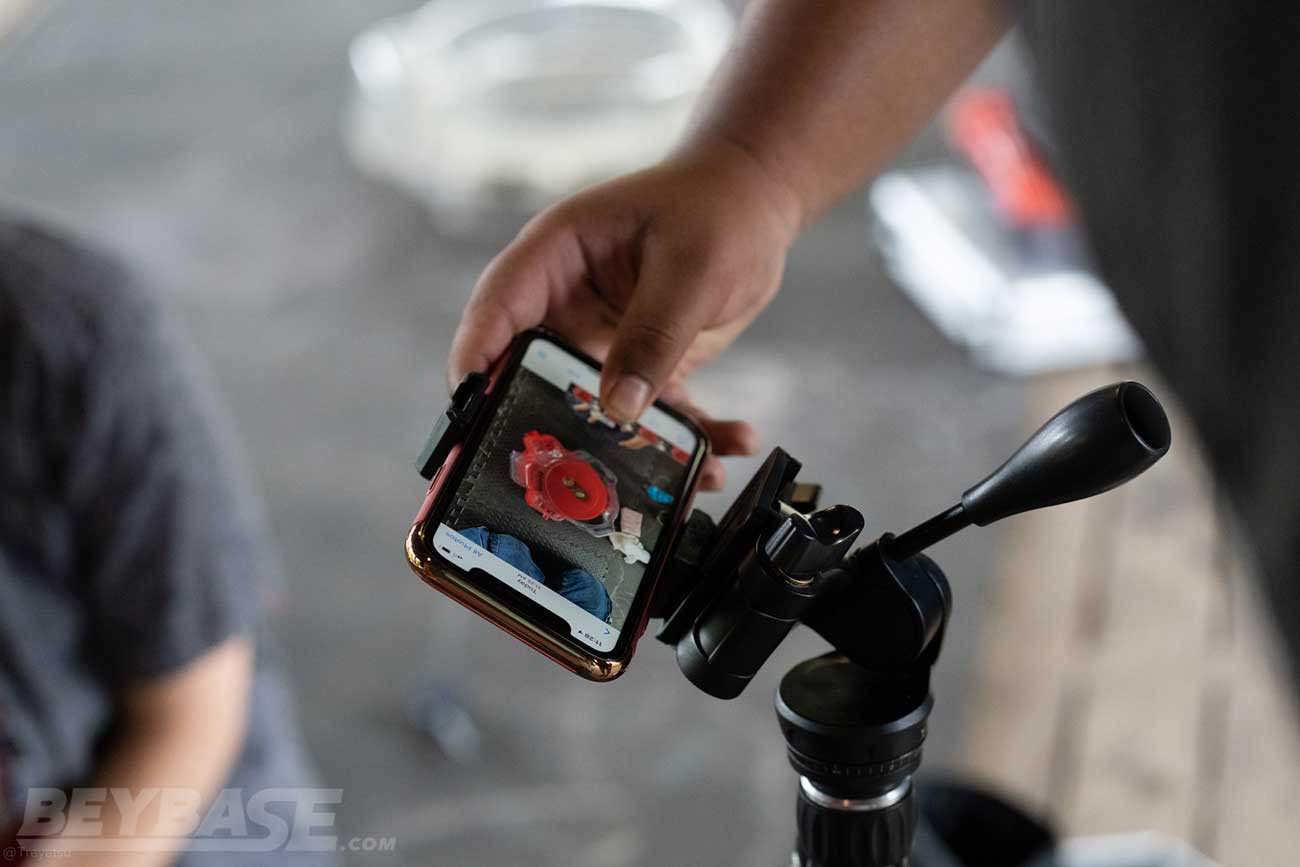
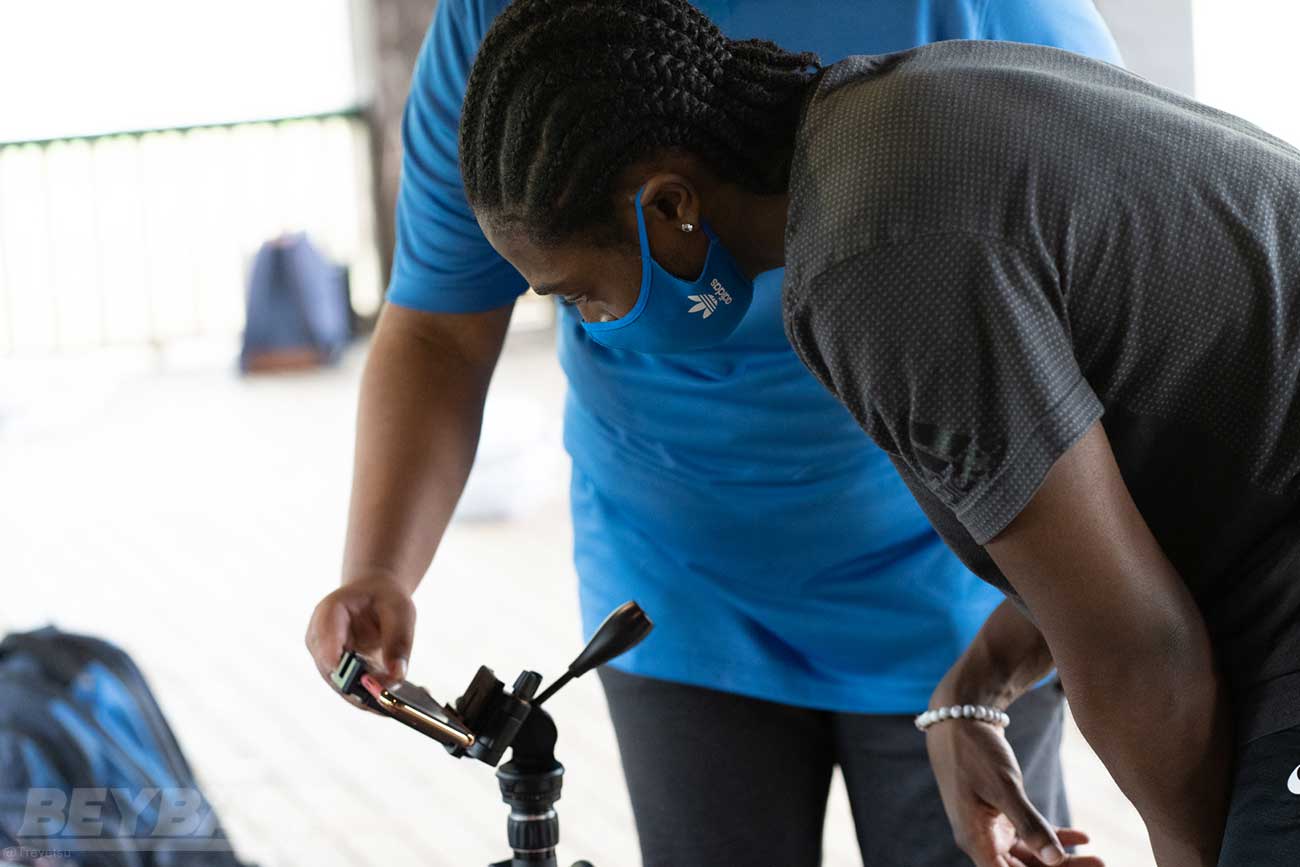
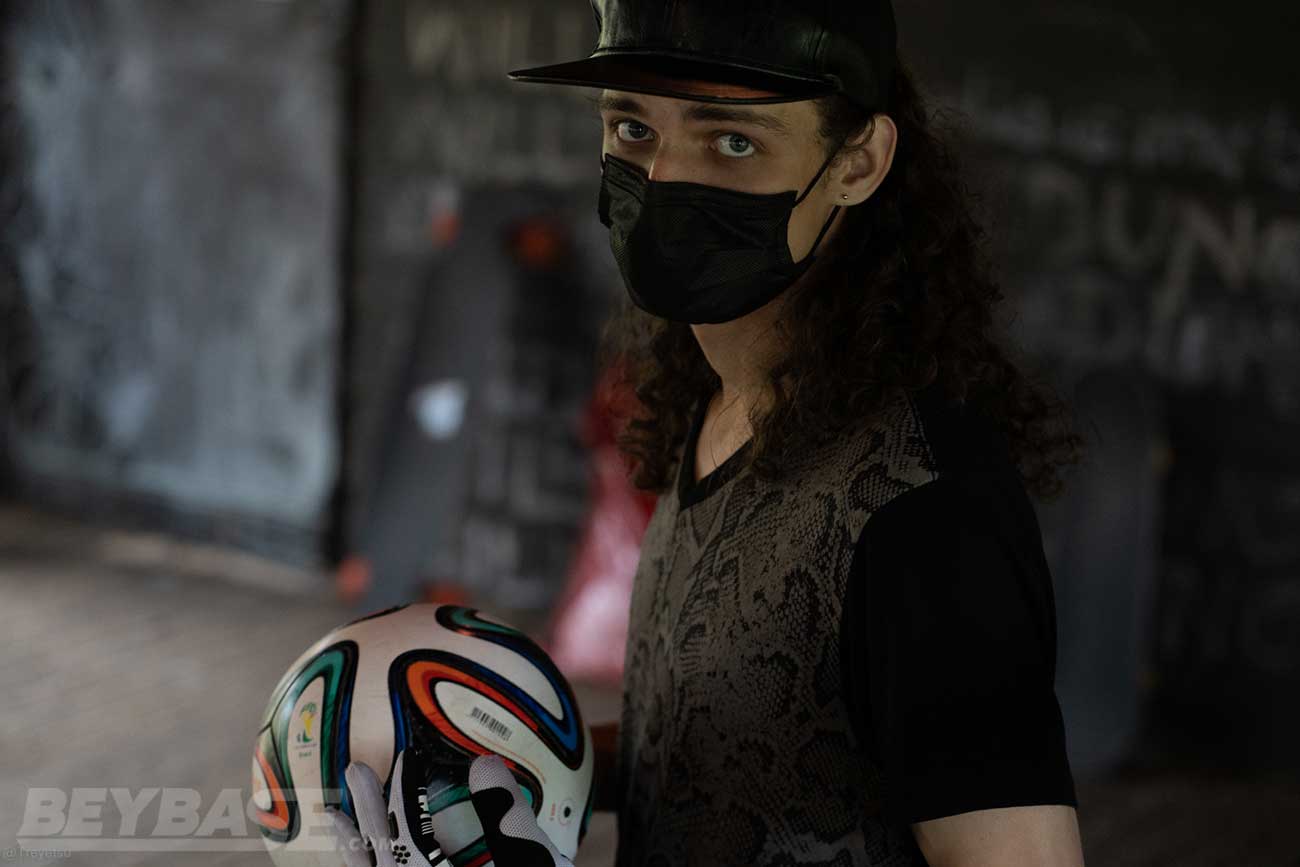
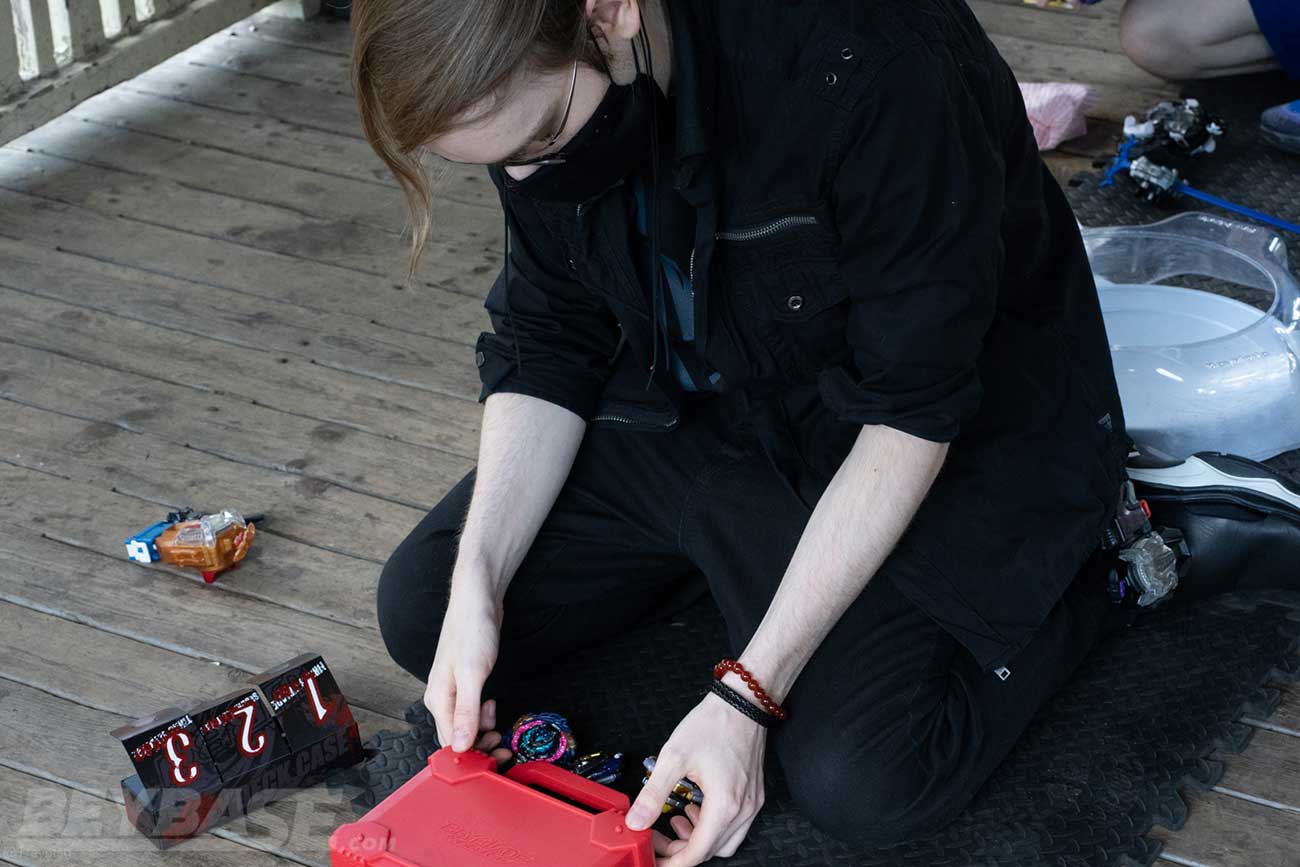
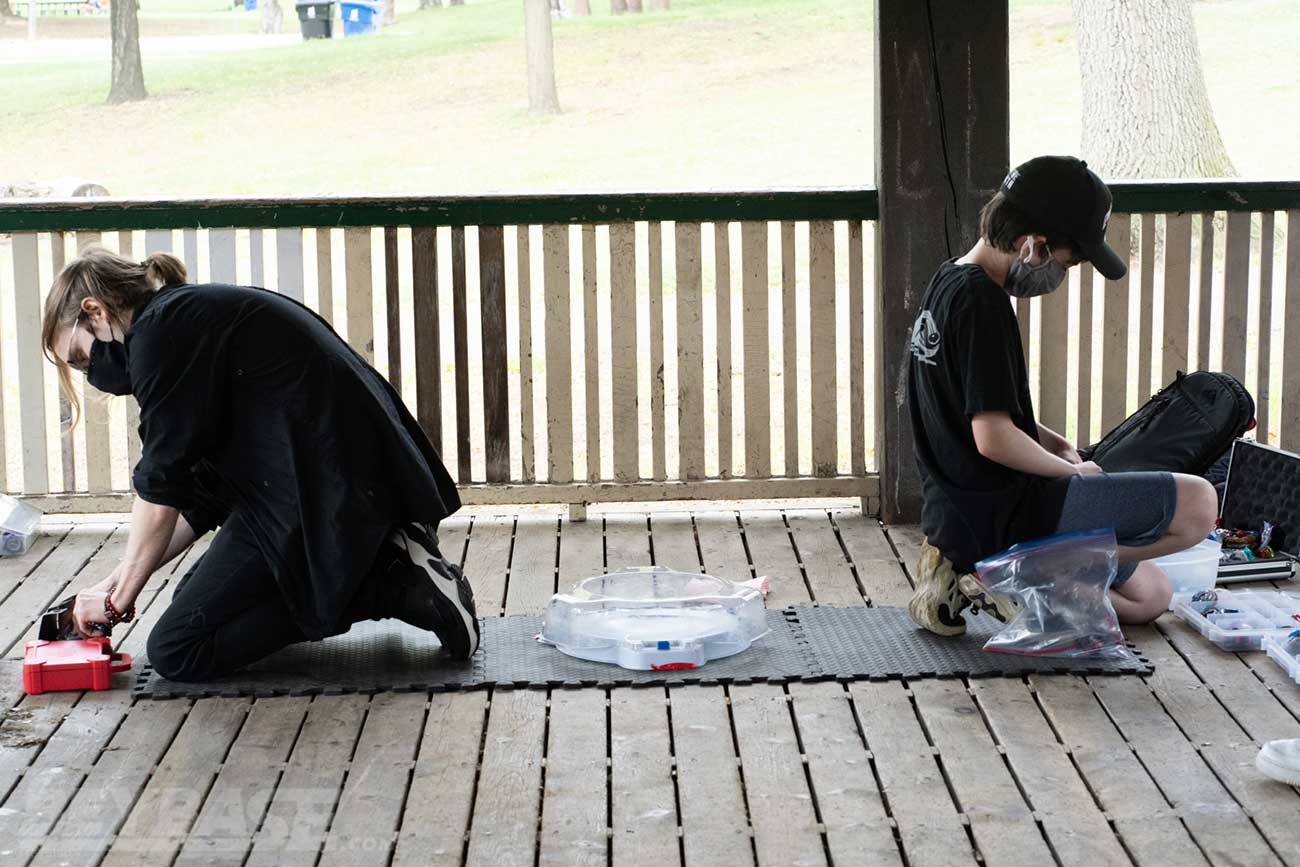
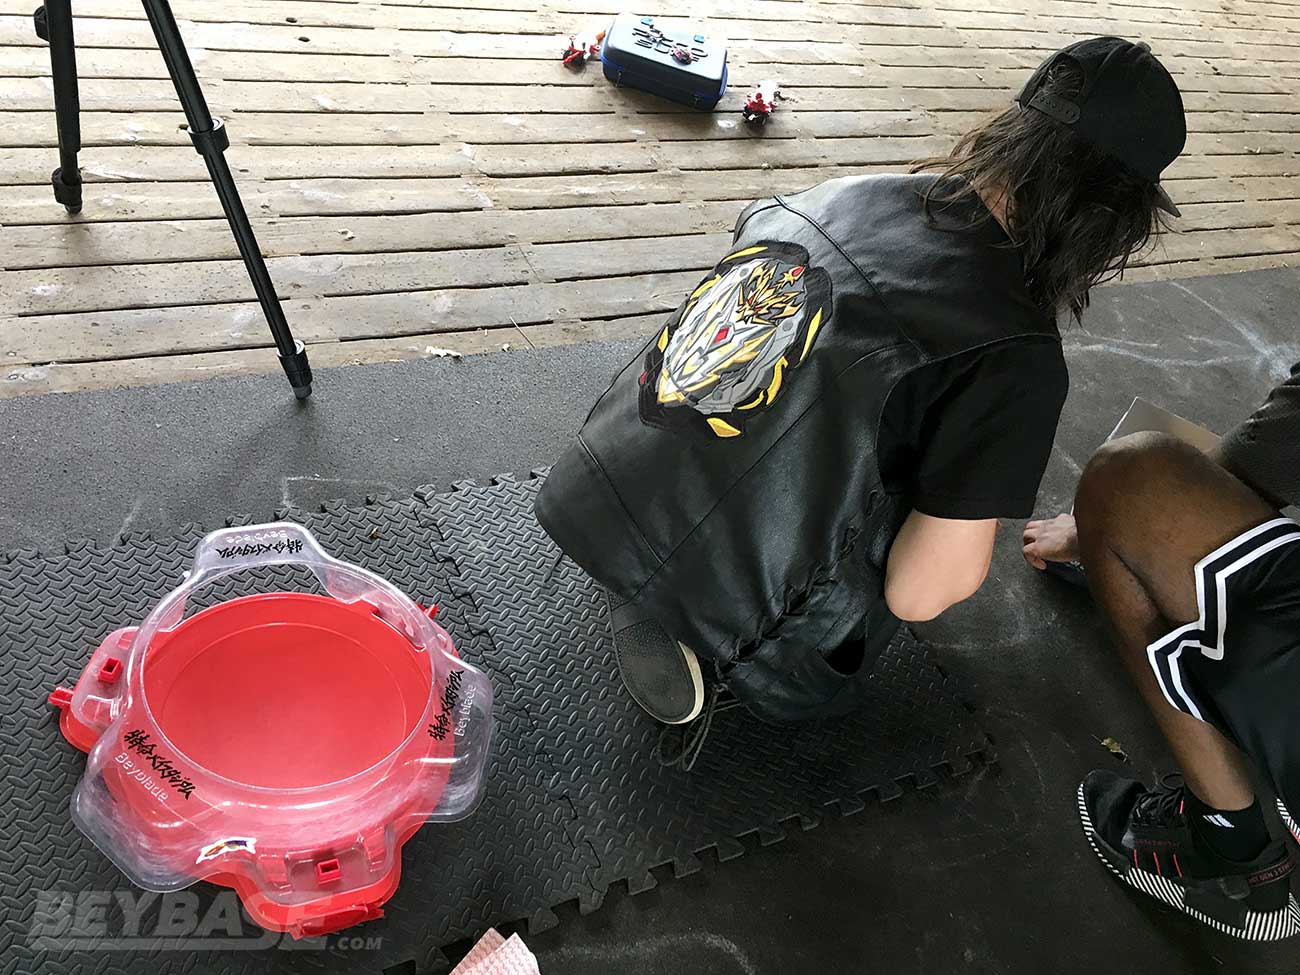
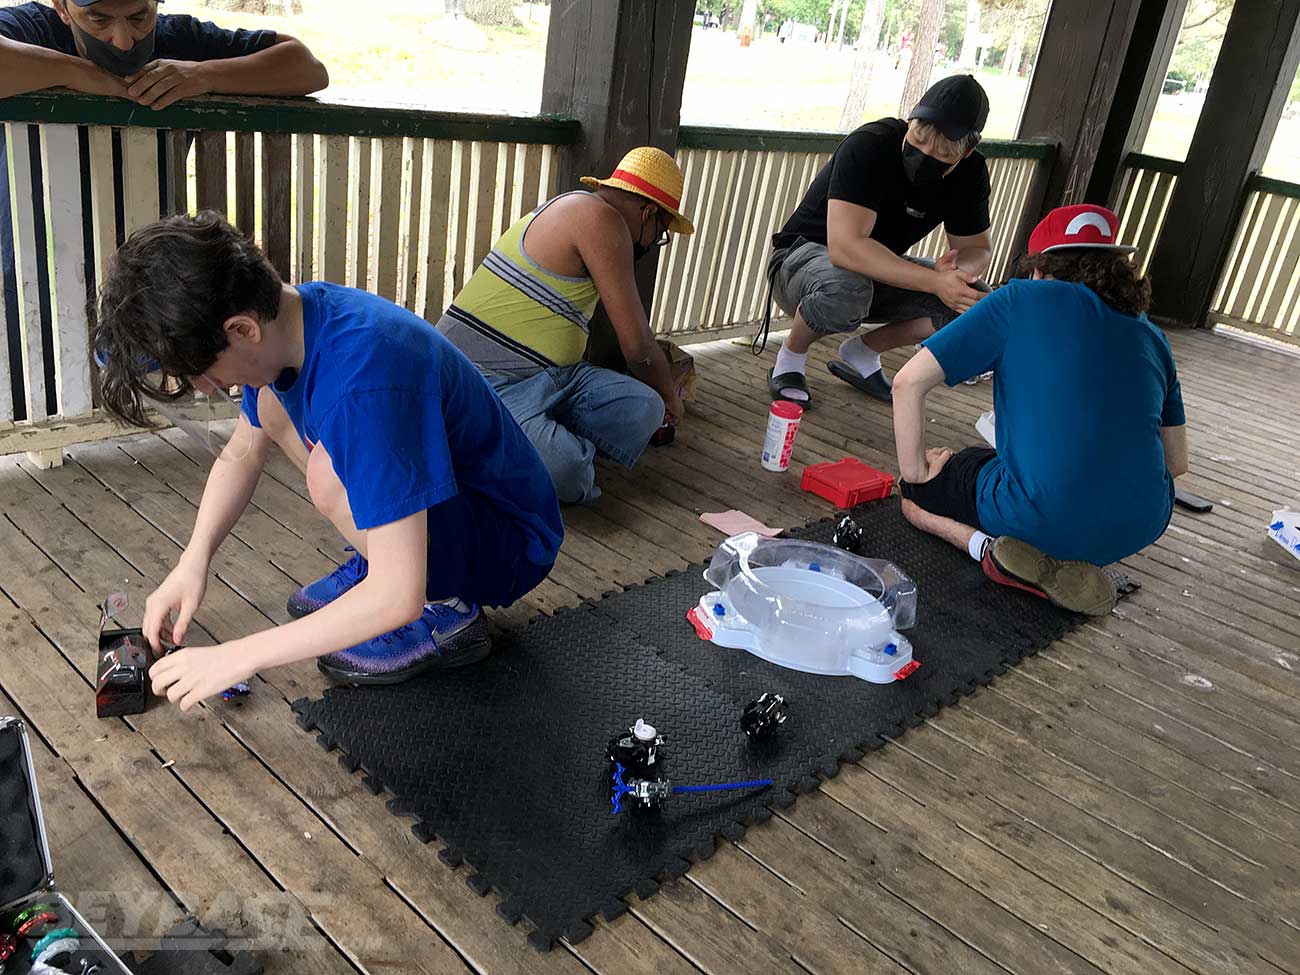
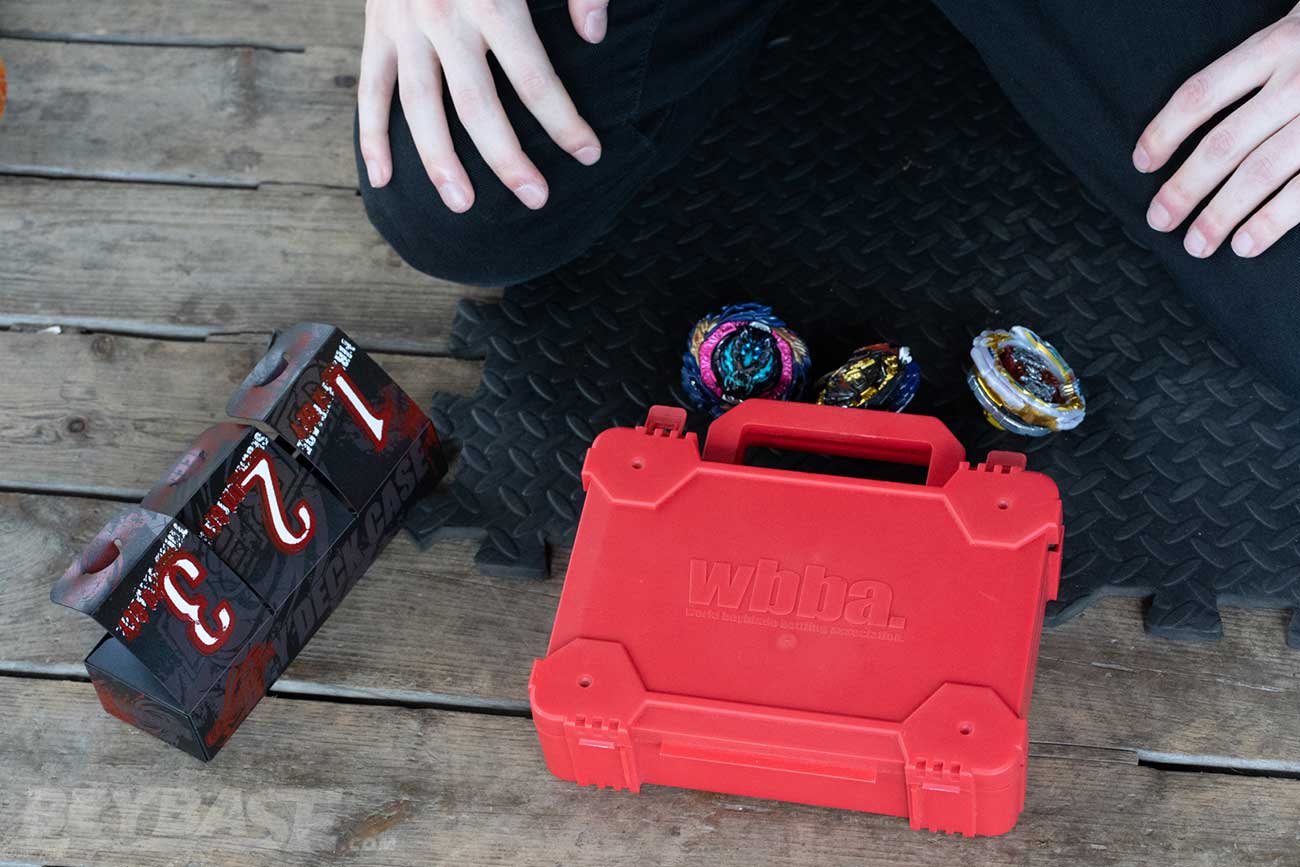
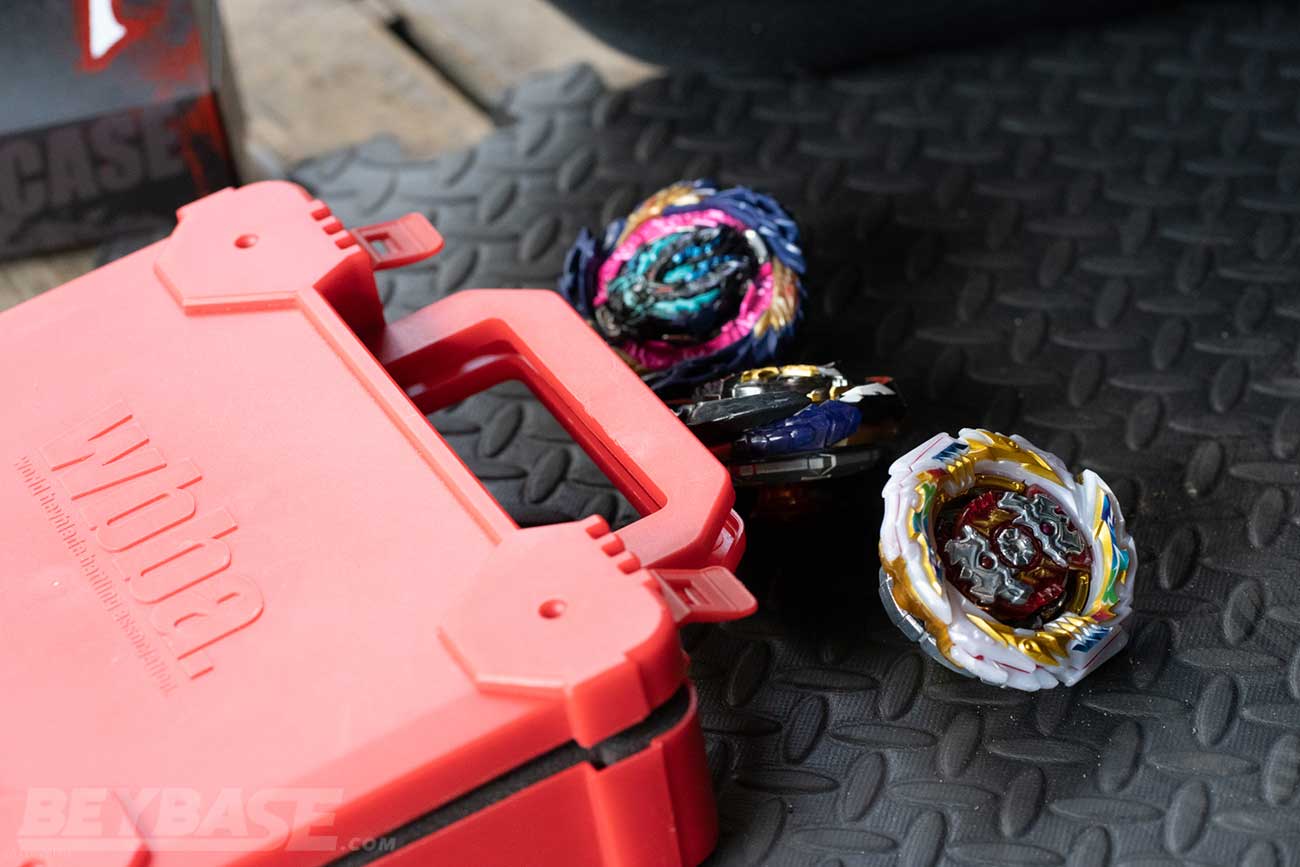
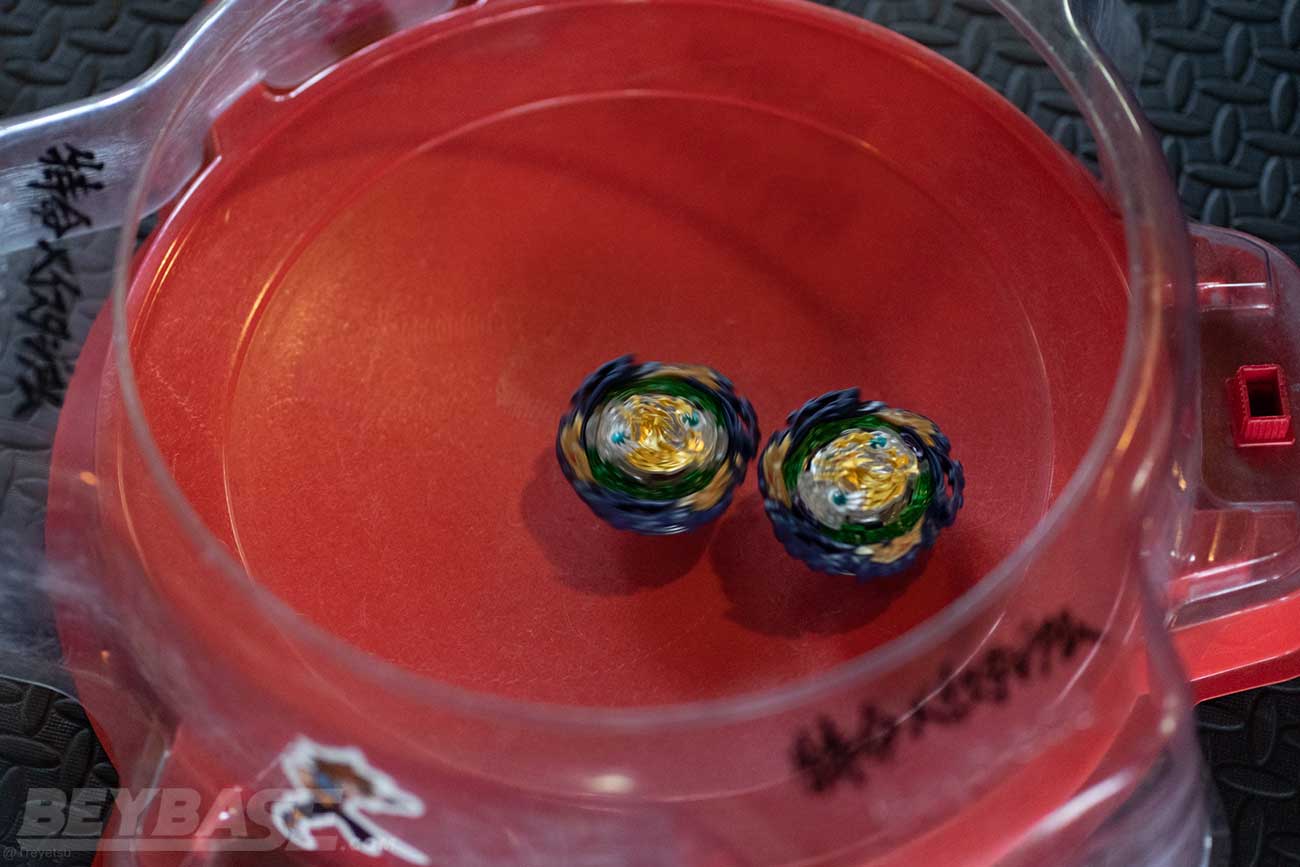
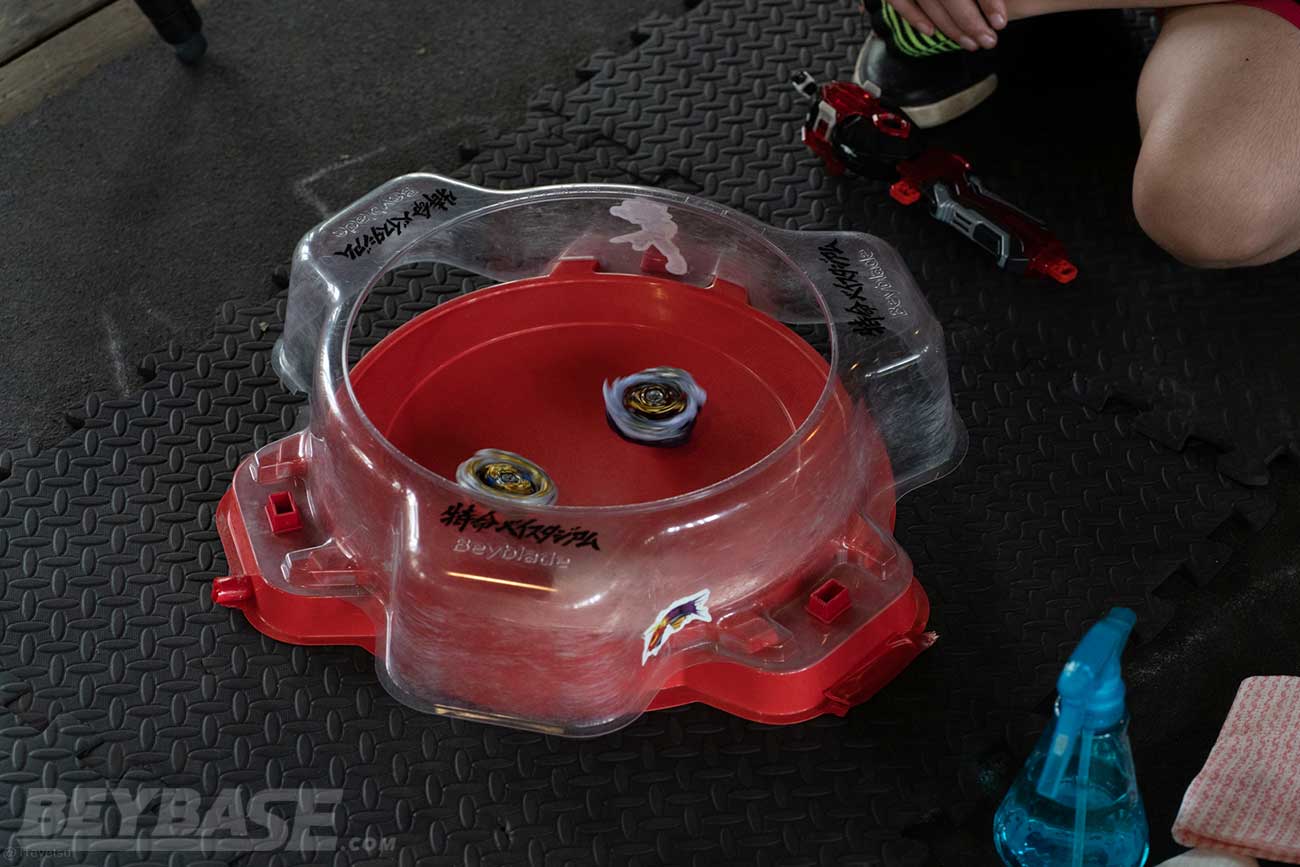
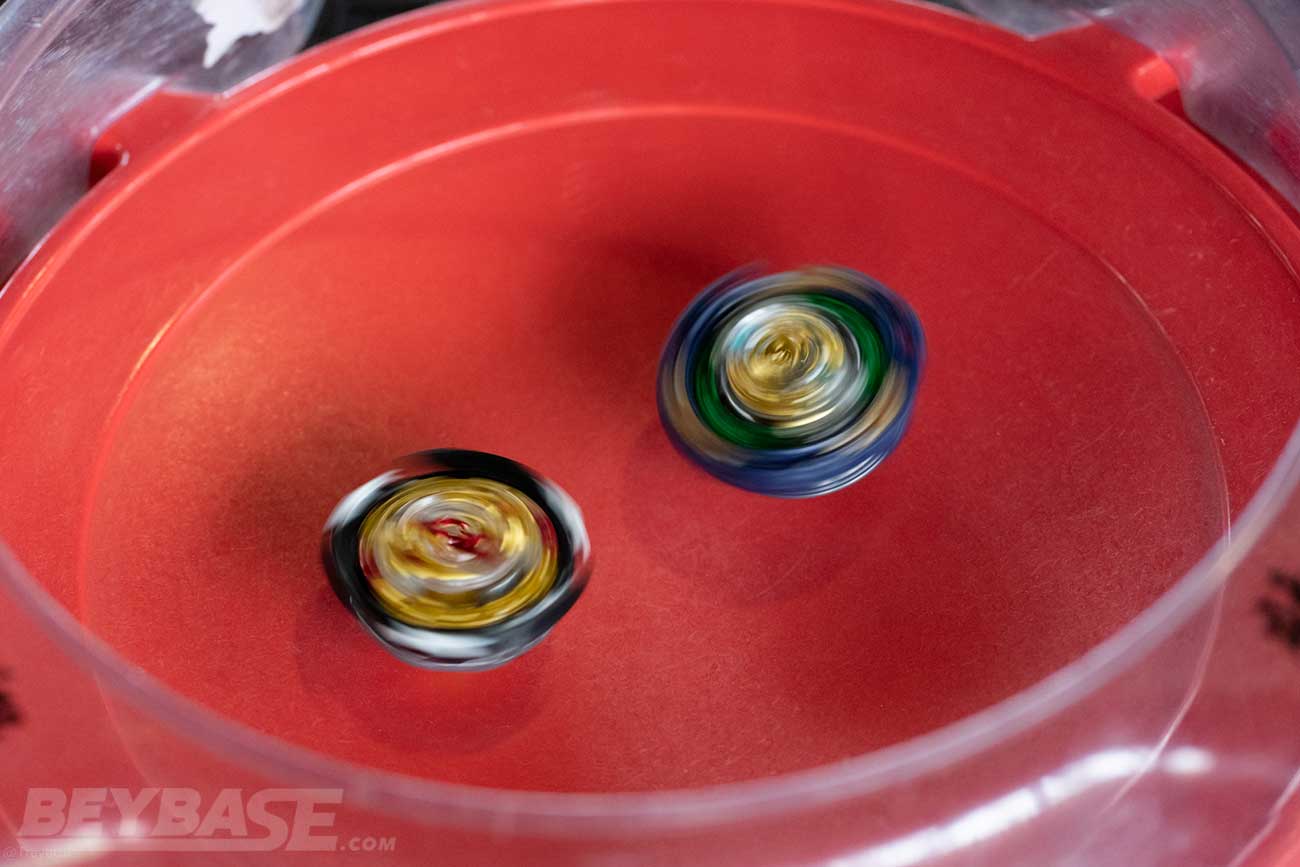
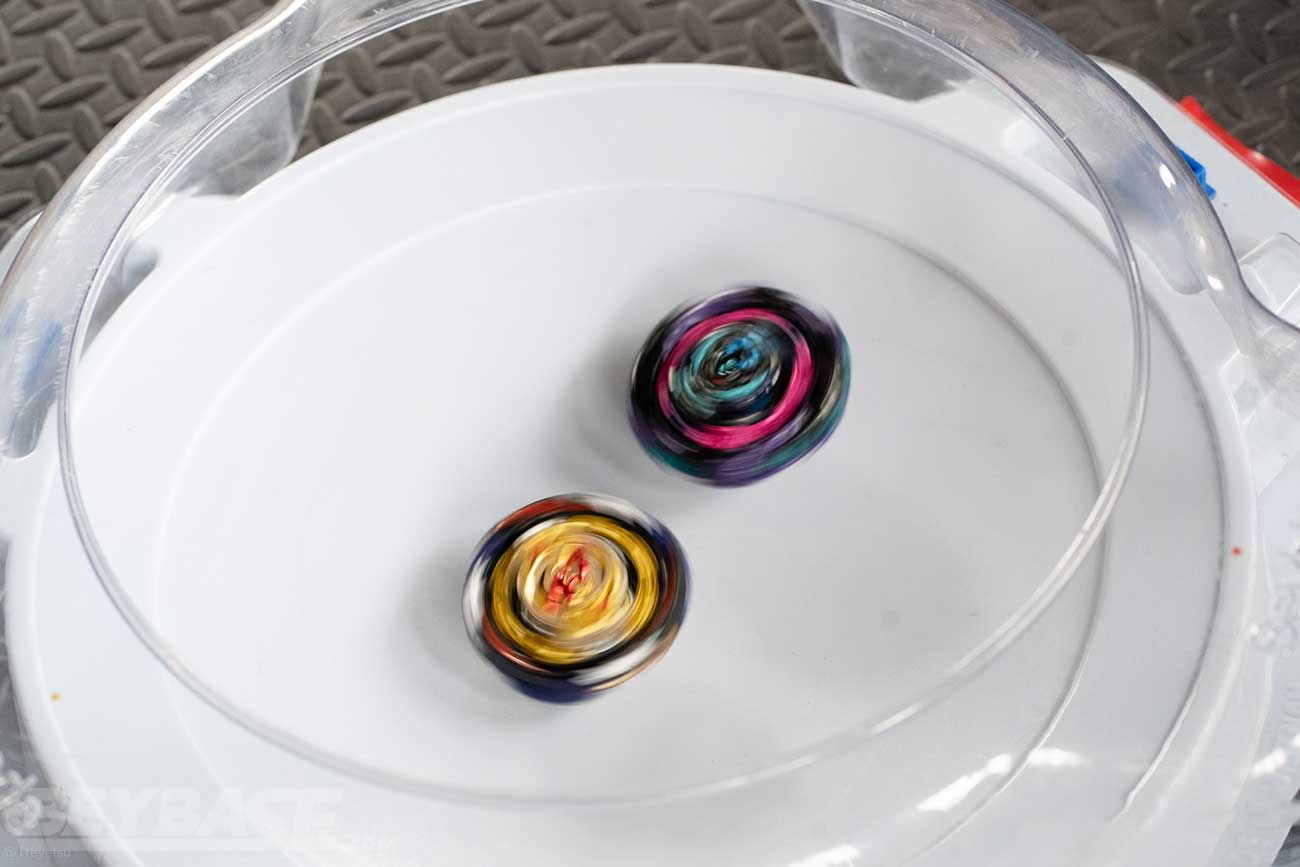
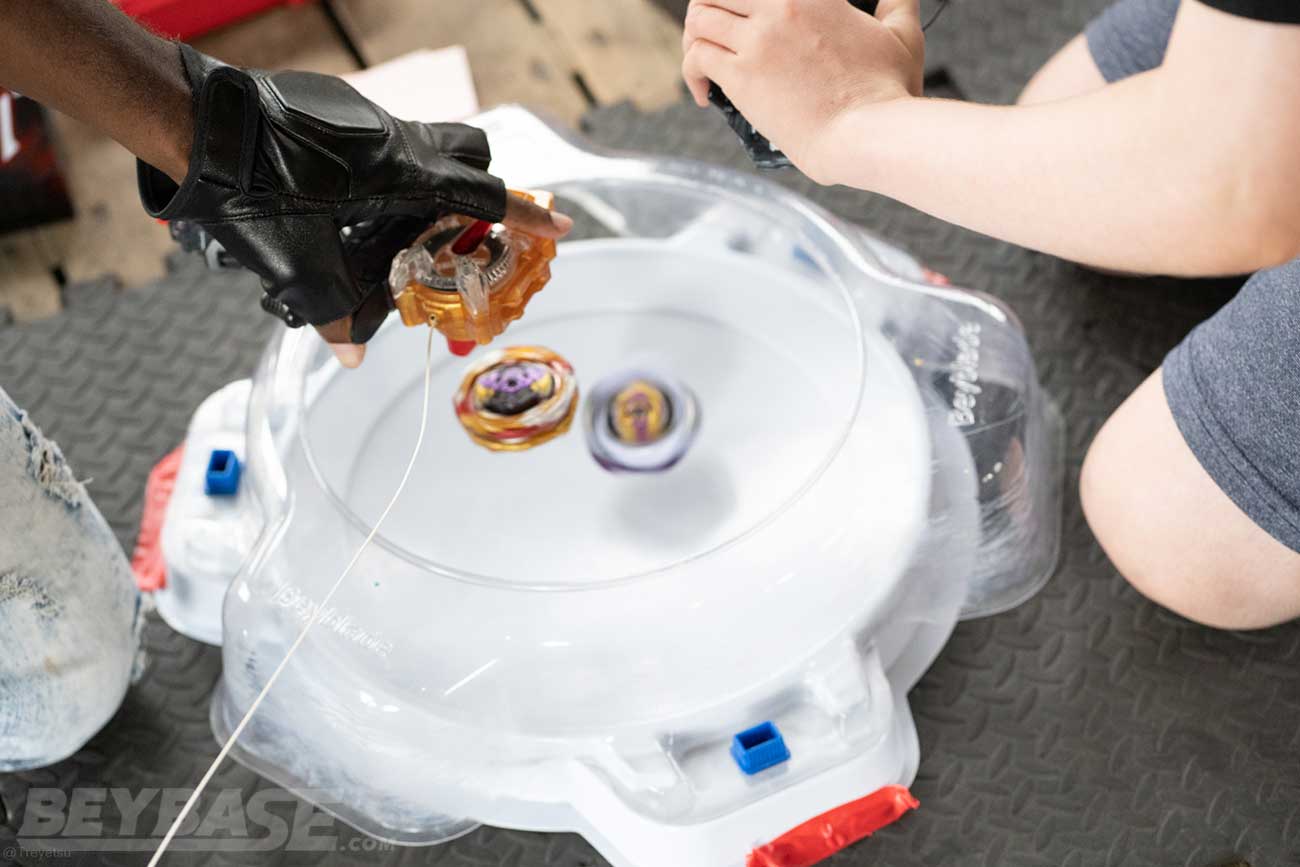
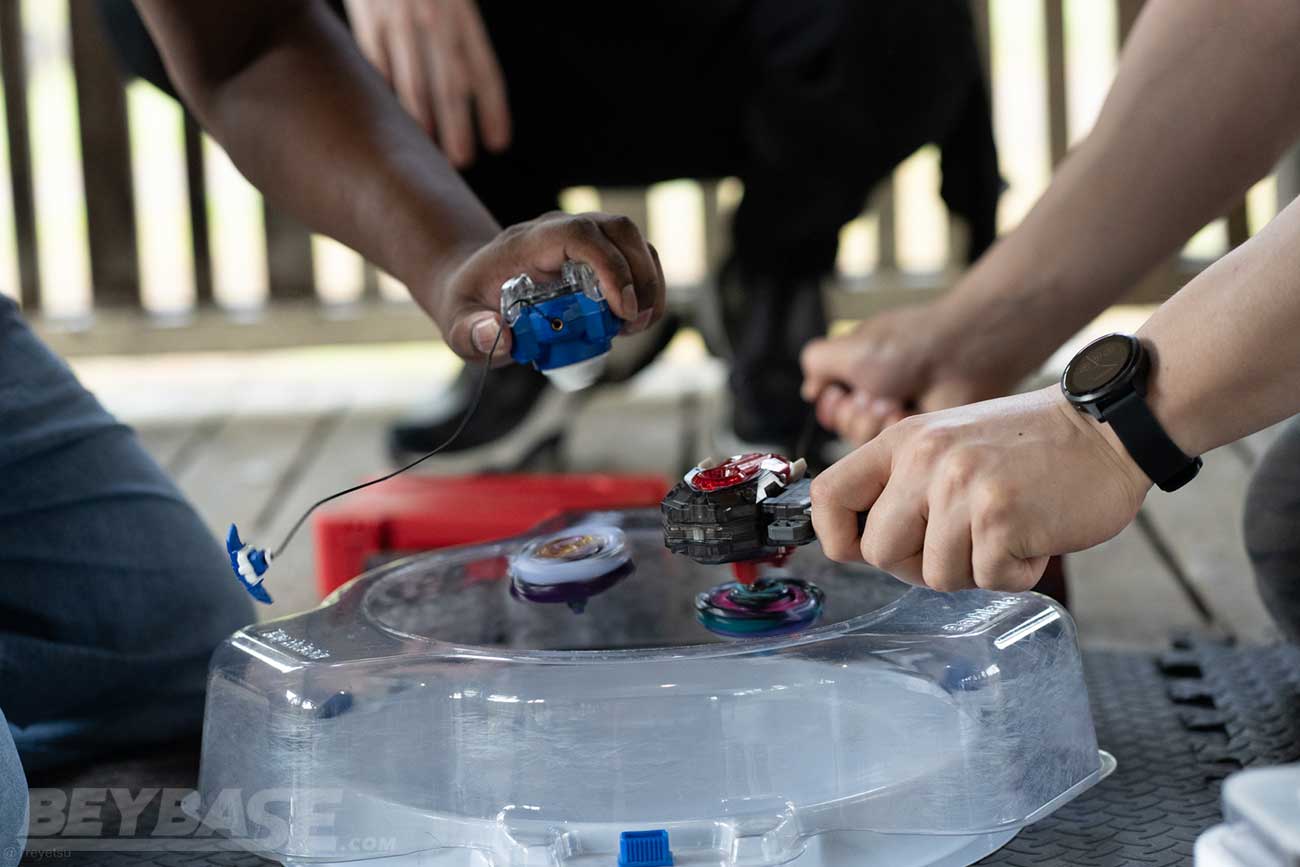
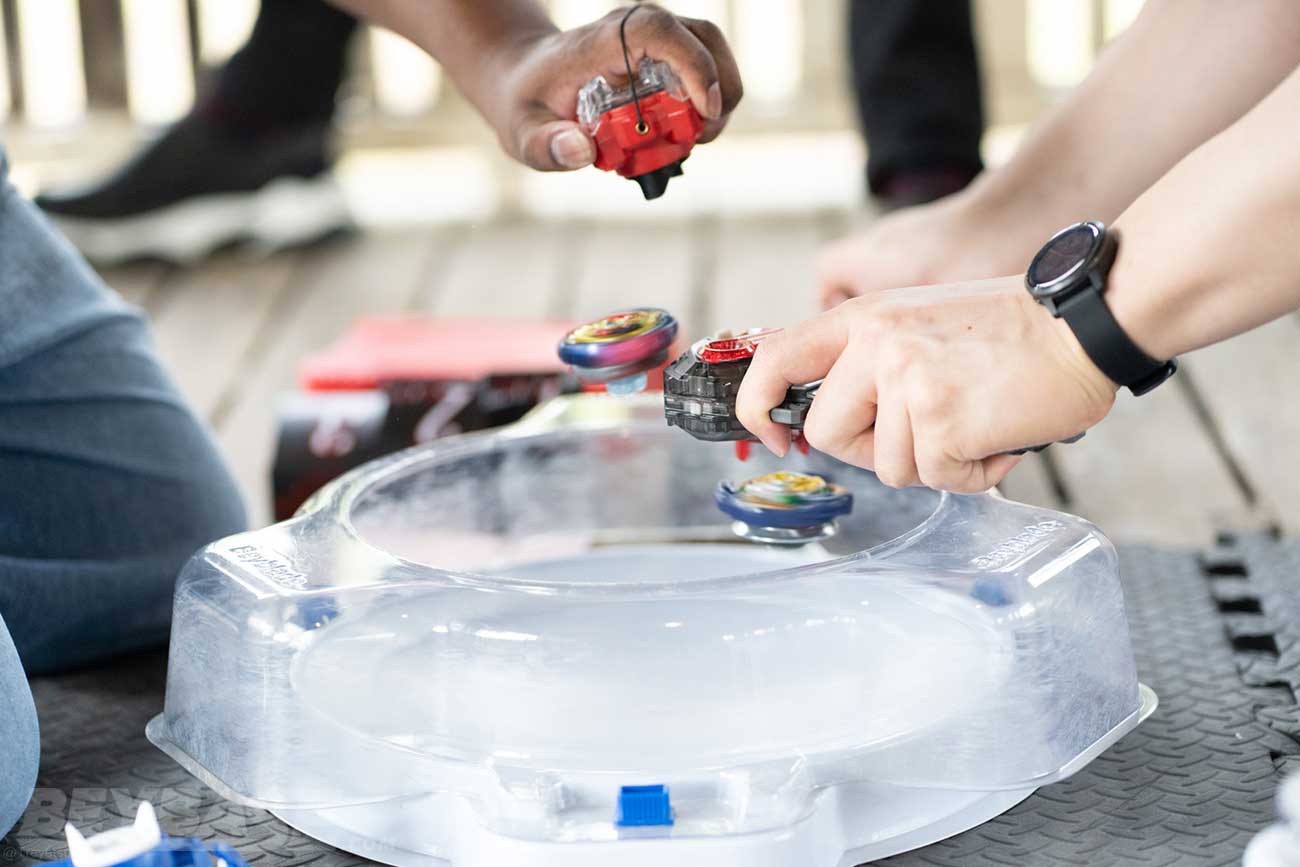
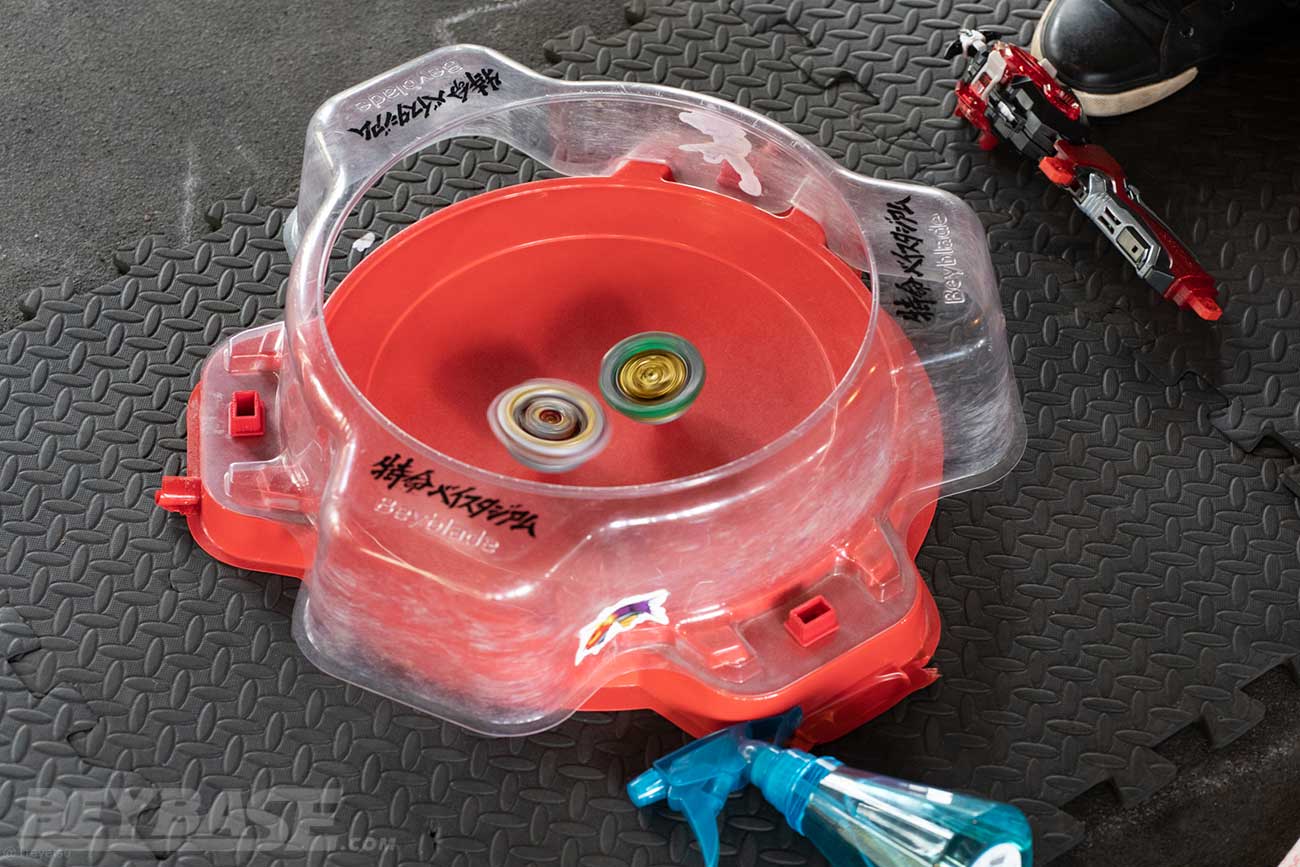
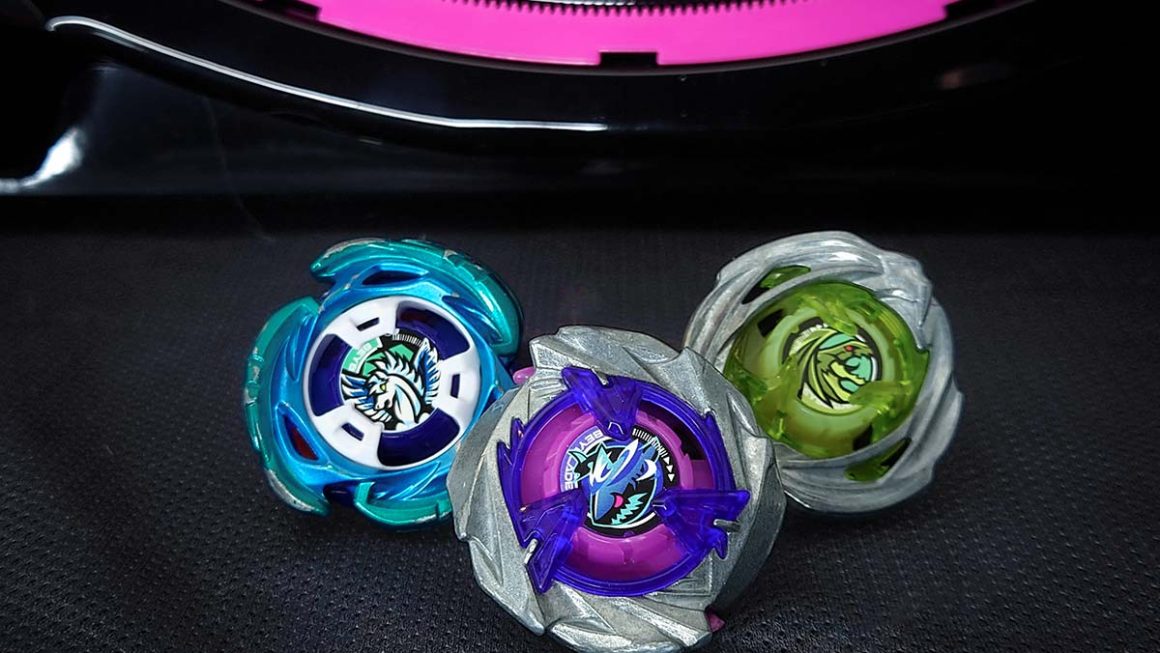
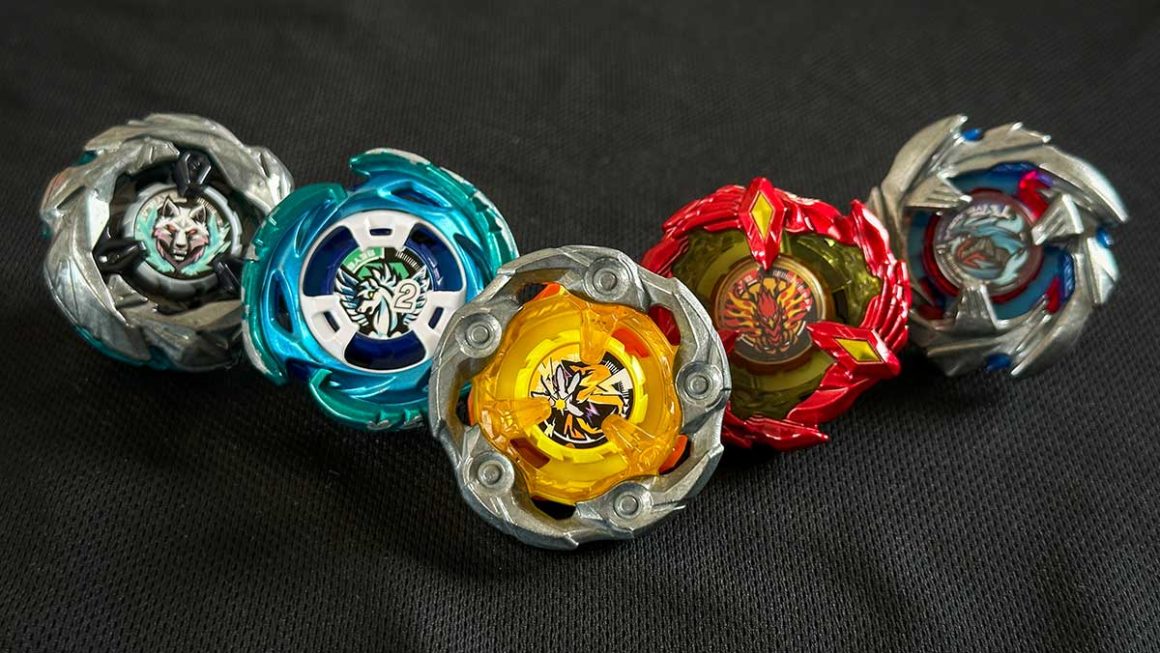
Photo Gallery


Acknowledgements
Thank you to everyone who helped to make this tournament a success!
Specifically, thank you to:
- OldSchool™ for bringing mats
- henwooja1 and Justin TC for bringing stadiums
- Mall Of Toys for providing prizes
- Tempest546 for taking photos
- MDK Shady for shooting video
- All of our judges (OldSchool™, henwooja1, Justin TC, 1234beyblade, Mitsu, BladerBeast) for helping the tournament to run smoothly.
Or become a BeyBase HQ member to get early article access and behind-the-scenes updates. Thank you!
What do you think? Comment below!
I’d love to hear what you guys think of the Beyblade metagame as it stands right now, whether you attended the tournament or not.
There was call from some players in this tournament to ban the Drift Driver and I know there has been some discussion in the community about this … in my view Drift is actually better than it was thanks to the calmer movement it produces thanks to the new Dynamite Battle Layers, but nevertheless it still possesses clear a weakness: same-spin stamina.
I only used Drift one time during the first match of the tournament and third-place finisher Tahoor was able to go 6-0 in his block without it and then also win the third place match without it. So, it was very clear to me that it wasn’t necessary for victory.
My opinion could be slightly skewed by the fact that we played using WBBA 3on3 format, so I’d love to hear feedback from any of you who have played in regular tournaments so far with the Driver.
I’d also love to hear any thoughts on alternative first stage battle formats like WBBA 3on3 or Pick 3 Choose 1 as well as the new Play Area and KO definitions we used at this tournament.
Comment below and let me know!
If you enjoyed reading this article, please also feel free to share it with any of your friends who are into playing Beyblade competitively or enjoy hosting tournaments.
BeyBase HIGH PARK THROWDOWN 12 Article Series
- Part 1: How to Prepare for a Competitive Beyblade Burst Tournament (HIGH PARK THROWDOWN 12 Report)
- Part 2: What are the Best Beyblade Burst Dynamite Battle Combos for Tournaments? (HIGH PARK THROWDOWN 12 Report)
23 thoughts on “What are the Best Beyblade Burst Dynamite Battle Combos for Tournaments? (HIGH PARK THROWDOWN 12 Report – Part 2)”
Comments are closed.
I’m surprised there wasn’t any use of Venture. Although it seems like a good 50% of combos at tournaments here in the NC/VA/MD scene having been using drift, there’s still been a certain amount of successful Venture use, usually on some variation of Dynamite (F Gear) Belial Giga Venture (armor varies). Then again, this was before the Release of Roar Bahamut.
I actually haven’t tested Venture that much. It seemed like it didn’t have enough speed to satisfy my requirements for attack and not enough LAD to satisfy my requirements for stamina. How has it been used in NC/VA/MD? What has it been successful against?
The highlight for me is when RayneAvalon used Dynamite Belial (F gear) Giga Venture 2 (-) quite extensively in the regular portion of Beyblades At The Lake last month and made 2nd place. I didn’t catch all of the matches but it seemed to fare especially well against Tempest Solomon (MCC) 1S Wheel Xt+, winning by OS several times. I also saw it win some rounds against Vanish Fafnir combos via KO.
During the team portion of the tournament I used a very similar combination – the difference being armor 3 – and was able to OS his Belial combo as well as the aforementioned Tempest combo a few times.
Perhaps its usefulness was limited to a very brief period when the meta was relying more heavily on Sparking parts or really more about Giga and F gear. Or maybe just player skill! I will need to test more myself.
I found a combo.
Here it is: Vanish bahamut 10 giga drift.
Why? It has good weight distribution, Great life after death and good stamina.
That’s definitely a good one! Many players are using similar combinations in tournaments right now.
Hi Kei, I’m wondering if it is a good idea to use metal drivers on a superking chassis.
Hey there. I assume you’re asking whether the metal Drivers will damage Sparking Chassis? I haven’t done extensive testing, but at least with 3A + MX, I haven’t found MX to cause damage to the teeth on 3A so far.
Oh! And would love to have heard more about launcher use in this tournament. Though many are using the Dynamite launchers here, there is still widespread use of Sparking and even older LR launchers.
Thanks for asking. I was thinking about talking about this but didn’t end up including it in the report. There were a lot of people using the new Dynamite Battle custom BeyLauncher LRs, which I found to be quite annoying because it takes forever to switch the spin direction on them lol. But there was also a lot of people using the Sparking BeyLaunchers, including myself.
I broke my DB Custom BeyLauncher LR before the tournament, and honestly didn’t love the feel of it anyways. We’ll see if that changes with the new “power” version included with Savior Valkyrie, though.
Kei, appreciate the effort & detail in your report, thanks for sharing. How worn was your bearing driver that beat Zankye’s Zn’+Z, compared with how worn Henwooja1’s bearing driver was? And what do you think makes your bearing driver better than other people’s? Faster or slower spinning? Level of wear? And yes, let us know how u go testing the Never driver out!
Thanks, TCBlading! I’m not sure about henwooja1’s Bearing. The Bearing I used against Zankye was what I would call “semi-worn”. Not new or slightly worn, not heavily worn … somewhere in between. I tend to distinguish between these three levels and use different ones depending on the situation.
I’m not sure if mine is necessarily better than other people’s for any reason other than maybe understanding how the differing levels of wear can affect its performance better than many people. Of course, I also check how long and smoothly the free-spinning plate can spin … but I only have so many Bearing Drivers, so combining that with needing to have them at different wear levels means I can’t be too picky about that.
There was no guarantee that my Bearing was going to be able to beat Zankye’s Zn’+Z, but my feeling was that I could because henwooja1 was quite close to him in his match despite (by my point of view) not launching the hardest he could. I also understood that I could launch my combo at full power due to having used it in the tournament already and knowing that the Bearing I would use wasn’t heavily worn, which would make the self-KO risk greater. It would have been better for the matchup against his Zn’+Z for me to use a Bearing with less wear because that improves its same spin stamina, but that would also sacrifice some of my opposite spin ability. Thankfully, the semi-worn middle ground was good enough for everything I needed in that battle.
After reading this article, I’m glad Rage3A still kicks in the metagame and can take on against other stamina/defense hybrid combos especially Bearing’s presence in this tournament has also made its way back to the metagame thanks to Tapered disk. I have a question I will like you to answer. “Do you find Never driver’s stamina and defense much better than Xtend+?”
Well I’m not as experienced as kei, but in my testing I found that the never driver is much better in most scenarios. I would still use xtend+ personally mostly because of personal preference and I like being able to change modes. I would also like to know if it’s allowed to have Xtend+ on the Edge of the tab in between stamina and defense mode so you get a mid battle mode change.
Thanks for reading, Noctua! That’s a good question about Never and Xtend+ … as I mentioned in the article, Never is a Driver I need to test more with, so I’m not sure I can give you a good answer right now, unfortunately.
You forgot about random booster 15. You can get quick’ from that.
I didn’t forget it. I just didn’t include it. 🙂
I don’t usually list every area a part is available from. Rather, I focus on the areas that are the best buys or easiest/newest products to buy the part from. I have to add each of them manually as well, so sometimes it’s not worth it to list every option.
I would like to know what the prizes were and I still do not understand why nobody used world spriggan drift 2d for opposite spin combos or world diabolos atomic 2b.
Do people not understand how good dual spin is because you can choose wether you want opposite or same spin matchups depending on what your driver is.
The prize for the first place finisher was a $30 online gift code for Mall Of Toys, who sponsors the WBO.
WBO Burst Format rules do not allow for spin direction switching mode changes, so personally I would say World is starting to feel a little bit outclassed. However yes, in WBBA tournaments, World is a big player because you can switch the spin direction.
My combo is tempest Lucifer wheel xtend plus 4A.
Shouldn’t this post be completed and confirmed to be updtmated once all the dynamite season beyblades come out? Before saying what’s good and what’s not good? I mean not to be mean/rude, but just to be clear, this post isn’t correctly placed since they just released prominence Phoenix, astral spriggan, the new Raphael beyblade, and magma ifrit as well as guilty longinus.
Before this post is accepted to be as of how people think is good, please understand and check this comment, so that it’s not just the first few 5 beyblades at the start of the season being showed upon being the top best. As multiple new beyblades are coming out now, and in this case possibly more to come.
Thank you for your time on reading this, and again nothing personal, and nothing against the post creators. Just an ideal answer so those that are looking for combos, will recognize that theres more parts coming out, and will need more analyzing over time.
Hey there. Thank you for the comment!
Of course, Beyblade is constantly evolving. If you look through my past posts, you’ll see that over time I do my best to publish new articles with more current information.
For example, in 2020 I published this: https://beybase.com/top-5-best-beyblade-burst-combos/
And then earlier this year I published an updated version once Beyblade Burst Sparking ended: https://beybase.com/top-5-best-beyblade-burst-combos-2021/
These articles are great resources for current information when released and in the future become valuable time capsules that can be used to reflect on and understand the history of the Beyblade metagame. Rather than updating old posts, I choose to post newer ones over time for this reason.
And as always, all of my articles should be treated as starting points for further personal research and experimentation. Beyblade is a deep game and while it is important to learn from others, it’s just as important to take what you learn and come to your own conclusions that incorporate both your external study and first-hand knowledge.
Is this a good combo for KOes:
Rage Longinus Evolution’ 3A
Please note that the driver is worn down
It’s good for the Sparking era! But difficult to control. I think it’s best against other attack types, which are generally slower than it.