Affiliate Disclosure: If you buy something through some of the links on this post, you won’t pay any extra, but we’ll get a small commission. This helps us keep things running. Thanks for your support!
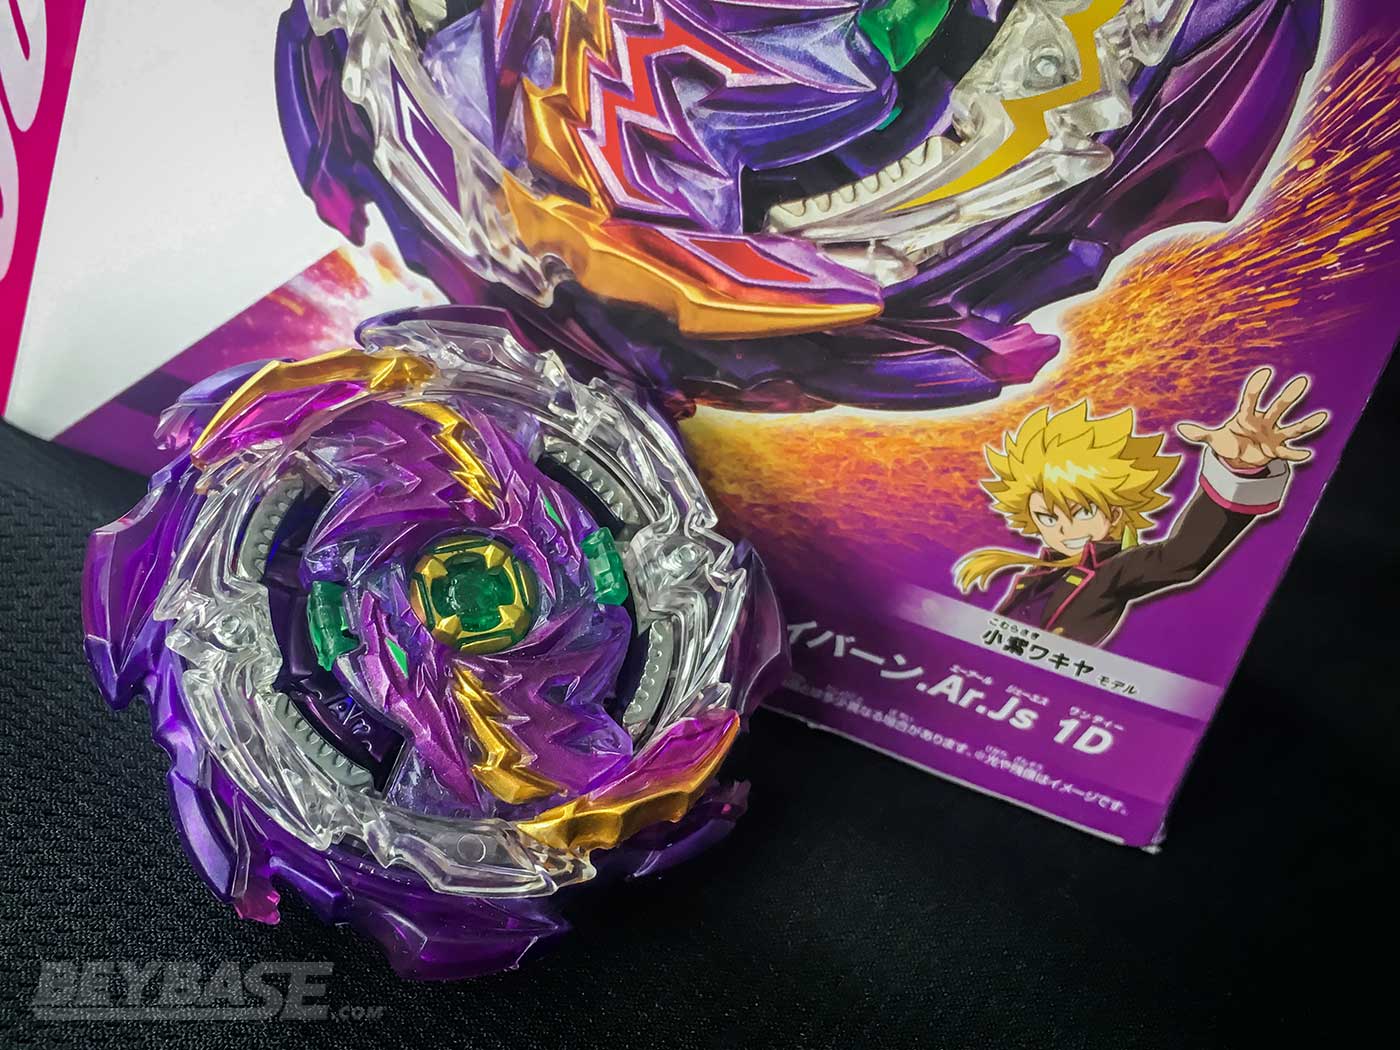
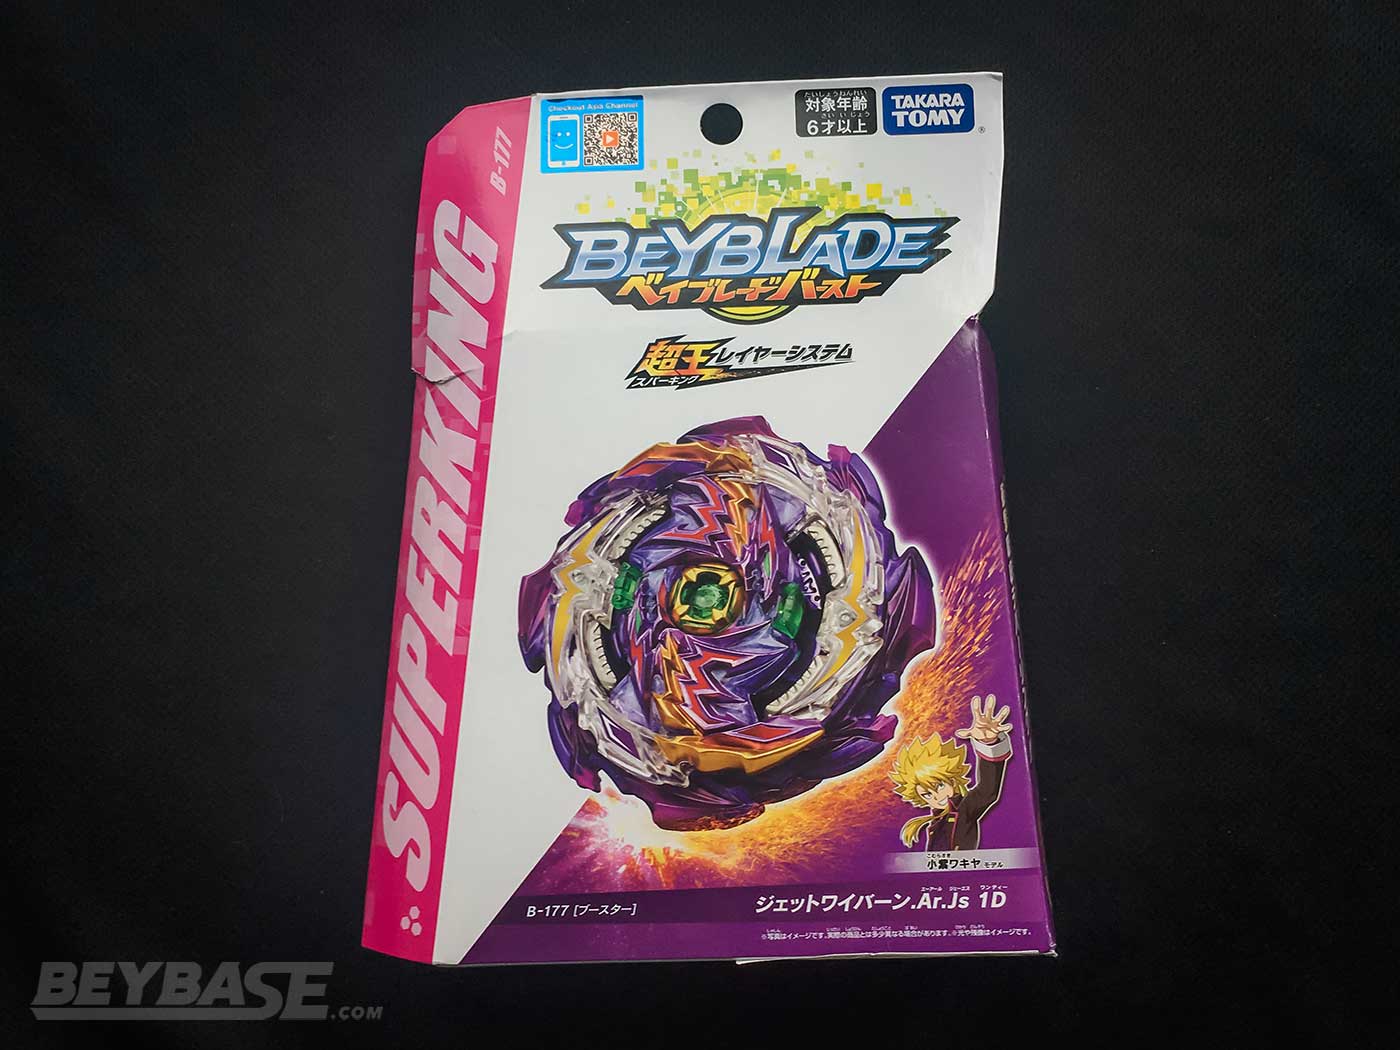
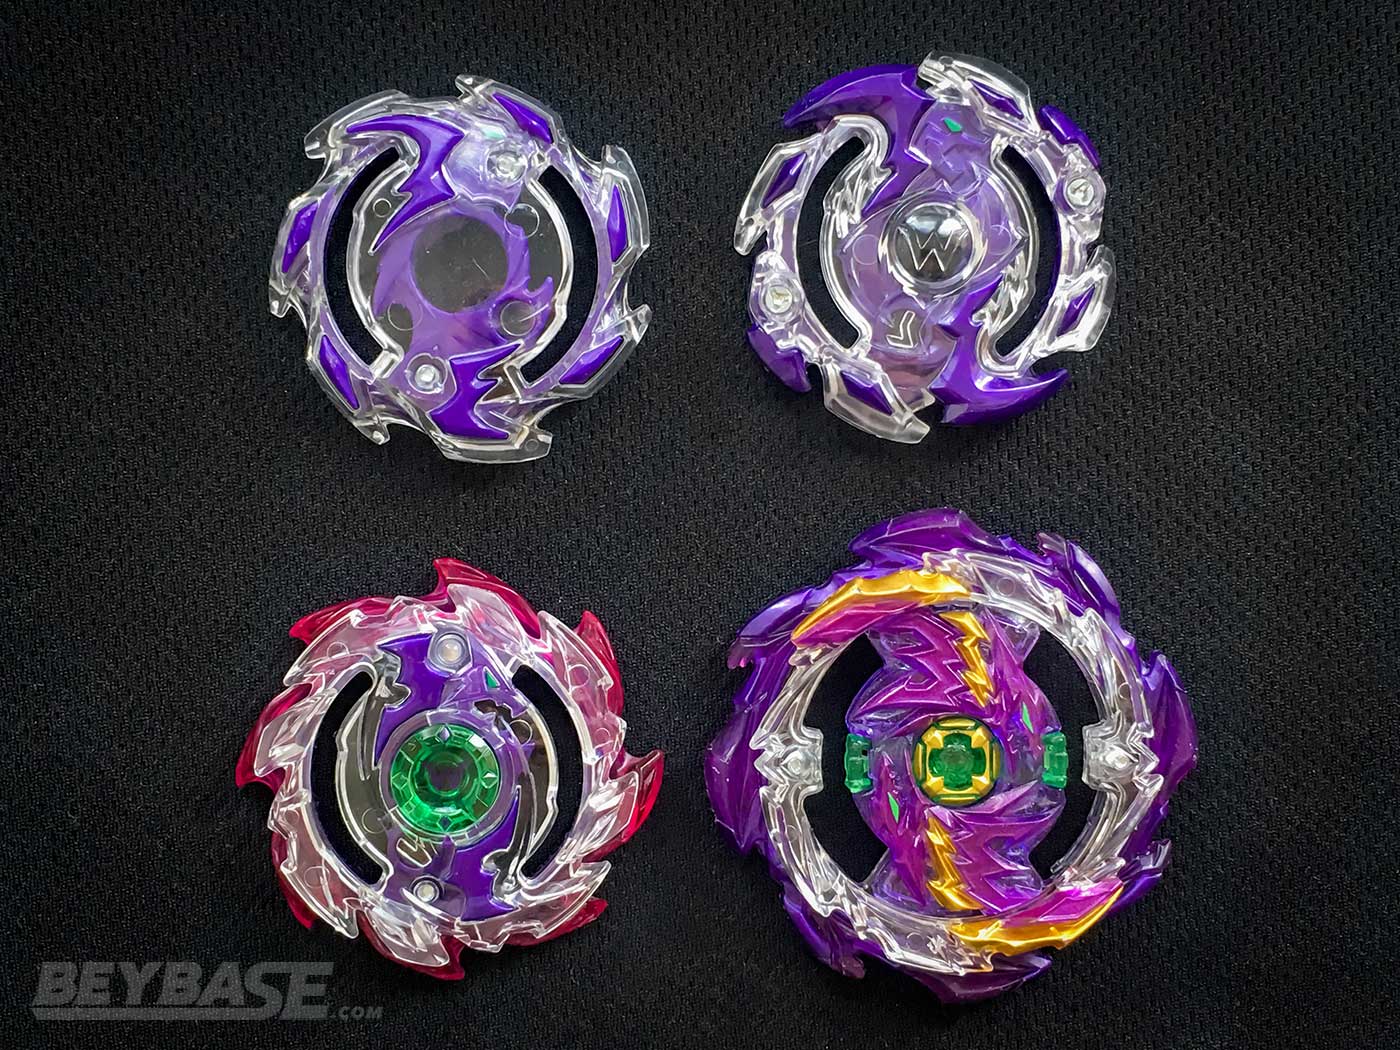
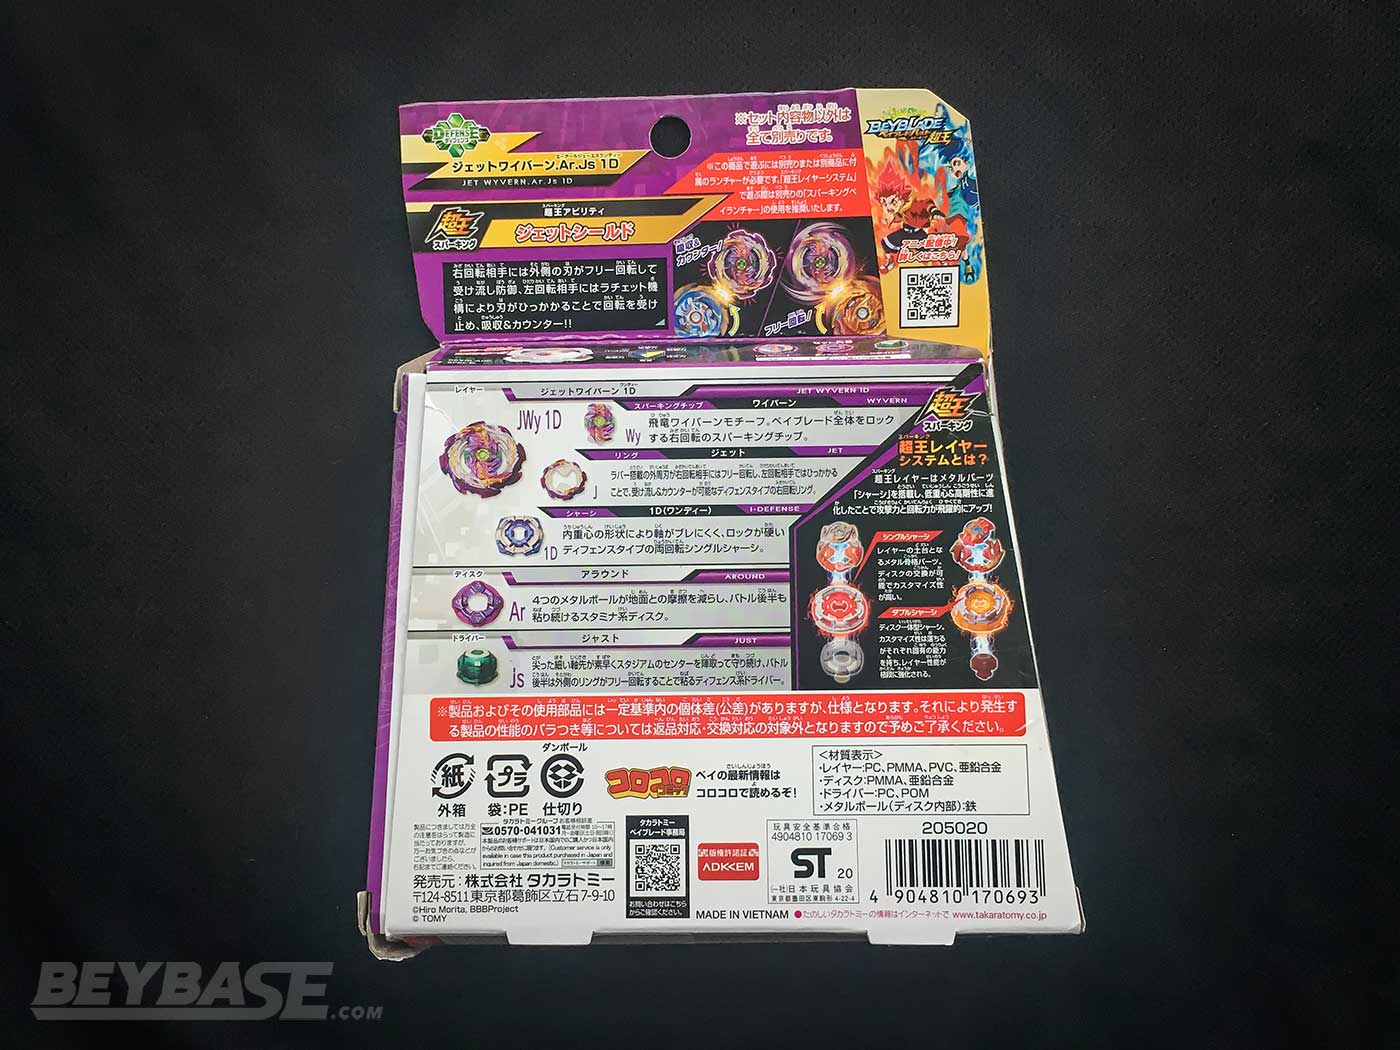
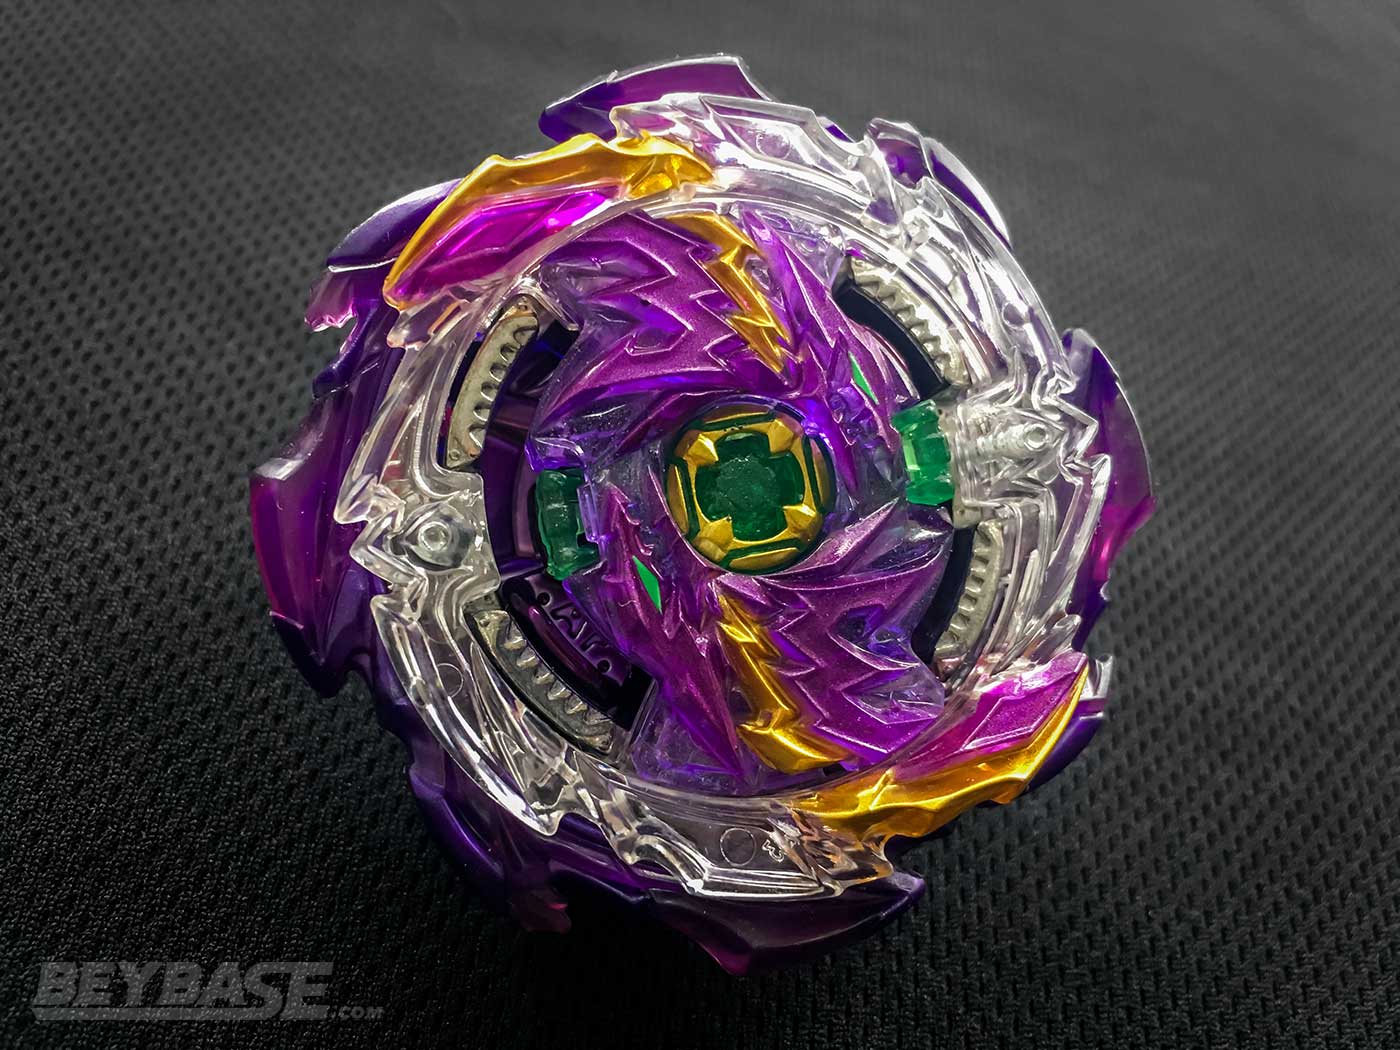
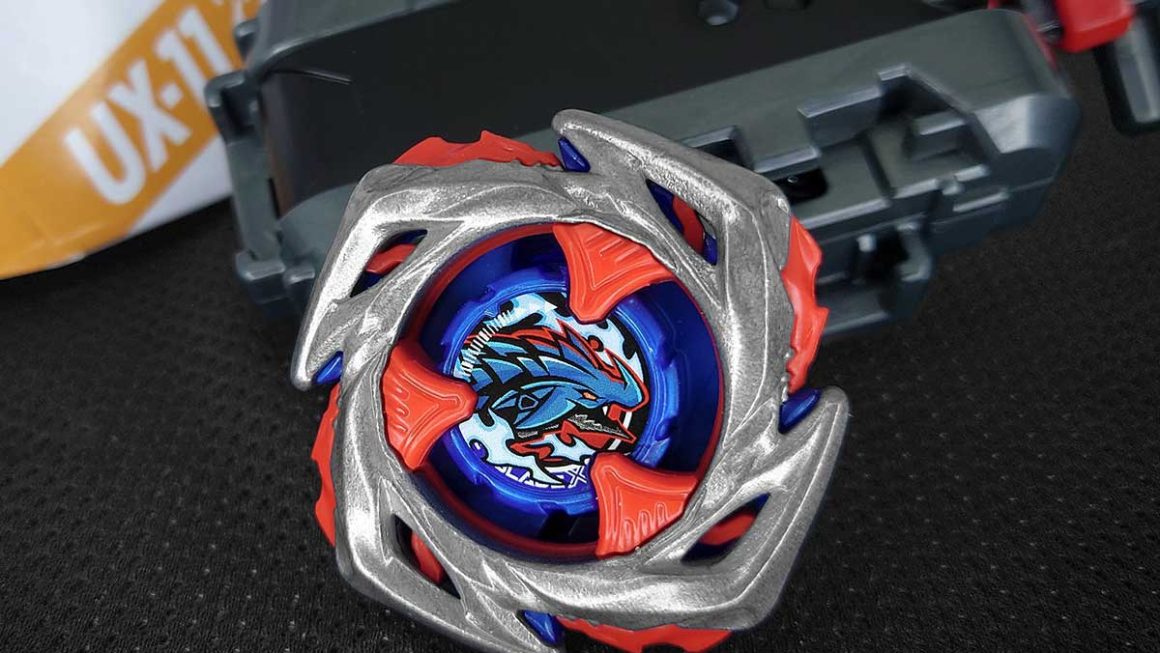
B-177 Jet Wyvern Around Just 1D (ジェットワイバーンアラウンドジャスト1D) is a booster in the Beyblade Burst Sparking series and it marks the fourth generation of Wyvern in the series. It’s the first in four years since B-80 Tornado Wyvern 4 Glaive Atomic released in 2017!
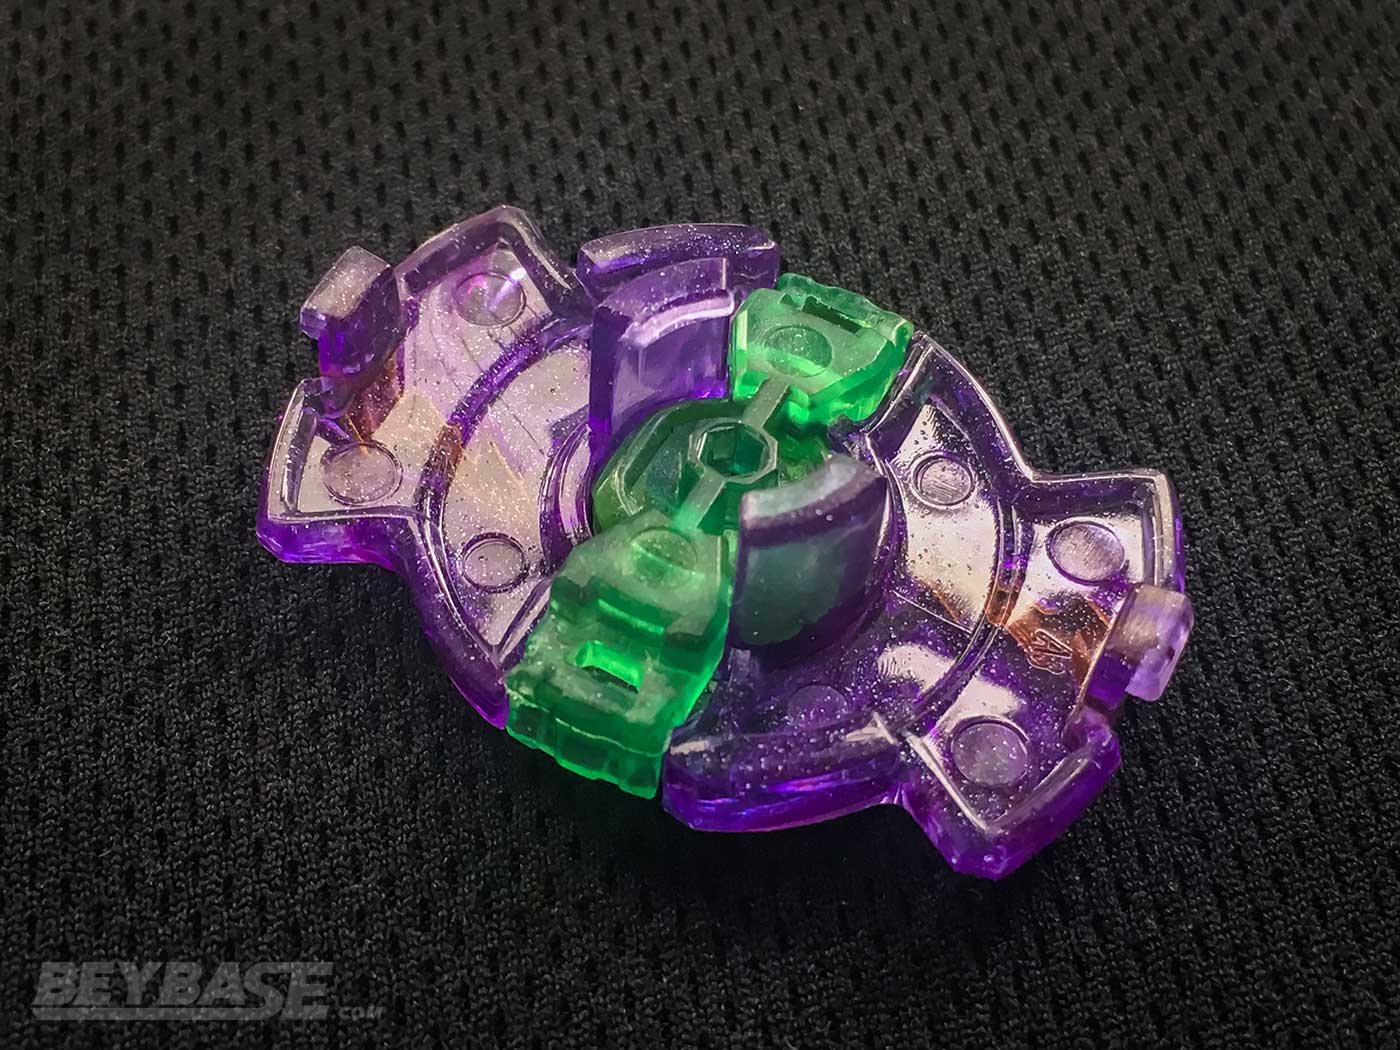
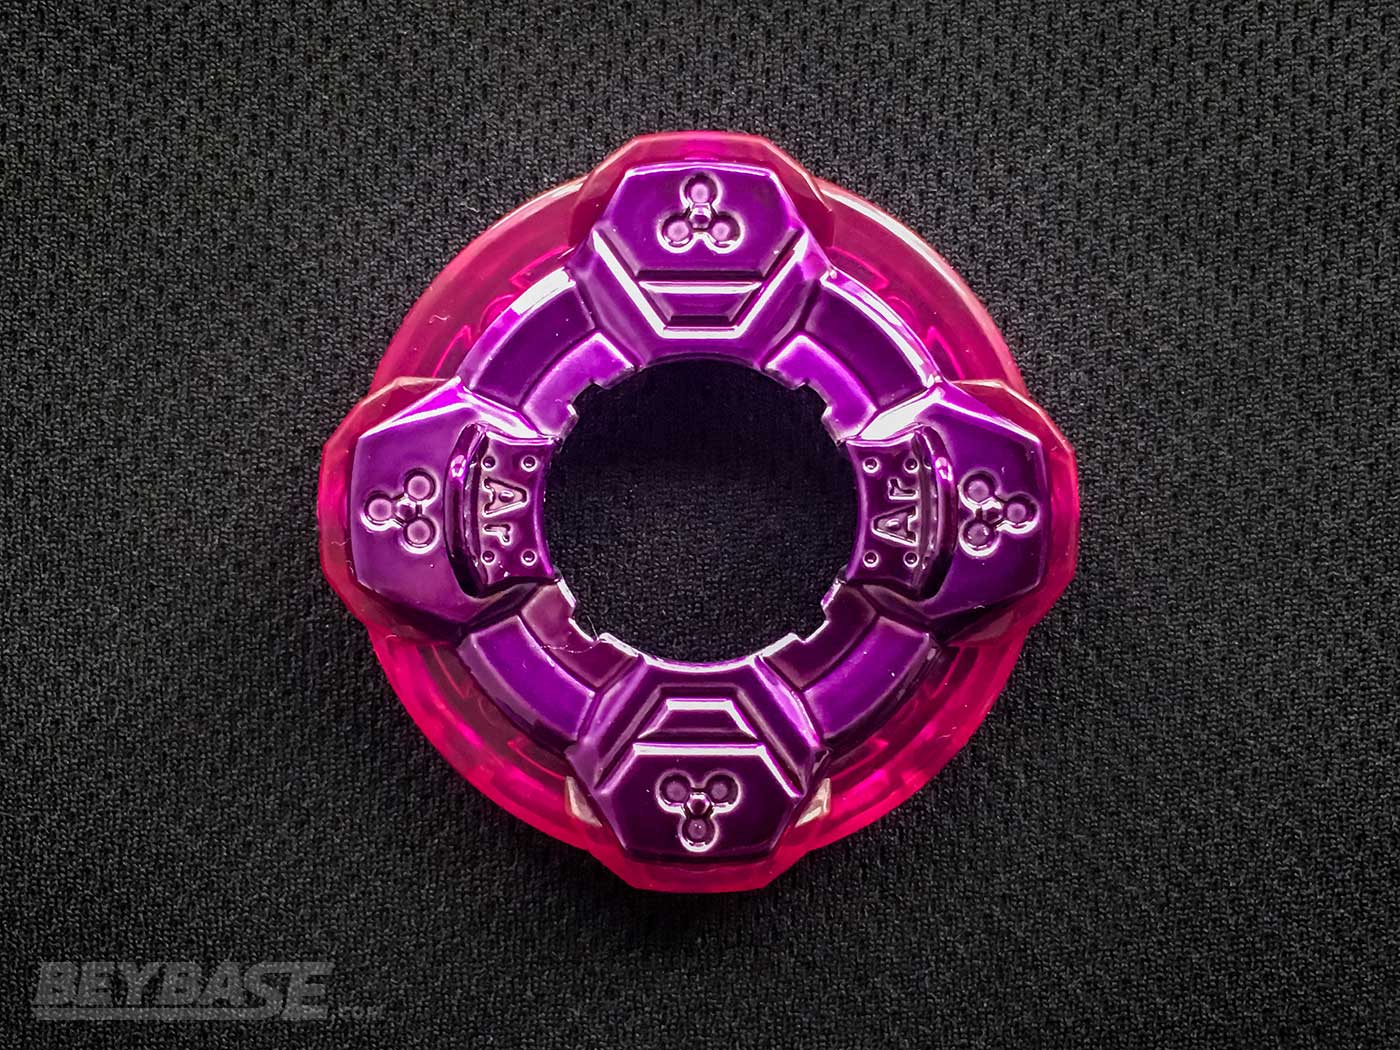
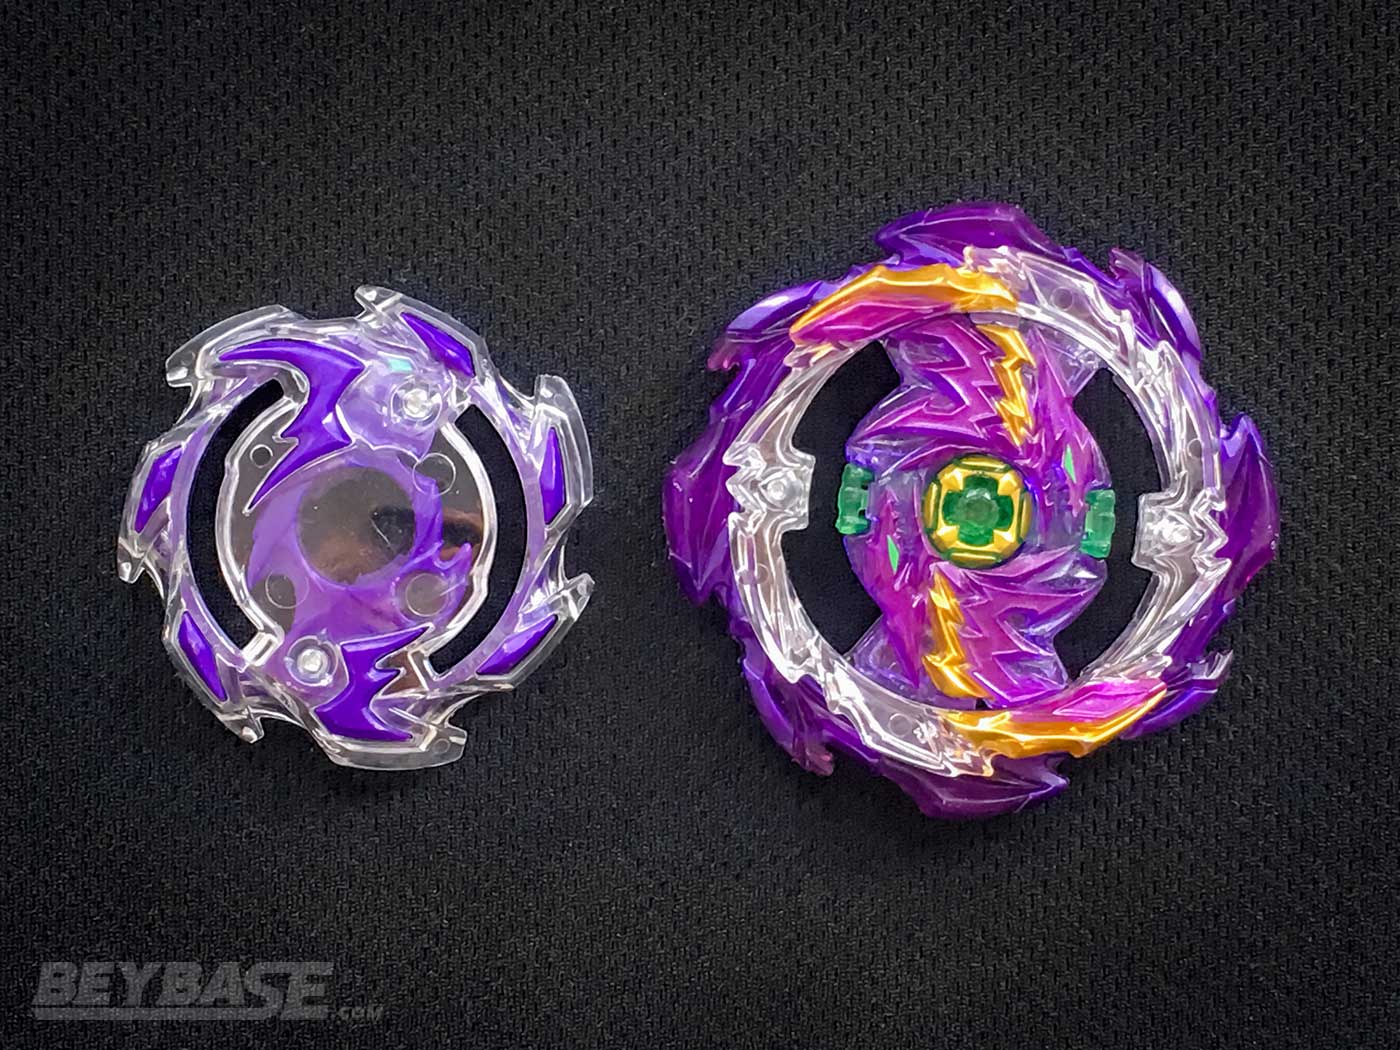
The included brand new defense type Jet Ring features a free-spinning sub-ring with rubber and plastic blades designed to deflect and counter incoming attacks.
And the new defense type Just Driver continues Takara-Tomy’s recent trend of wide-tipped Drivers, but this time integrates a sharp pointed tip, something we haven’t seen for quite some time in Beyblade Burst.
The booster also comes with the Wyvern Sparking Chip, Around Disk, and 1D Chassis. I will comment on those in the Parts Summary at the end, but for the purposes of this Beyblade review the focus will be on the Jet Ring and Just Driver.
Read on to find out the top three things you need to know about the Beyblade Burst Sparking booster Jet Wyvern Around Just 1D!
Product Details
- Brand: TAKARA-TOMY
- Product Code: B-177
- Product Type: Booster (No Launcher Included)
- System: Sparking Layer System
- Series: Beyblade Burst Sparking (Superking)
- Type: Defense
- Spin Direction: Right
Part Weights
- Jet Ring: 10.42g
- Wyvern Sparking Chip: 3.07g
- Around Disk: 26.92g
- Just Driver: 7.73g
- 1D Chassis: 11.31g
Where to Buy B-177 Jet Wyvern Around Just 1D
Heads up: If you buy something through some of the links on this post, you won’t pay any extra, but I’ll get a small commission. This helps me keep things running. Thanks for your support!
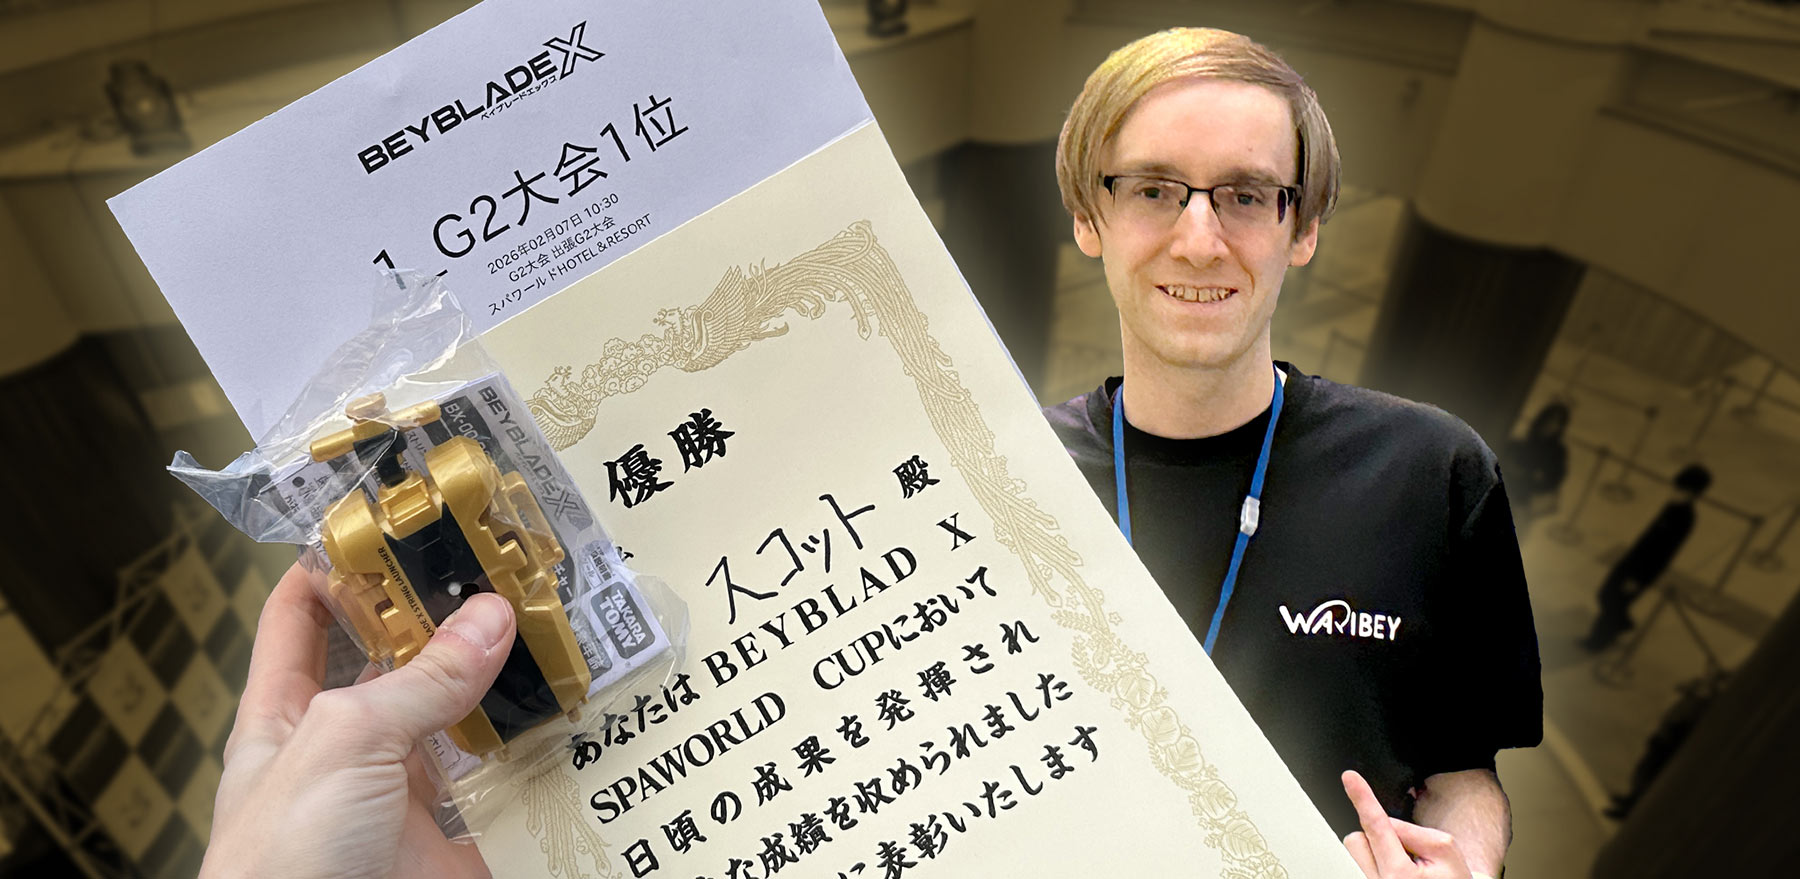
Champions aren’t born overnight. In my latest article, I break down how my pursuit of knowledge, adaptability, and reproducibility compounded into victory at a 256-player G2 tournament.
Sponsored: Order the newest Beyblades at malloftoys.com!
Heads up: If you buy something through Mall of Toys, you won’t pay any extra, but I’ll get a small commission. This helps me keep things running. Thanks for your support!
1. Is Jet Wyvern good? It fails to excel in any area, but it is an effective option for opposite-spin stamina/defense Beyblade combos.
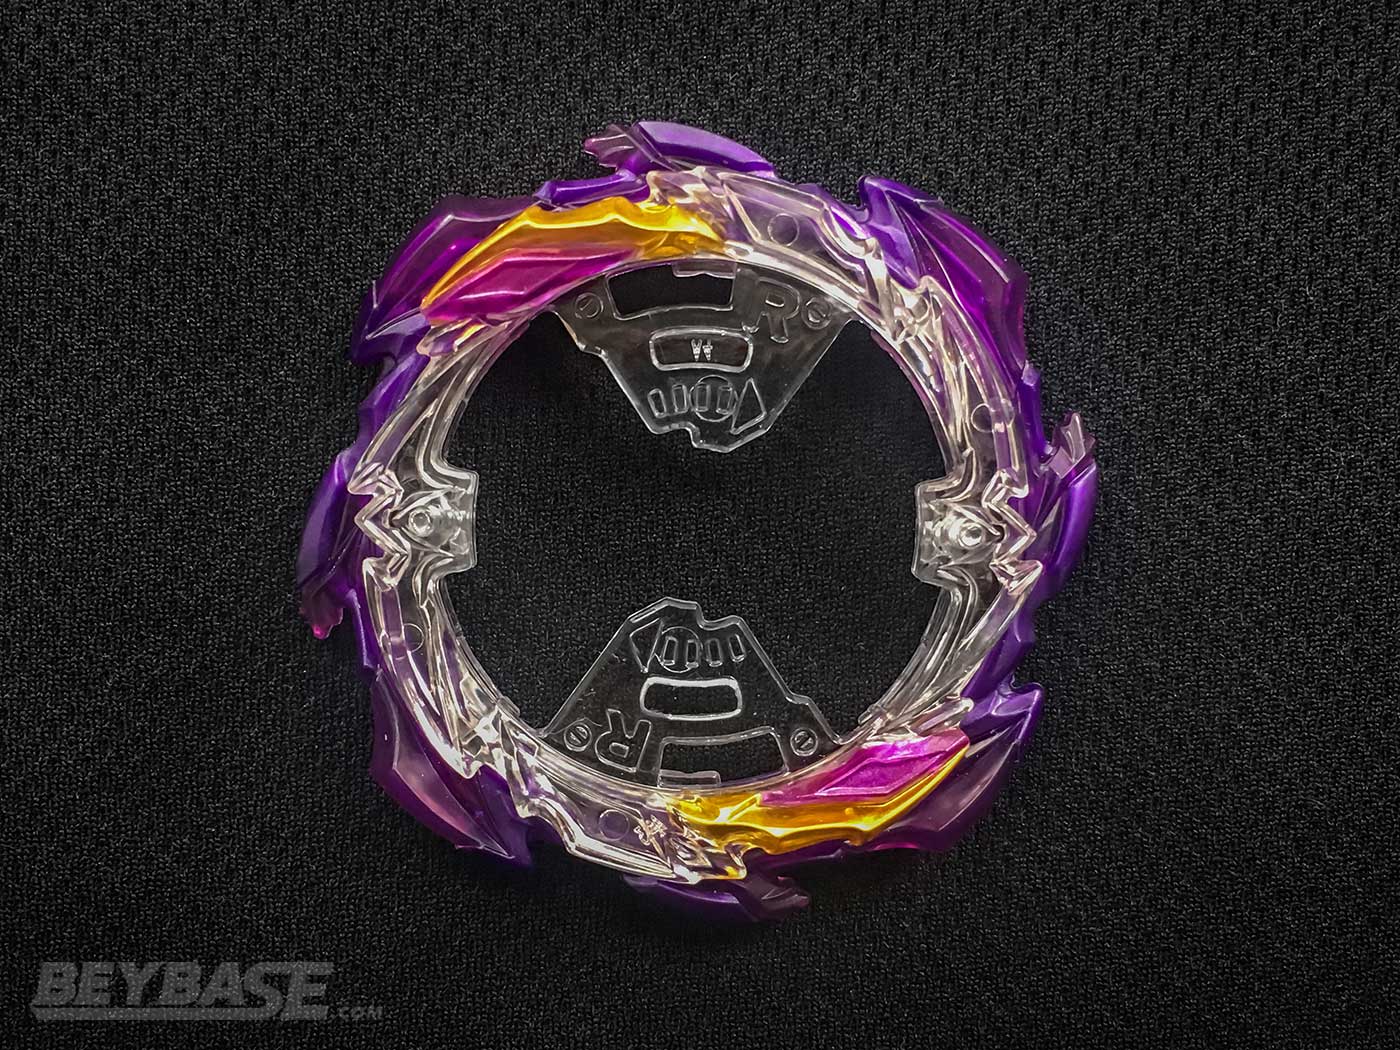
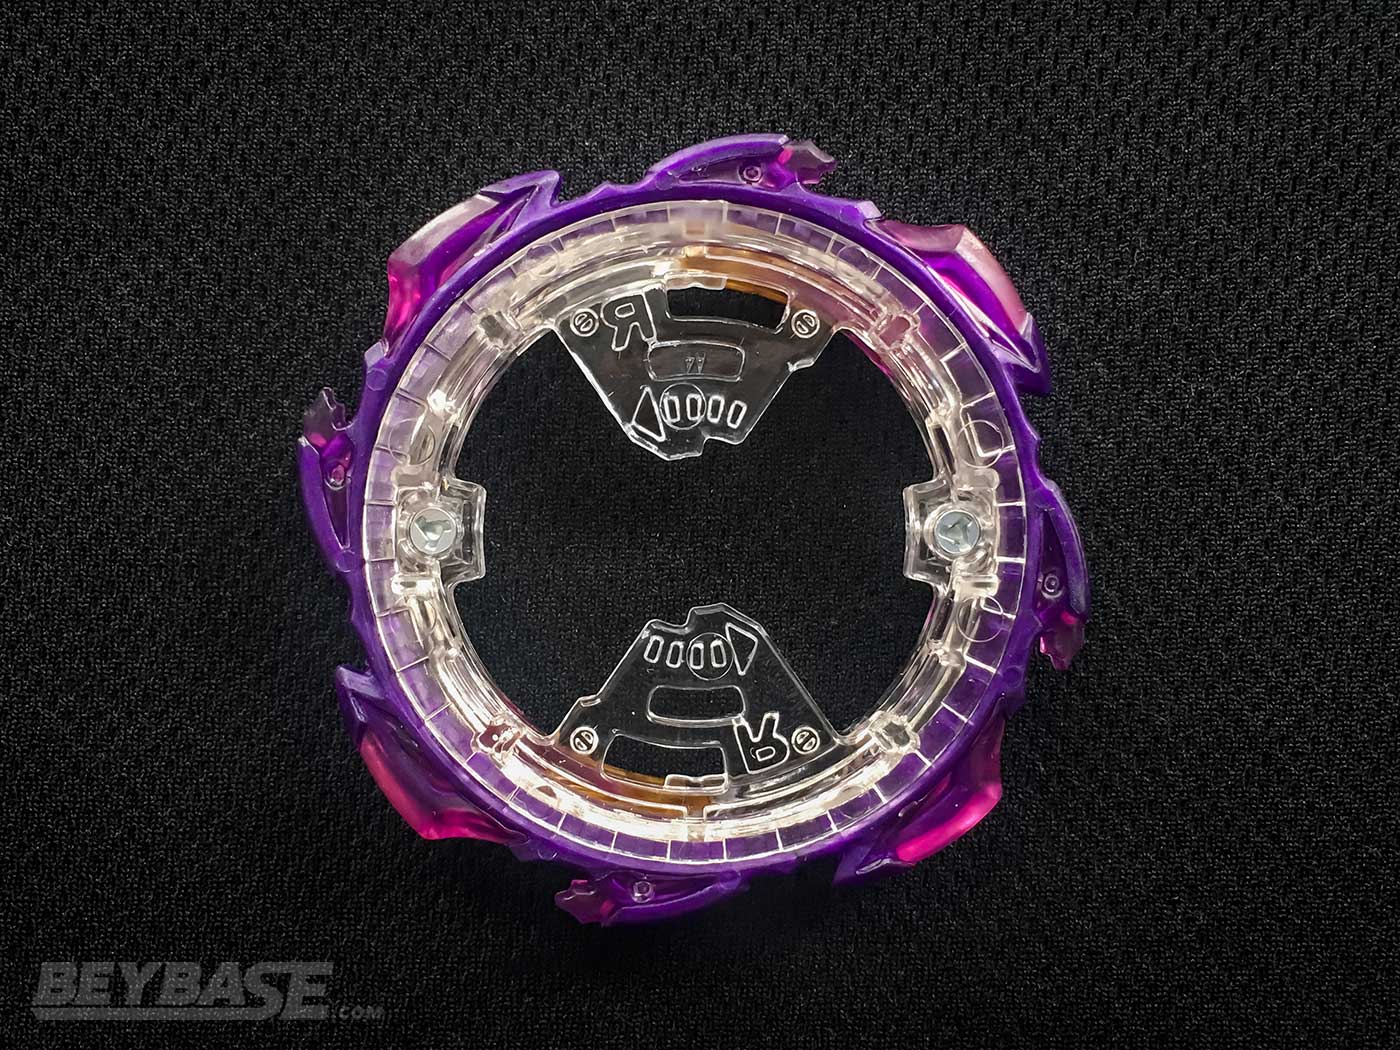
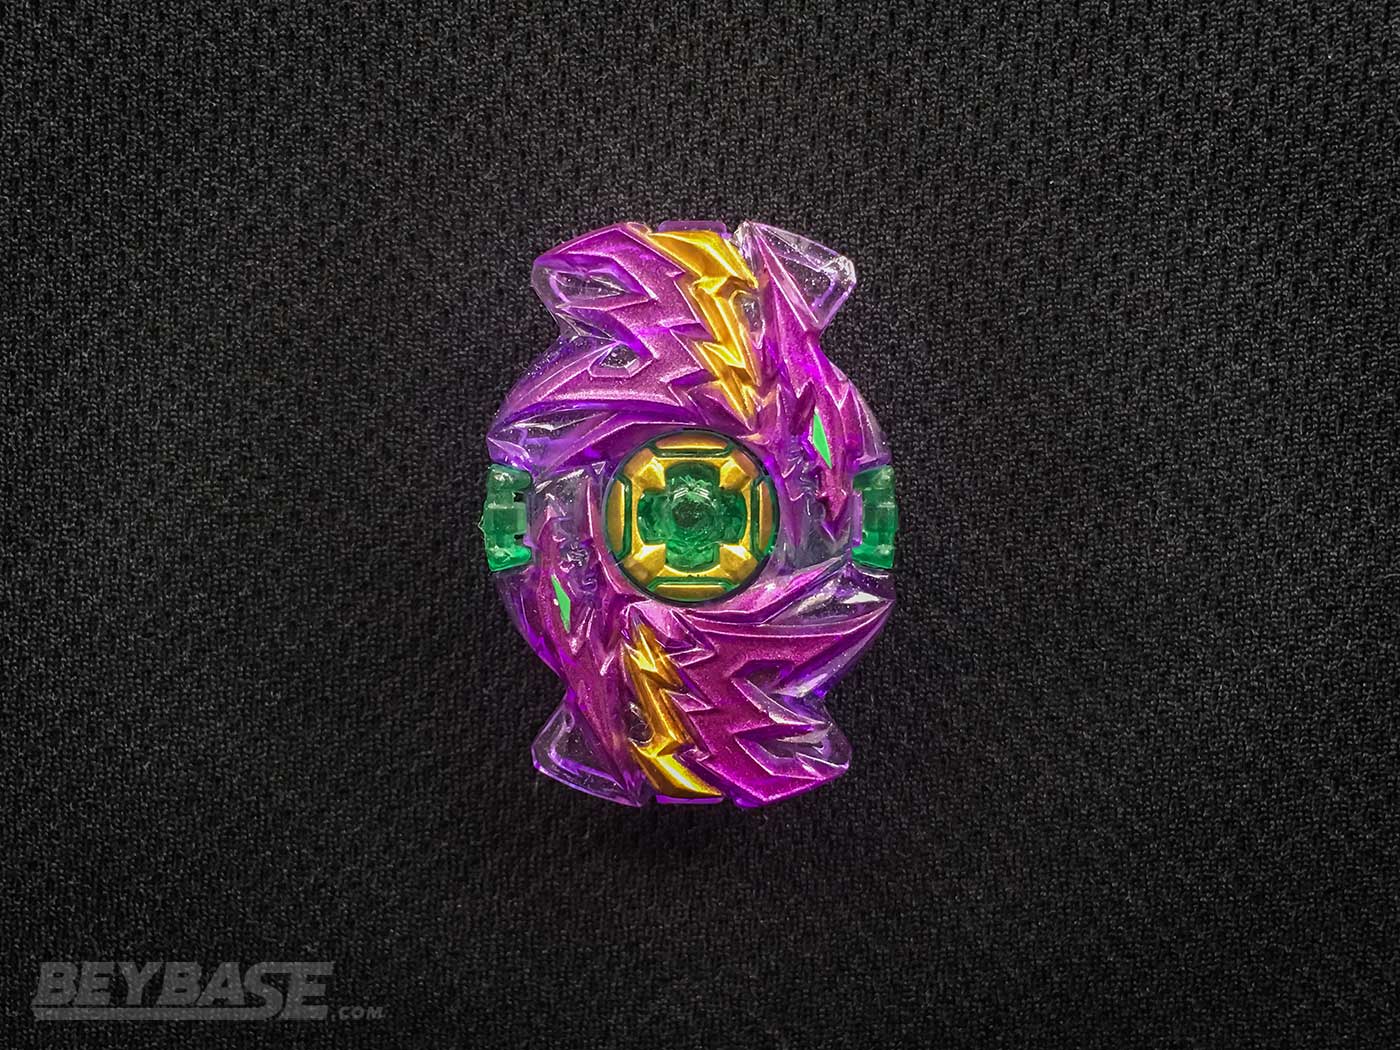
The Jet Ring is reminiscent of the Tornado Wyvern Layer released nearly four years ago during Beyblade Burst God. It features a free-spinning spiked sub-ring designed–in theory–to deflect or dissipate the impact of incoming attacks.
For Jet, they’ve also implemented rubber into the spikes of the sub-ring in an effort to add further impact absorbing properties.
They even embedded the letter J in an abstract way into the sub-ring (as well as W on the Wyvern Sparking Chip), as can be seen highlighted in the concept artwork posted by Takara-Tomy’s Master Blader Muraki.
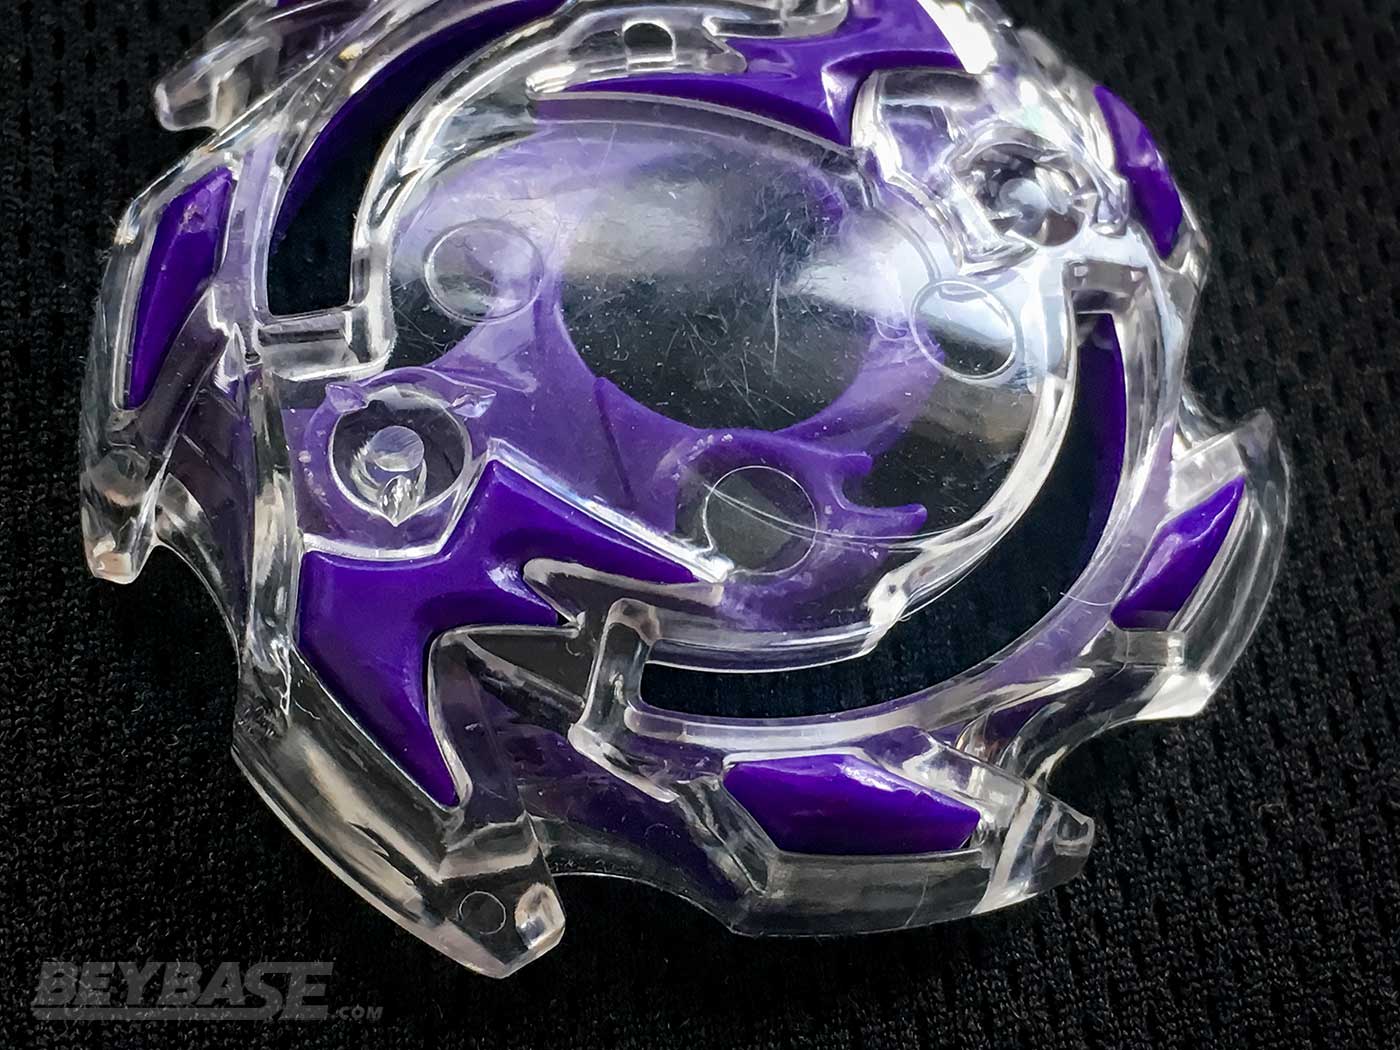
The Problems With the Jet Ring’s Free-Spinning Sub-Ring
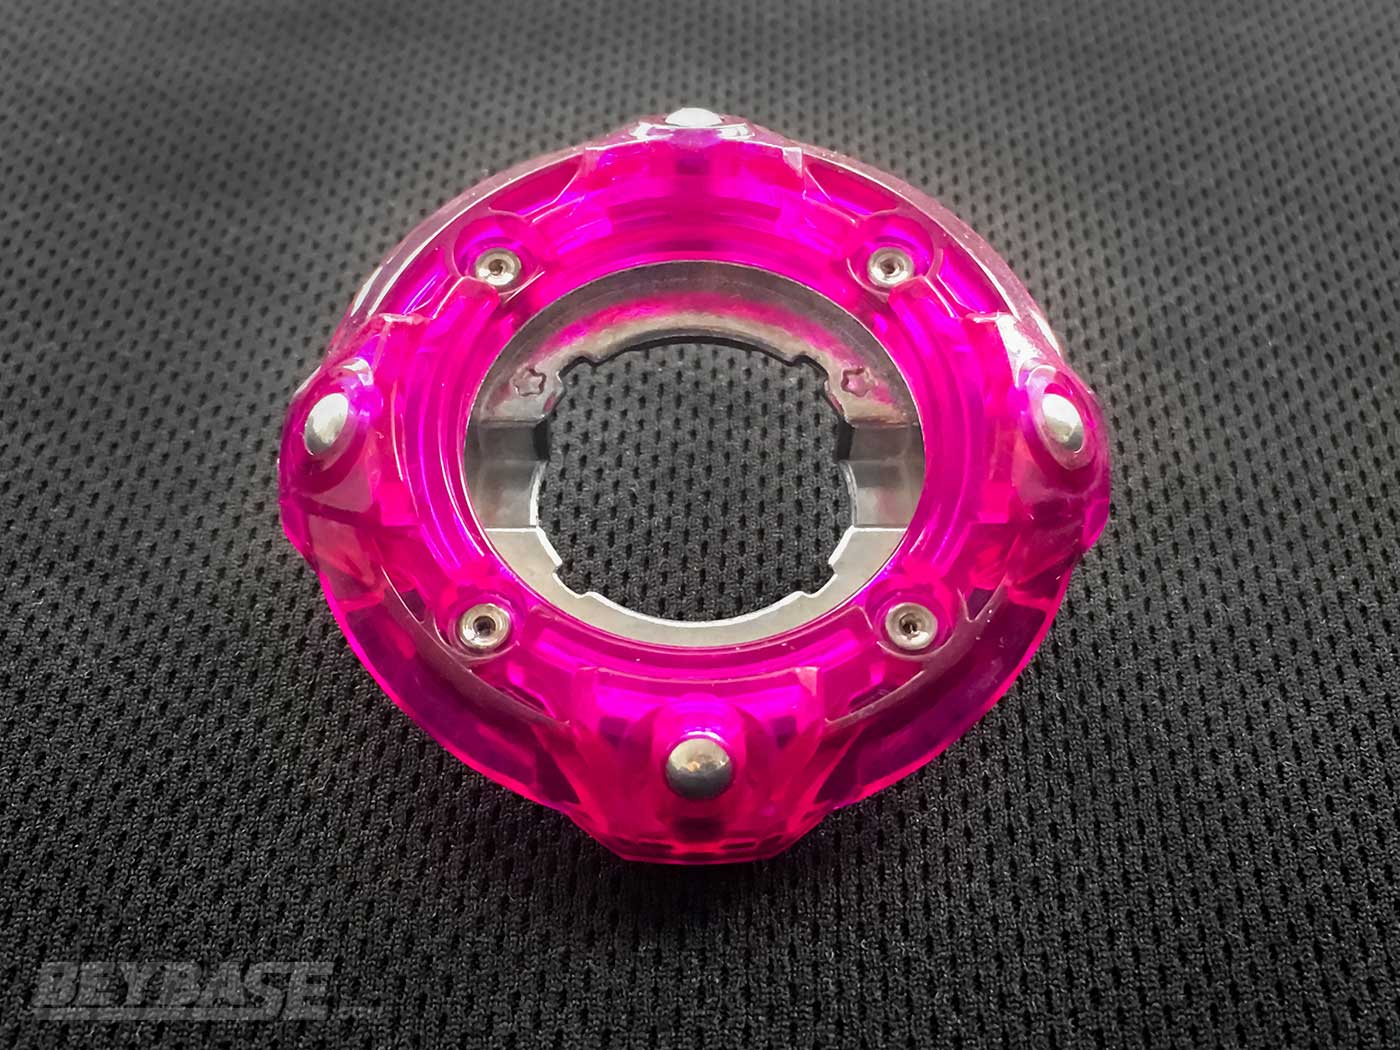
In terms of aesthetics and concept, the Jet Ring is a worthy successor to the Tornado Wyvern Layer. However, one of the biggest problems becomes immediately clear when you first pick up this Ring and try moving the sub-ring with your fingers:
While the ring is indeed free-spinning, it is rough. The reason for this is because on the sub-ring itself and within the clear central casing which houses the sub-ring, there are teeth which impede its progress.
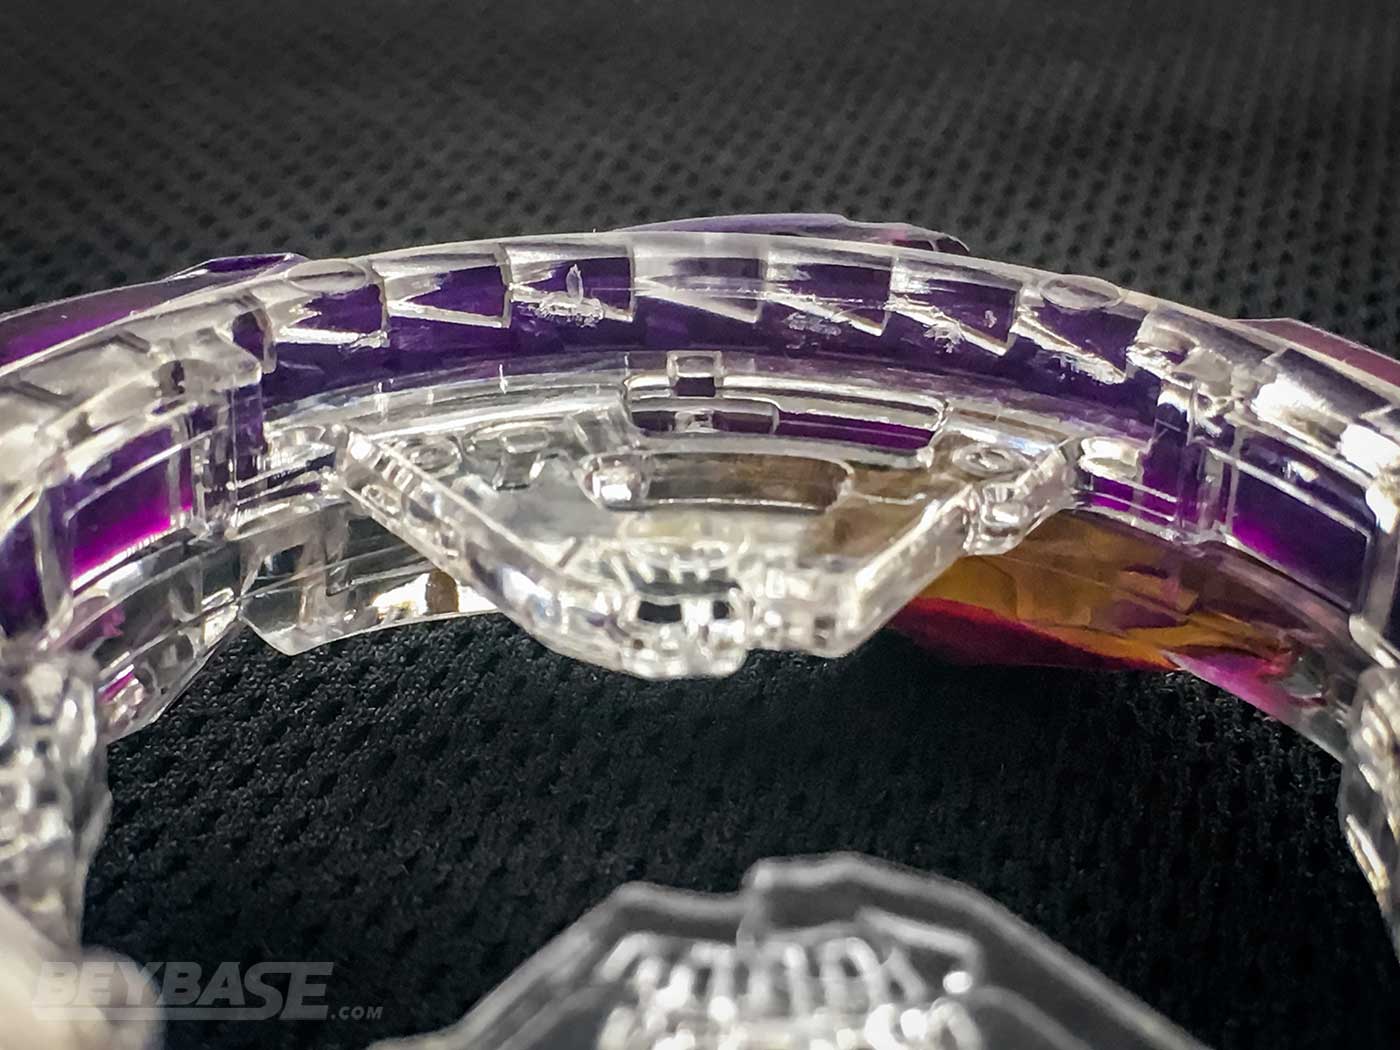
It moves a bit more smoothly in right-spin, but in left-spin it is much harder to make the sub-ring move.
(As a side note, I do wonder if these teeth can be worn down/”awoken” over time to make the sub-ring spin more freely)
The idea communicated on the box for Jet Wyvern is that right-spin is free-spinning while versus left-spin Beyblades the sub-ring is intended to “absorb and counter” (吸収&カウンター).
The Jet Ring’s Performance As a Defense Type
I had a hard time distinguishing whether the Jet Ring was actually good as a defense type or not.
The best combo–as I will cover in more detail later in this review–I could find for the Jet Ring was Jet Lucifer 2 Drift 2B, which is more of a defense/stamina hybrid than a pure defense type.
The Jet Ring Versus Left-Spin Attack Types
In my testing I found that Jet Lucifer 2 Drift 2B was able to defend extremely well against Rage Diabolos Xtreme’ 3A, one of the best–if not the best–attack type in the game right now. Rage almost always failed to KO it or suffered the worst of its own recoil and knocked itself out. It was impressive.
However, to benchmark this performance I performed the same test against World Spriggan Drift 2B. It performed basically the same as JLc2.Dr 2B … which suggests that really, it’s the Drift Driver that is doing the work here.
Similar to the Bearing Driver, it is able to absorb hits and then roll across the stadium and back without getting KOed if the hit isn’t powerful enough to lift it off the ground. It has even more surface area touching the stadium surface than Bearing too, which might contribute to making this effect even more pronounced.
Against Rage Diabolos Xceed’+Z 3A–the best Xceed’ combo I recommended in my Limit Break DX Set review–however, both JLc2.Dr 2B and WSp.Dr 2B were not able to withstand being KOed when Rage was heavily banked.
This could perhaps be countered by playing some mind games with your opponent and launching a bit stronger to circle around the ridge, but that could be risky with the Drift Driver, which is prone to self-KOing if launched hard.
Nevertheless, it demonstrated that the Jet Ring doesn’t appear to have any particularly strong qualities as a defense type against left-spin attack types. It all depends on what your opponent is and what other parts you are using with the Jet Ring.
The Jet Ring itself would probably be better swapped out for something with better stamina, as I will demonstrate with some tests below.
The Jet Ring Versus Right-Spin Attack Types
Despite the sub-ring spinning more freely in right-spin, any potential defensive upside is irrelevant because of how poor its same-spin stamina is due to the sub-ring.
I was hoping that something like Jet Lucifer 2 Unite’ 2B or Jet Lucifer Wheel Keep’ 1S would be usable for same-spin defense, but it sadly isn’t the case.
They have the ability to defend well, but even when using something like the Wheel Disk and 1S Chassis to maximize stamina, Jet is still liable to being outspun by attack types with even a modicum of stamina (especially if they get some good hits in).
This testing video by When it Rains Beyblades demonstrates this as well as the performance of the Jet Ring on the Drift Driver.
Takara-Tomy Still Hasn’t Figured Out How to Create a Pure, Competitively Viable Defense Type
This problem isn’t unique to the Jet Ring, though. It’s a problem that the Tornado Wyvern Layer faced as well.
And Takara-Tomy has struggled to effectively distinguish the line between stamina and defense types probably throughout most of Beyblade Burst’s history from what I can recollect.
Opposite-spin combos are another story as their defensive potential is often significantly boosted simply by virtue of spinning in the opposite direction of their opponent. This usually means using Drivers like the aforementioned Drift Driver, which has high LAD (Life After Death) and is effectively a defense/stamina hybrid.
But what I am referring to here specifically is the ongoing struggle for same-spin defense types to be relevant competitively.
Anything that actually has good defensive properties–like Unite’ or Keep’–has almost always needed to be supplemented by strong stamina or stamina/defense hybrid pieces to give them enough stamina to outlast same-spin attack type opponents.
A good example of this was Perfect Phoenix Ratchet Unite which I used a few years ago to defeat a Judgement combo and win the IT’S RAINING BEYBLADES tournament in Toronto. Or Archer Hercules 00 Bump Keep’, which I lost with during Beyblade West in California … but nevertheless, in my testing at the time it was able to defend well (and even OS some same-spin Xtend Plus combos).
How Bad is the Jet Ring’s Same-Spin Stamina?
So, just how bad is Jet’s same-spin stamina?
I conducted some tests versus Archer Hercules, which even now I consider to be a nice way to benchmark the stamina of Layers (Perfect Phoenix might work too … but it’s too annoying to test with due to the armor flying off haha):
Jet Wyvern Wheel Revolve 1S vs. Archer Hercules Wheel Revolve
- JWy.Wh.R 1S: 0 wins
- aH.Wh.R: 5 wins
- Jet Win Percentage: 0%
Jet Hyperion 2 Revolve 2S vs. Archer Hercules Wheel Revolve
- JHy2.R 2S: 0 wins
- aH.Wh.R: 5 wins
- Jet Win Percentage: 0%
Not looking good for Jet. But perhaps it’s not fair to use it on Revolve; Jet is much wider than Archer Hercules, after all.
Jet Hyperion 2 Atomic 2S vs. Archer Hercules Wheel Atomic
- JHy2.R 2S: 6 wins (1KO, 5 OS)
- aH.Wh.R: 4 wins (4 OS)
- Jet Win Percentage: 60%
This paints a more positive picture for the Jet Ring, but to me it says more about the Atomic Driver than anything else. This battle was won basically by whoever was launched first.
Overall, I am confident in saying that the Jet Ring doesn’t have as good stamina potential as Archer Hercules.
Knowing this, that alone makes it hard to recommend over other options like the Tempest Ring which has better stamina and better ability to retain stamina over time after suffering hits from opponents.
How Good is the Jet Ring for Opposite-Spin Stamina Battles?
The question I asked myself next was naturally: “How does it perform in opposite spin stamina battles?”.
I conducted several sets of tests in an attempt to uncover whether the Jet Ring is better in any measurable way than other existing options that may also have stronger defense of same-spin stamina.
My benchmark combo was World Spriggan Paradox Rise (Worn) 1S, which I recommended in my World Spriggan review. It might be slightly outclassed now due to the release of Drift and Zone’+Z, but this is actually favourable for the purposes of this test because it should ideally produce more obvious results than if I had used Drift vs. Drift.
Jet Lucifer 2 Wheel Drift 1S vs. World Spriggan Paradox Rise (Worn) 1S
- JLc2.Wh.Dr 1S: 9 wins
- WSp.Pd.Rs 1S: 6 wins
- 6 Draws
- Jet Win Percentage: 60%
Tempest Lucifer 2 Wheel Drift 1S vs. World Spriggan Paradox Rise (Worn) 1S
- TLc2.Wh.Dr 1S: 11 wins
- WSp.Pd.Rs 1S: 4 wins
- 5 draws
- Tempest Win Percentage: 73%
Hollow Lucifer 2 Wheel Drift 1S vs. World Spriggan Paradox Rise (Worn) 1S
- HLc2.Wh.Dr 1S: 11 wins
- WSp.Pd.Rs 1S: 4 wins
- 0 draws
- Hollow Win Percentage: 73%
Lucifer 2 The End Ou Drift vs. World Spriggan Paradox Rise (Worn) 1S
- Lc2TE.Ou.Dr: 11 wins
- WSp.Pd.Rs 1S: 4 wins
- 13 draws
- Tempest Win Percentage: 73%
It goes without saying that these types of tests are always extremely close and it’s possible you could produce difference results than I did.
But looking at what I have here and what I witnessed during the tests themselves, it doesn’t seem to me that the Jet Ring possesses any particular prowess when it comes to opposite-spin stamina battles. At least with Drift.
The most impressive thing to me was Hollow’s performance; it was the clear best option specifically in this scenario due to the lack of any draws.
Examining The Weight of The Jet Ring
Finally, when considering what Ring you should use with your combo it is also worth taking a look at how the Jet Ring stacks up against some of its contemporaries in terms of weight:
- Hollow Ring: 14.54
- Tempest Ring: 13.01
- Jet Ring: 10.42g
- World Ring: 10.02
Considering that it also does not have weight as an advantage that it can tout, I personally have struggled to find a scenario where using Jet would be favourable in comparison to other available options.
The Tricky Business of Implementing Worthwhile Beyblade Gimmicks
The Jet Ring has great burst resistance and can work to a passable level in some scenarios (largely carried by the other parts it gets paired with), but as an individual part the Jet Ring is regrettably a repeat performance of what we saw with the Tornado Wyvern Layer. It’s not good enough.
If we get a chance to see another version of Wyvern in the future, I would love it if they tried reverting to a design similar to the original Wyvern Layer, which was a powerful stamina/defense option in the early days of Beyblade Burst.
The original Wyvern features a very similar design to Jet Wyvern and the Tornado Wyvern Layer, but it’s become clear now that we have seen how they both perform that a Layer without a free-spinning sub-ring has a better shot at success.
In fact, if history has taught us anything it’s that in most cases … gimmicks are what kill performance.
This isn’t necessarily a bad thing because you can implement gimmicks which negatively affect performance in a way which is strategically interesting–such as Tempest’s gimmick where its wings deploy if you launch it too hard, creating more recoil–but in the case of the Jet Ring it is missing the component where there is an actual legitimate top tier competitive use for it.
And after all, the entirety of every Beyblade’s design is effectively based upon killing performance. Otherwise, Takara-Tomy would design one perfectly circular Layer with high outward weight distribution and call it a day!
I commend their commitment to constantly innovating, but they missed the mark with the Jet Ring here.
Sponsored: Order the newest Beyblades at malloftoys.com!
Heads up: If you buy something through Mall of Toys, you won’t pay any extra, but I’ll get a small commission. This helps me keep things running. Thanks for your support!
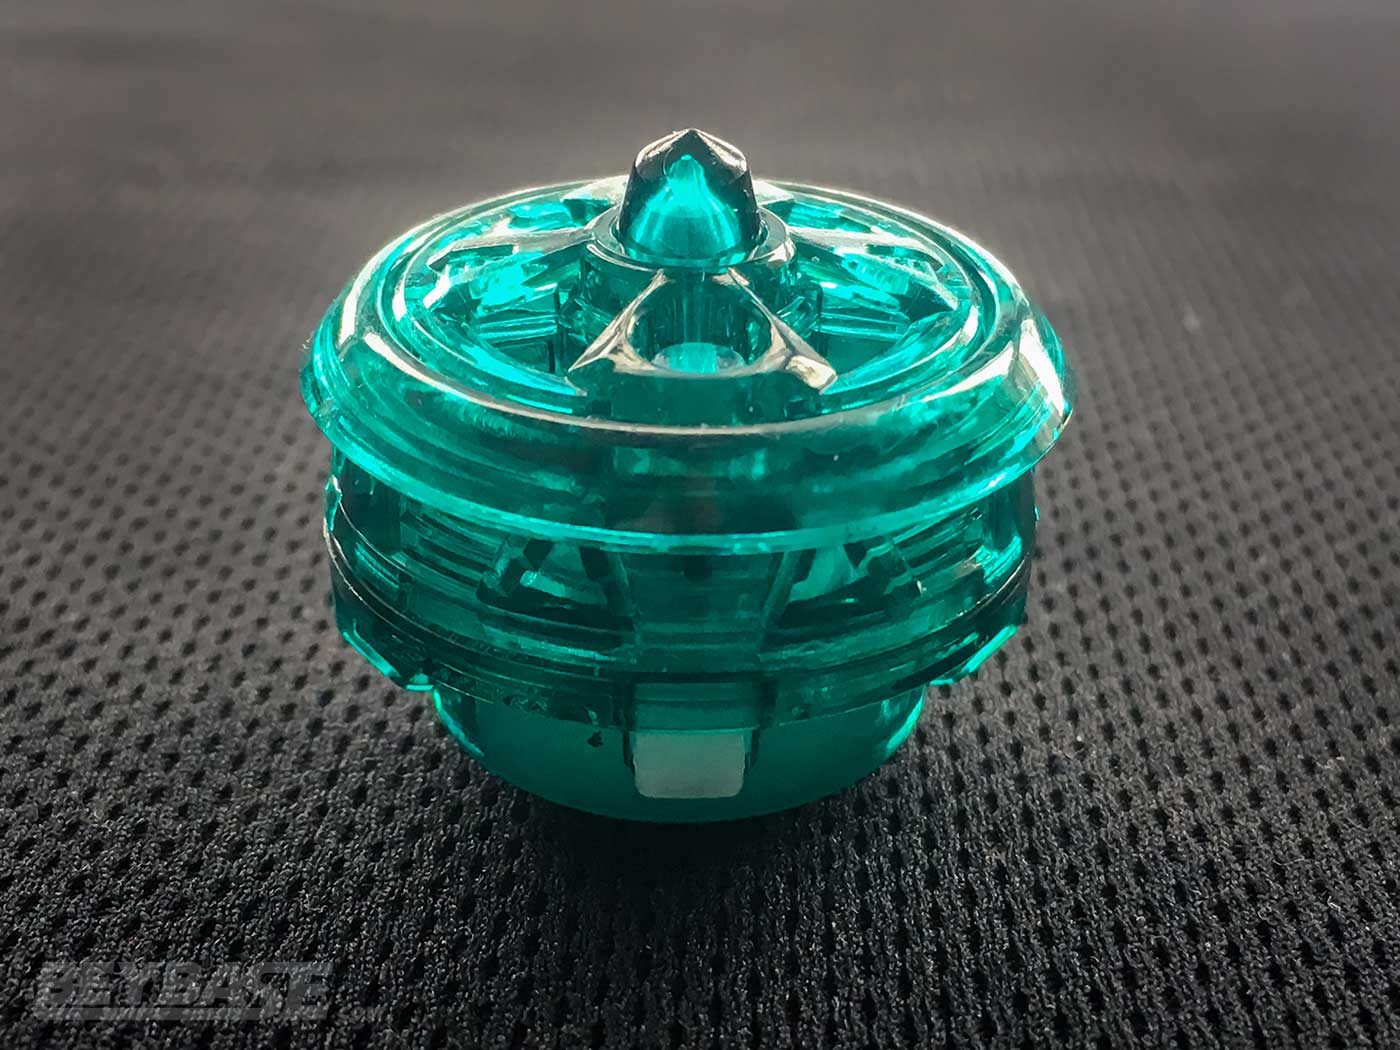
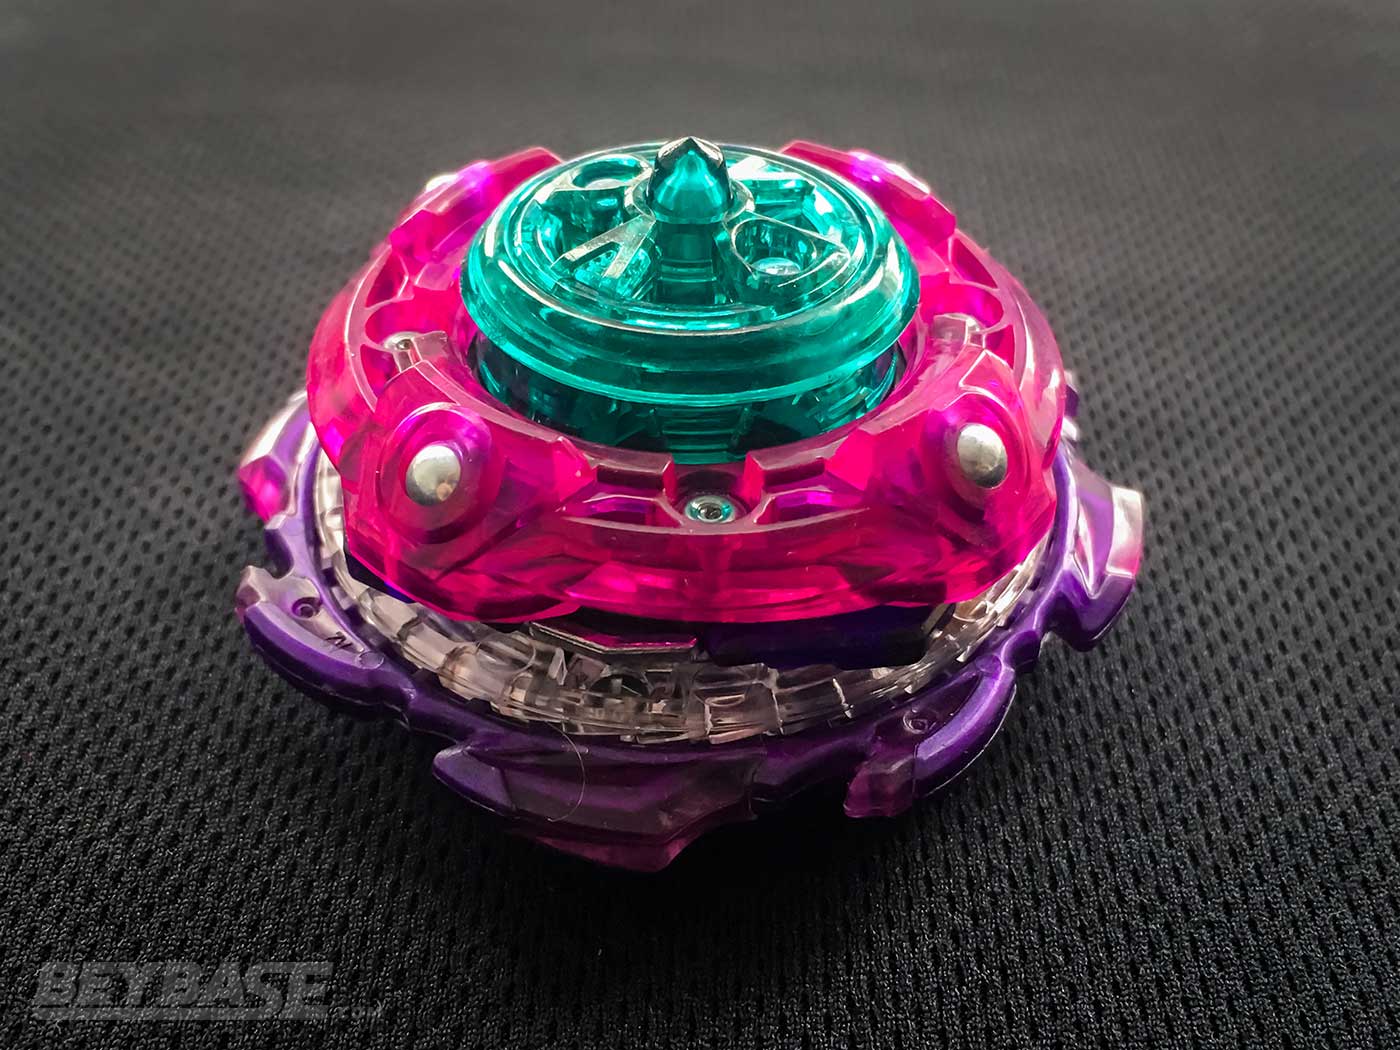
2. The Just Driver is just OK. The concept is interesting, but it’s same- and opposite-spin performance is average to poor.
Note: Just might be better when awakened/worn down! Read on to learn more.
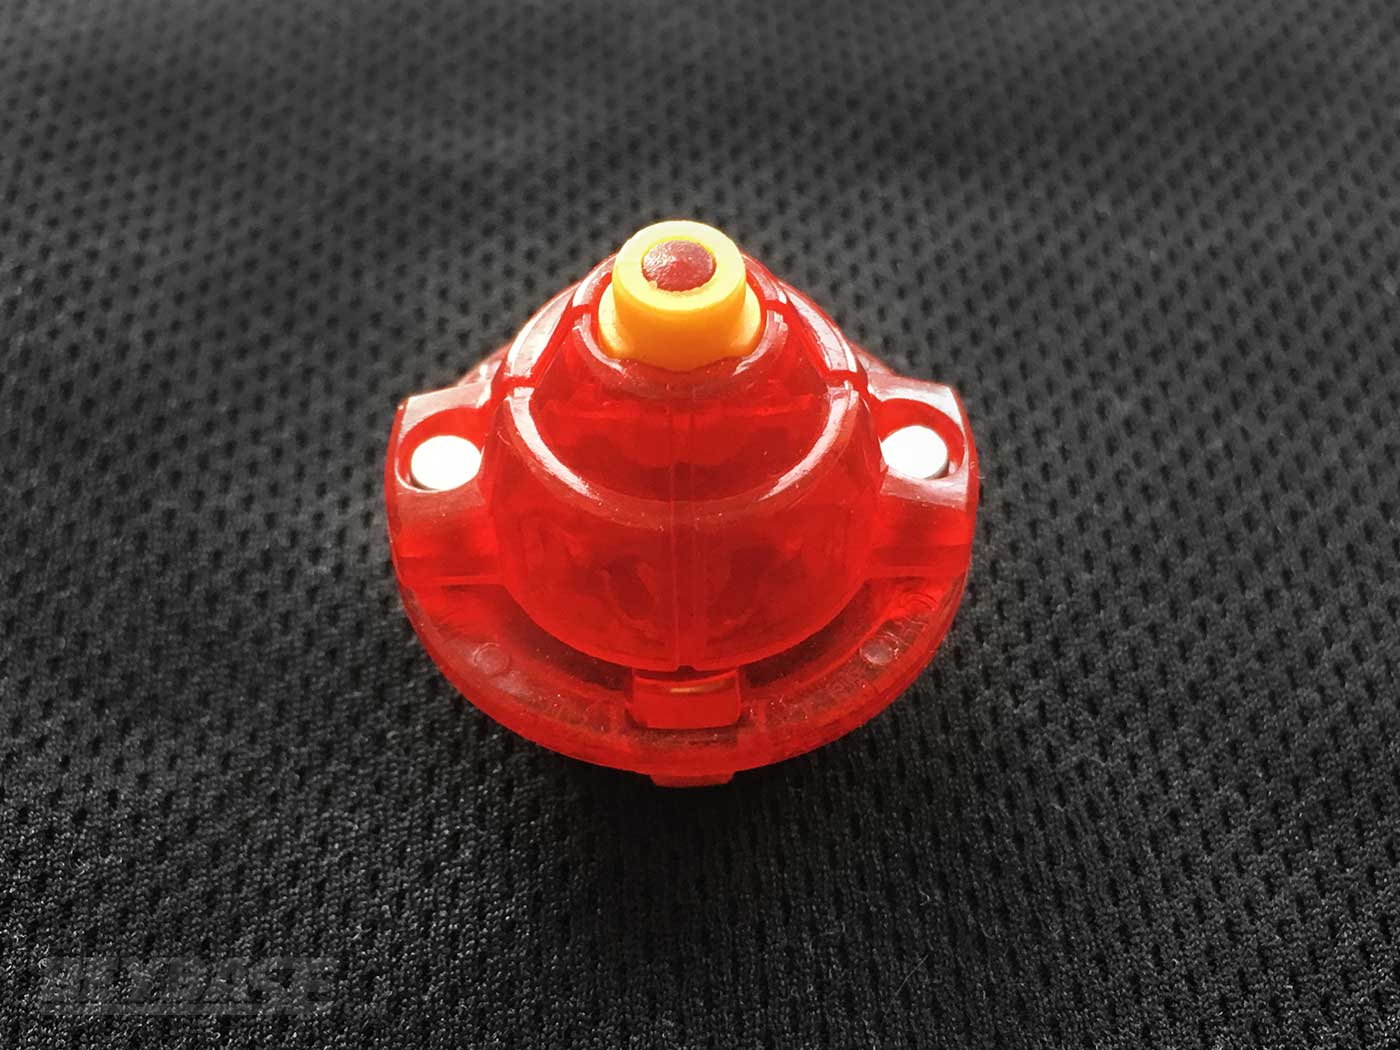
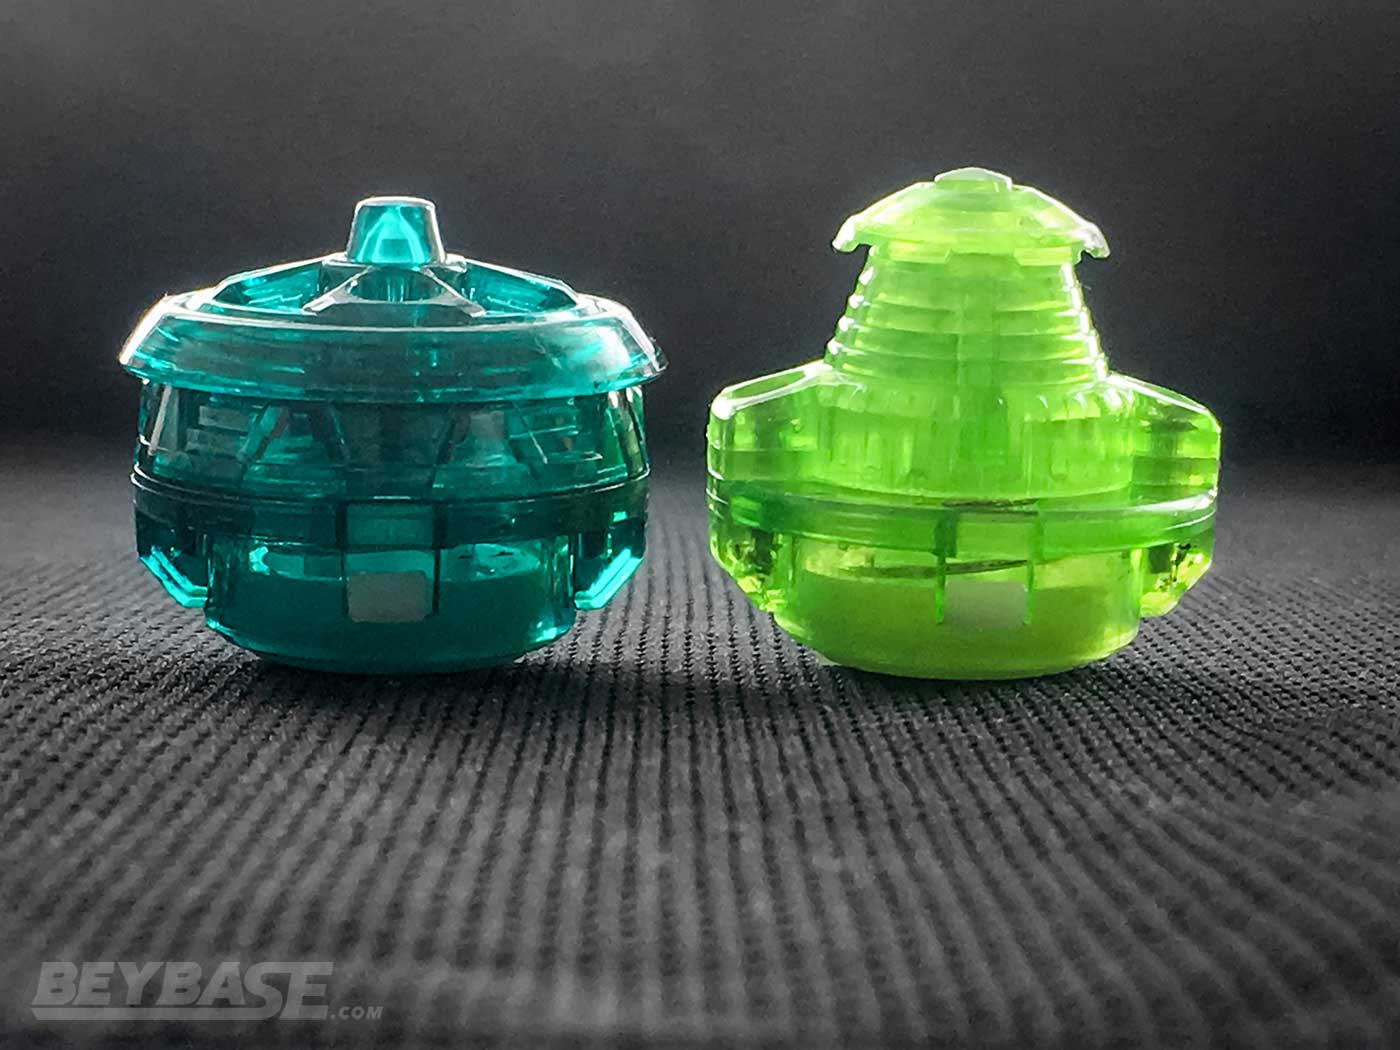
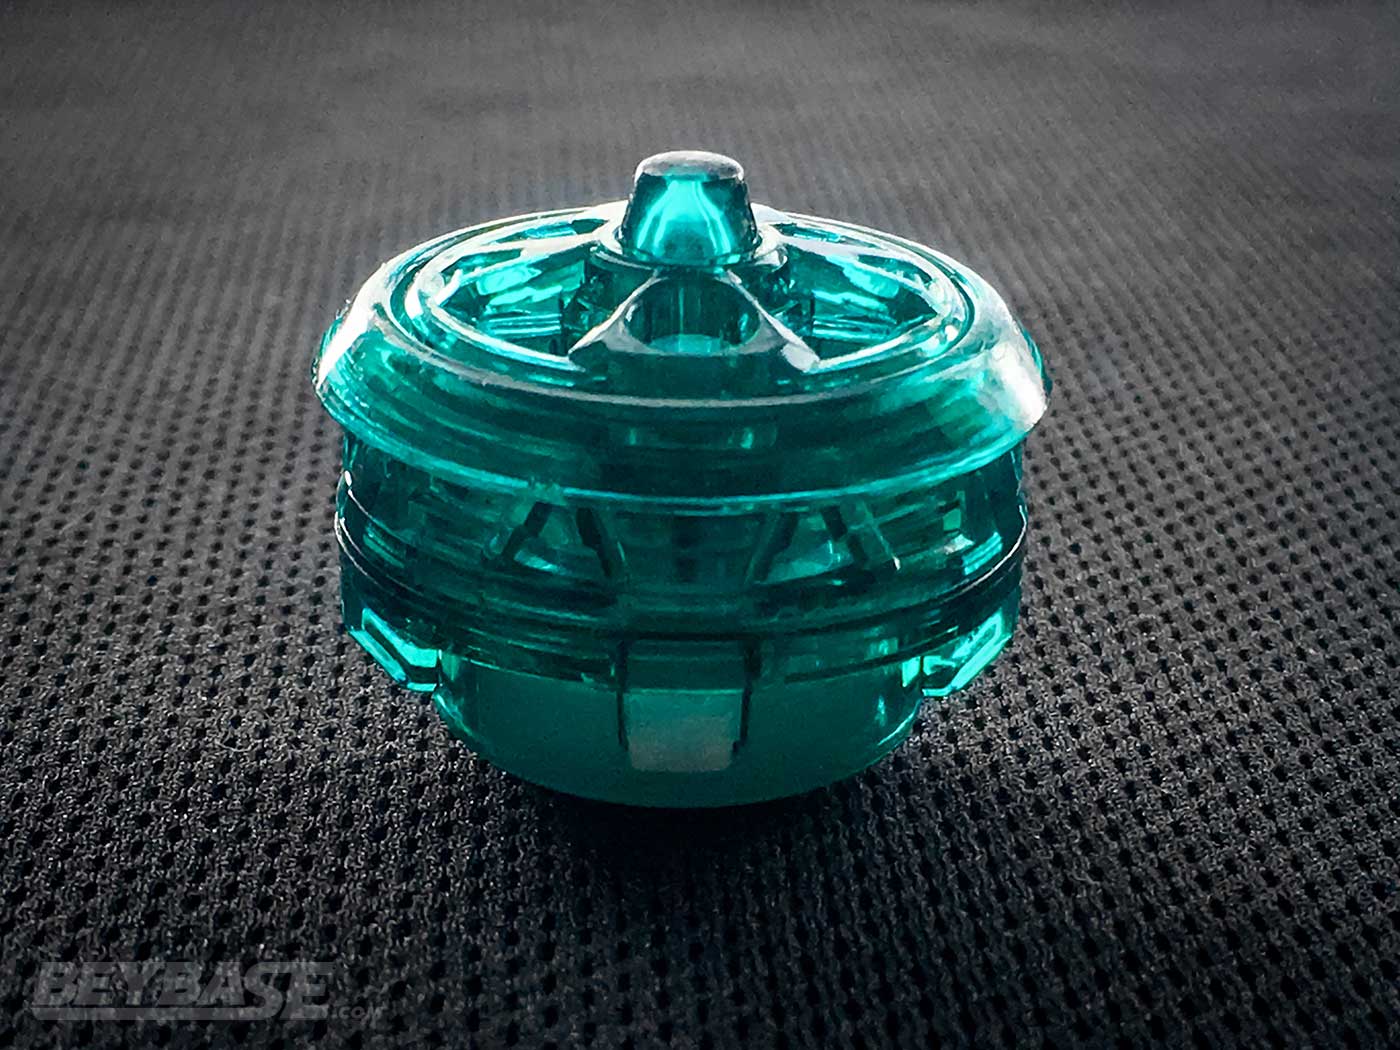
The Just Driver is a defense type Driver featuring a pointed sharp tip designed to occupy the center of the stadium as far away from the exits/pockets as possible.
Towards the end of the battle, it leans over onto its wide base which features a free-spinning disk that aims to prolong its ability to continue spinning.
For several years now, Takara-Tomy (and Hasbro) have slowly been increasing the importance of “Life After Death” (opposite-spin performance) in Beyblade Burst, largely through the creation of wider and wider–often free-spinning–Driver tips like Bearing, Mobius, Zone’+Z, and most recently Drift.
I touched on this subject during my Top 5 Things You Need to Know About B-174 Beyblade Limit Break DX Set review.
Considering this, the concept for the Just Driver is quite interesting as it is effectively a hybrid between this trend and the basic concept of a sharp tip which hasn’t been seen in quite some time.
Before testing the Just Driver, I held out hope that it might be able to rival a Driver like Revolve for same-spin stamina while also possessing the ability to OS some lower tier Drivers in opposite spin and to resist KOs a bit better because of the wide base.
So, let’s find out if my wishes came true.
We’ll start with some same-spin stamina tests:
Archer Hercules Wheel Just vs. Archer Hercules Wheel Revolve
- aH.Wh.Js: 6 wins
- aH.Wh.R: 9 wins
- 3 Draws
- Just Win Percentage: 40%
Archer Hercules Wheel Just vs. Archer Hercules Wheel Xtend+
- aH.Wh.Js: 0 wins
- aH.Wh.Xt+: 5 wins
- Just Win Percentage: 0%
Archer Hercules Wheel Just vs. Archer Hercules Wheel High Survive
- aH.Wh.Js: 8 wins (2 BF, 6 OS)
- aH.Wh.HS: 7 wins (7 OS)
- 1 Draws
- Just Win Percentage: 53%
My overall impression is that the Just Driver is on one hand well-designed, but on the other, not practical for competitive use.
It doesn’t have the worst stamina, but also certainly not the best. This is logically what a Defense type Driver should be.
But the problem I found was that against attack types–the type it is supposed to win against–it cannot retain its stamina well enough.
This is due in large part to how short the Driver is; it’s shorter than Revolve.
It loses stamina too quickly when the outer ring/base starts to touch the stadium floor.
If the free-spinning ring was smoother and allowed it to spin for a longer period of time when leaning over (think Circle Survivor from Wolborg 4 in the plastics generation or F230CF/GCF from Metal Fight Beyblade), the Just Driver would be more viable.
The Just Driver again highlights the issue I talked about earlier with the Jet Ring; it just doesn’t have enough stamina in some situations to even OS the type it is supposed to beat: attack.
Against left-spin attack types, the outlook is slightly better. I found World Spriggan Just 2S to have pretty good defense versus Rage Diabolos Xtreme’ 3A.
But if the attack type is using a wider tip like Xc’+Z, it can’t OS it, which is a huge problem for a defense type.
To further illustrate how poor the Just Driver’s Life After Death/opposite spin stamina performance is, see the following test results:
Hell Salamander Wheel Just vs. Archer Hercules Wheel Revolve
- hS.Wh.Js: 0 wins
- aH.Wh.R: 5 wins
- Just Win Percentage: 0%
It can’t even beat Revolve in opposite spin.
This severely limits its applications both in today’s metagame filled with high LAD Drivers and even puts into doubt its ability to OS some attack types in opposite spin.
As a result of all of this, I cannot recommend the Just Driver for the standard Burst Format in the Burst BeyStadium Standard Type.
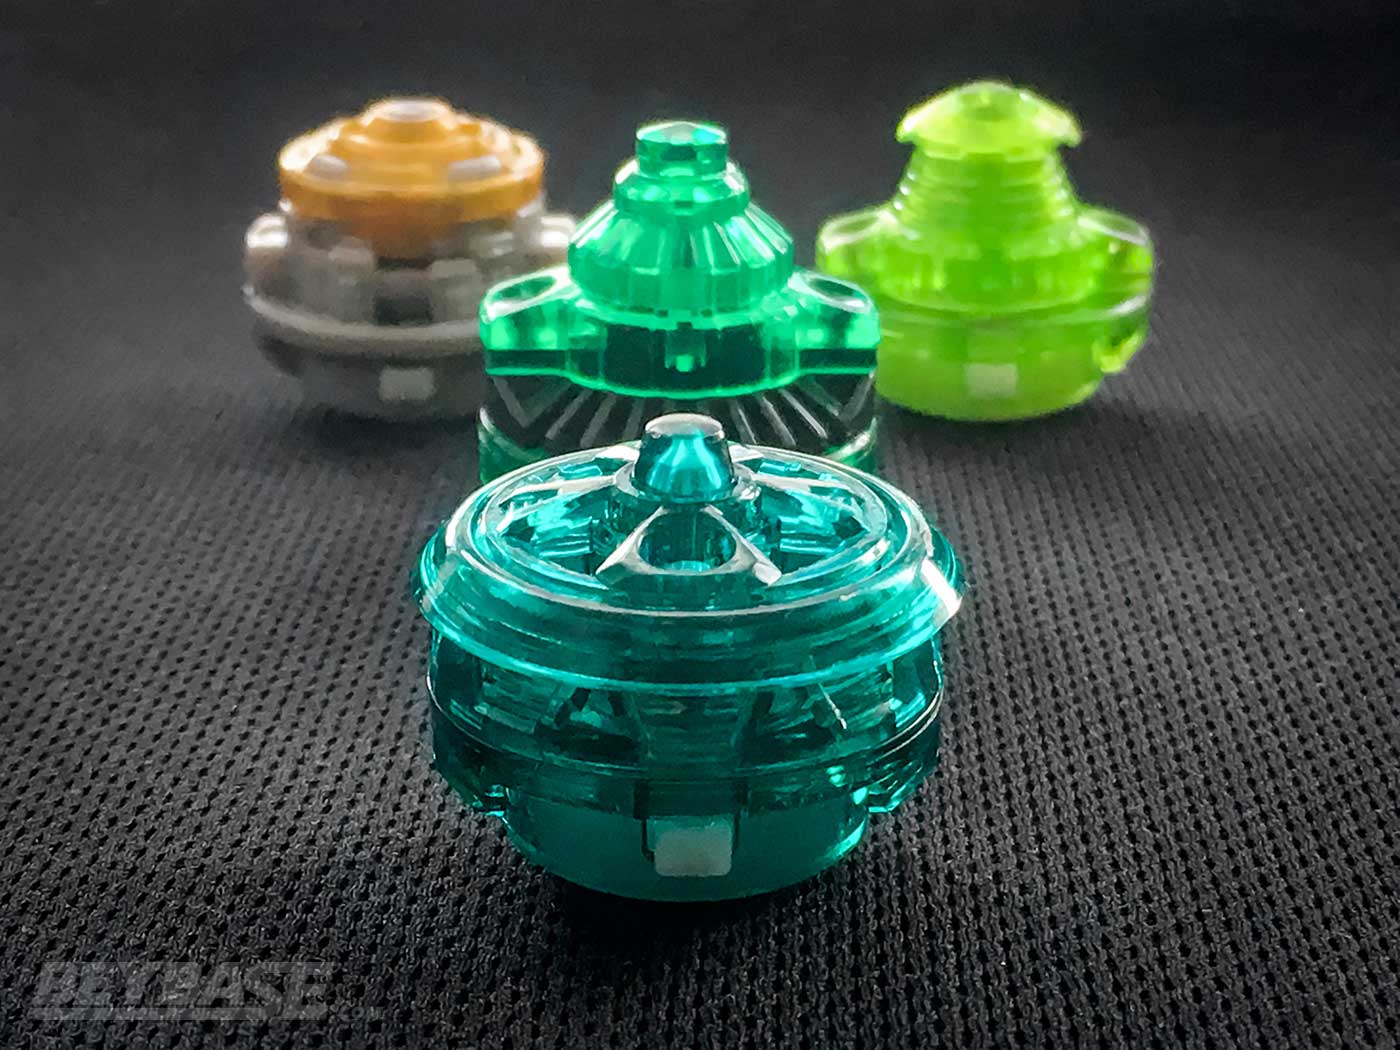
Awakening (Wearing Down) the Just Driver
Despite discovering the issues which exist with a brand new Just Driver, I decided to dig deeper and try awakening it.
To do this, I used the Cho-Z Musou Stadium which has electric spinning plates which help to more quickly wear down the tips of Drivers. The Competitive Gamer on Youtube demonstrates this in his video here.
What “awakening” means for the Just Driver is wearing down the sharp tip so that it becomes rounder (or even flat) and shorter.
The idea here is that a rounded or flat tip would allow the Just Driver to maintain its balance longer before falling over. This should improve stamina in opposite-spin and same-spin at the cost of some controllability due to the increased movement such a tip will create.
The Just Driver isn’t completely dead once it has fallen over thanks to its wide base and free-spinning ring, but nevertheless, prolonging your ability to stay upright is always beneficial.
So, first let’s look at the opposite spin performance of the awakened Just Driver:
Hell Salamander Wheel Just (Worn) vs. Archer Hercules Wheel Revolve
- hS.Wh.Js: 5 wins
- aH.Wh.R: 0 wins
- Just Win Percentage: 100%
This result is the complete opposite of the brand new Just Driver, which was unable to defeat Revolve in opposite spin. A good sign!
Hell Salamander Wheel Just (Worn) vs. Archer Hercules Wheel Xtend+
- hS.Wh.Js: 0 wins
- aH.Wh.Xt+: 5 wins
- Just Win Percentage: 0%
Same result as before.
Hell Salamander Wheel Just (Worn) vs. Archer Hercules Wheel Atomic
- hS.Wh.Js: 1 wins
- aH.Wh.At: 9 wins
- 3 draws
- Just Win Percentage: 0%
I wasn’t surprised to see it lose to Xtend Plus, but was disappointed to see that it couldn’t at least beat Atomic in this situation.
Now, let’s take a look at a quick same-spin test:
Archer Hercules Wheel Just (Worn) vs. Archer Hercules Wheel Xtend+
- aH.Wh.Js: 6 wins (1KO, 5 OS)
- aH.Wh.Xt+: 4 wins (4 OS)
- Just Win Percentage: 60%
This was a huge improvement; the brand new Just Driver had a 0% win percentage in my original tests.
However, I did discover that when aH.Wh.Js (Worn) is put up against TDb.Wh.Xt+ 1S for instance, it gets pushed down and loses consistently …
Awakened Just Driver Testing Demonstrations
Both Swimming in Beyblades and The Competitive Gamer on Youtube have conducted some testing over their own with awakened Just Drivers.
In this video you can see Tempest Xtend Plus defeating the Just Driver in same-spin as I described above, but you can also see it going toe-to-toe with the Drift Driver. I’m not sure how worn down the Just Driver in this video was, but it’s important to remember that the performance of your Just Driver may vary depending on how much you wear it down.
Case in point is The Competitive Gamer’s video:
He took “awakening” to an almost illegal level by wearing down the tip nearly to the wide base of the Driver. As a result, it moves around uncontrollability when launched hard, similar to the Drift Driver.
And while this makes its same-spin stamina even worse, it likely has better Life After Death too.
Considering this, it is difficult to evaluate the Just Driver definitively as I did not take my awakening this far. If The Competitive Gamer’s Just can compete with the likes of Drift and Xtend Plus in opposite-spin battles, then it would obviously be quite valuable.
If anyone reading has experience with Just in this state, please share in the comments below!
Could Just Be Useful in the Dash BeyStadium or WBO Burst Classic Format?
I do want to also mention that there is a chance that the Just Driver could be useful in the Dash BeyStadium or in the WBO’s Burst Classic Format.
I didn’t test it for these purposes, but in the Dash BeyStadium it could be argued that securing the center area and being able to hold your ground is more important than in the Burst BeyStadium Standard Type due to the one larger exit with no ridge.
Wide-tipped Drivers like Mobius, Drift, and Zn’+Z are popular in the Dash BeyStadium as well, but they all have poor same-spin stamina. I would imagine that Just can outlast them.
In terms of Burst Classic Format, my thought here is that it might have a place because opposite spin combos are not as common due to them being relegated to Dragoon S, Dragoon F etc. and not having high LAD Drivers like the Bearing Driver or Xtend Plus Driver available to use.
If anyone reading this has experience with Just in these situations, please comment below and share your knowledge with us!
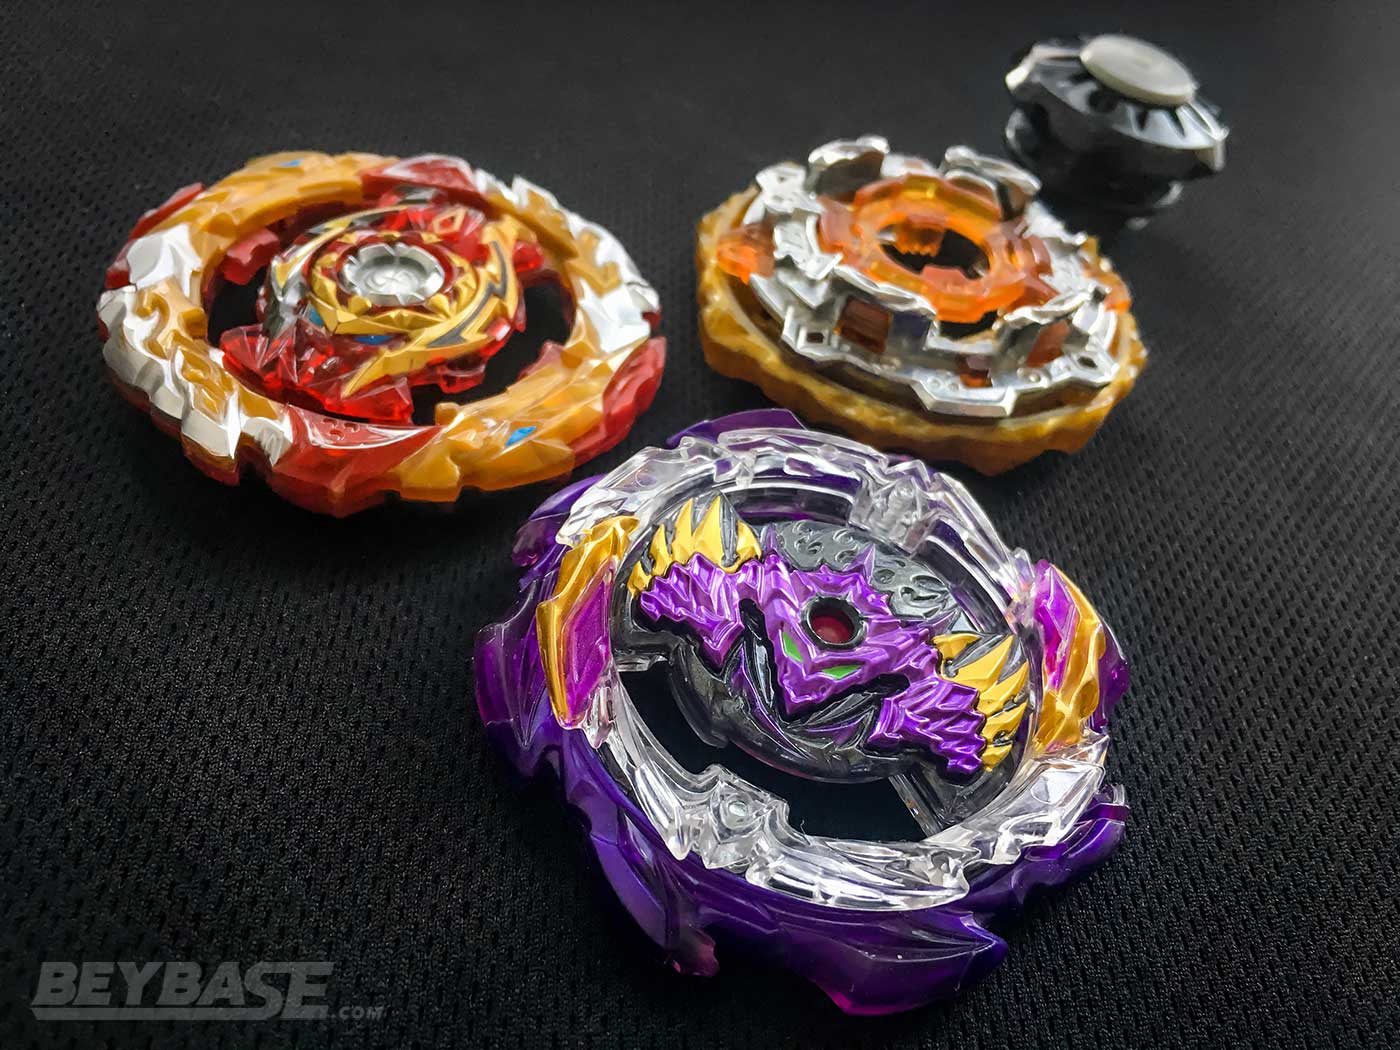
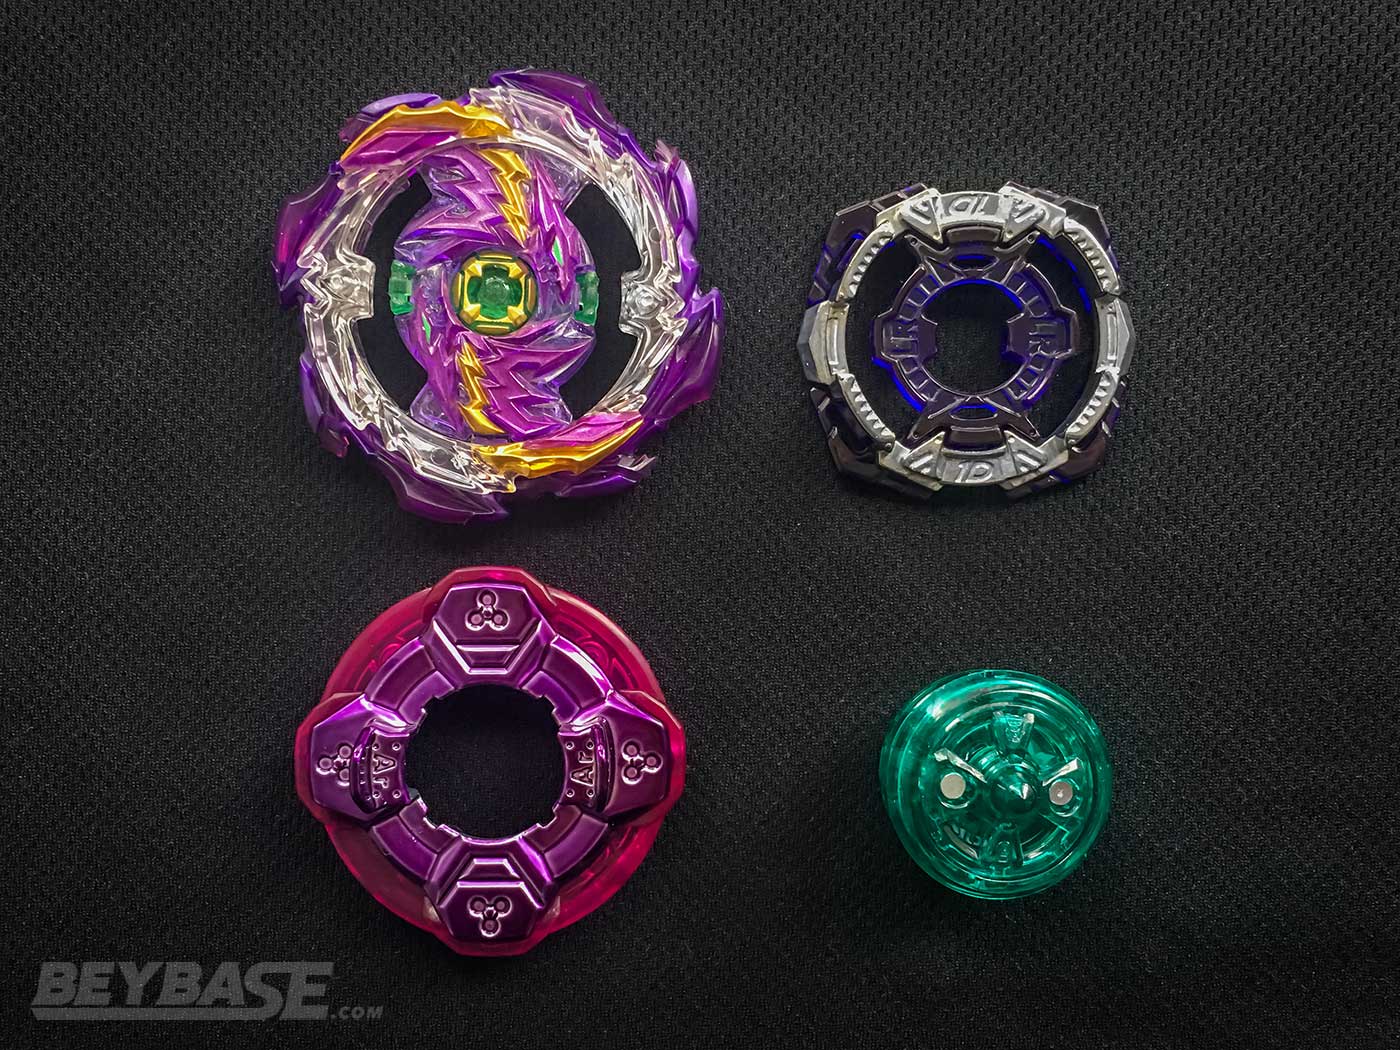
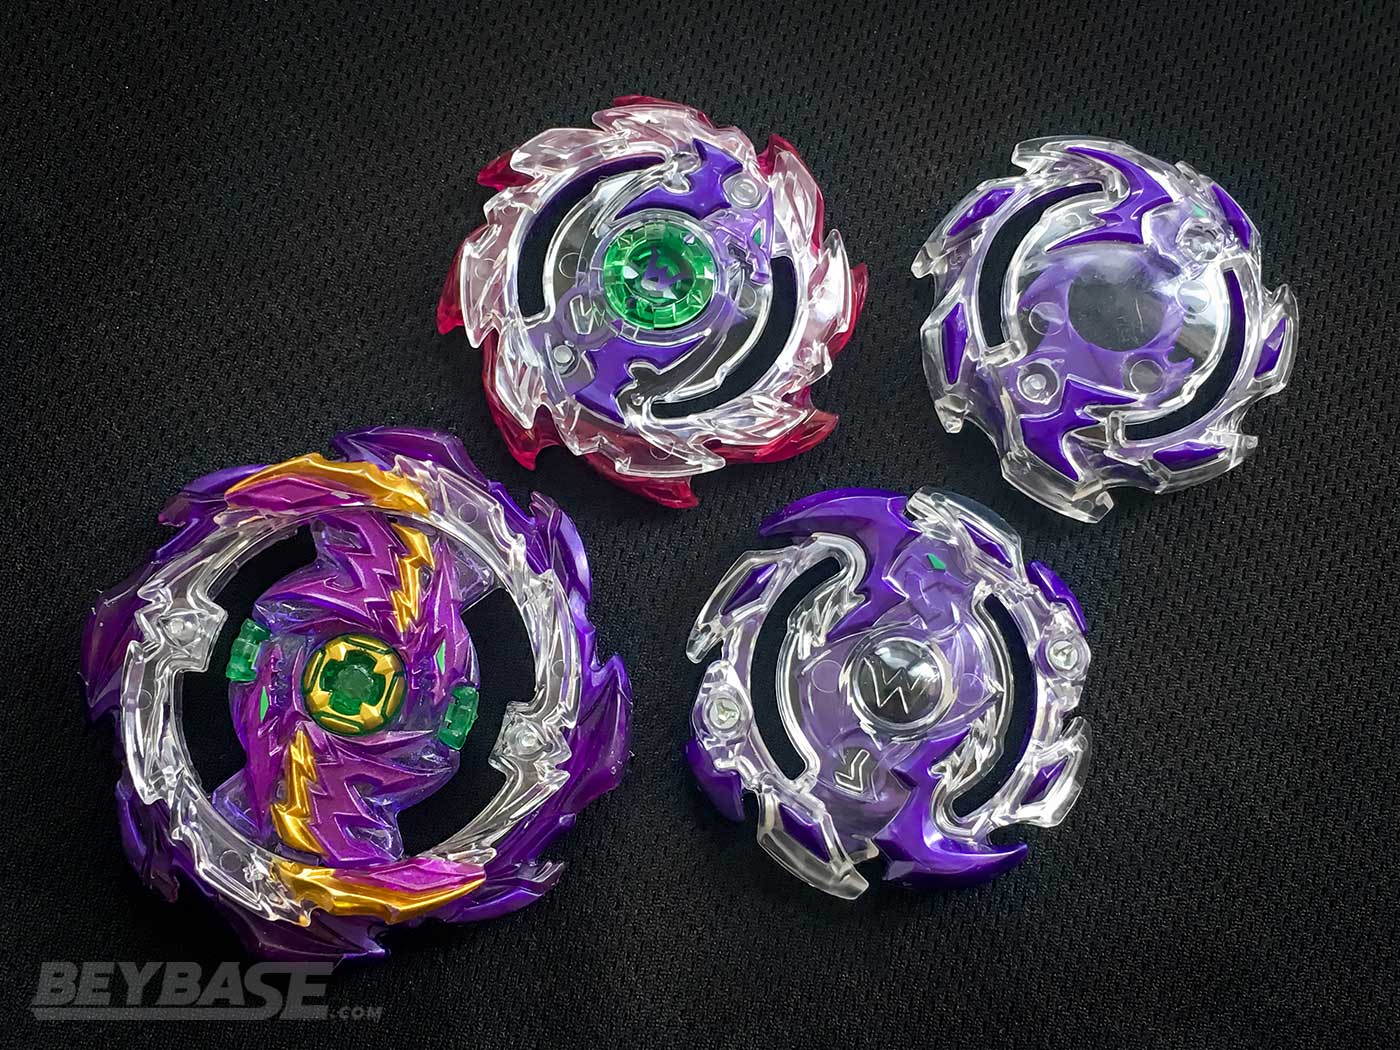
3. Best Jet Wyvern Beyblade Combo: Jet Lucifer 2 Drift 2B
Jet Lucifer 2 Drift 2B is a stamina/defense hybrid Beyblade combo.
It is extremely effective at outlasting most stamina, defense, and attack type opponents that are the opposite spin direction of it.
It will lose in most cases to same-spin opponents due to the poor same-spin stamina of the Jet Ring and Drift Driver.
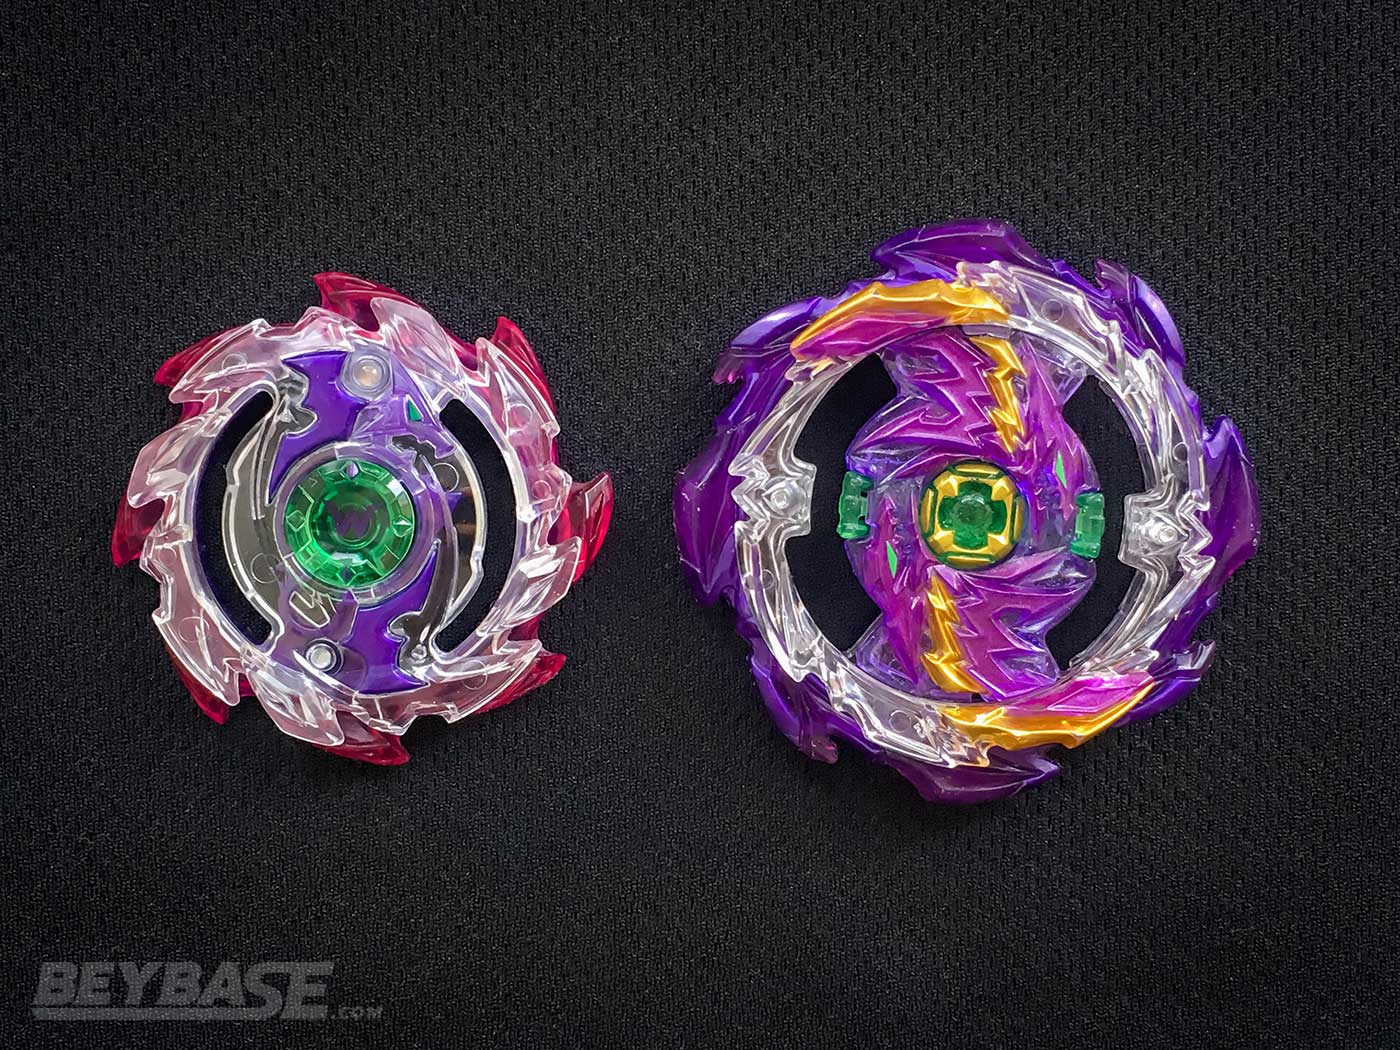
The Lucifer 2 Sparking Chip provides some extra weight and burst resistance, although this is negligible overall and can be easily swapped out for another Sparking Chip if you are using Lucifer 2 elsewhere or do not own it.
The 2B Double Chassis synergizes with the Jet Ring due to their free-spinning nature. Again, the effect in reality is negligible, but the idea is that the Ring and Double Chassis can work in tandem to deflect attacks.
A combination such as Wheel 1S may be stronger for this combo than 2B, but realistically, Wheel and 1S are likely going to be used by other Beyblades if we are talking about a WBO Deck Format, WBBA 3on3, or WBBA 5G battle.
JLc2.Dr 2B Strengths
- Extremely strong, top tier opposite spin performance
- Good defense against opposite spin attack types
JLc2.Dr 2B Weaknesses
- Poor same spin stamina
- Poor same spin defense
Want to build JLc2.Dr 2B’? You’ll need:

-
Jet:
-
Lucifer 2 & Drift:
-
2B:
Sponsored: Order the newest Beyblades at malloftoys.com!
Heads up: If you buy something through Mall of Toys, you won’t pay any extra, but I’ll get a small commission. This helps me keep things running. Thanks for your support!
Should you buy B-177 Jet Wyvern Around Just 1D?
I would say that most likely it is not necessary for the average player to purchase B-177 Jet Wyvern Around Just 1D.
While the Jet Ring is usable in some situations and the Just Driver is interesting and has some potential when awakened, there are better ways to spend your money if you are on a strict budget.
Purely in terms of Beyblade Burst Sparking boosters, I would instead recommend: B-175 Lucifer The End Kou Drift, B-172 World Spriggan Unite’ 2B, or B-168 Rage Longinus Destroy’ 3A.
You can also learn more about what some of the best Beyblade parts to buy are here.
Parts Summary
Jet Ring:
The Jet Ring fails to excel in any area, but it is an effective option for opposite-spin stamina/defense Beyblade combos.
Wyvern Sparking Chip:
A standard Sparking Chip with no particular or notable features. Lighter Sparking Chips did show some promise for stamina based on my testing here, but even if that is the case, I do not believe the Wyvern Sparking Chip would be significantly different to the point where it would be worth purchasing this booster just for it.
Around Disk:
The Around Disk arguably might actually be the best part in this booster. It is not particularly useful in the standard Burst Format at the moment, but in the past it did work well with some parts like the Master Layer Base and Destroy’ Driver. It has been outclassed by Wheel in most cases I think, but nevertheless it has good stamina and decent weight. Several players I surveyed last year for my “The Top 5 Best Beyblade Burst Combos” article mentioned it in their most underrated combo recommendation.
Just Driver:
The Just Driver is … just OK. The concept is interesting, but it’s same- and opposite-spin performance is average to poor. However, if you spend the time to awaken it (wear it down) significantly, it does show some potential.
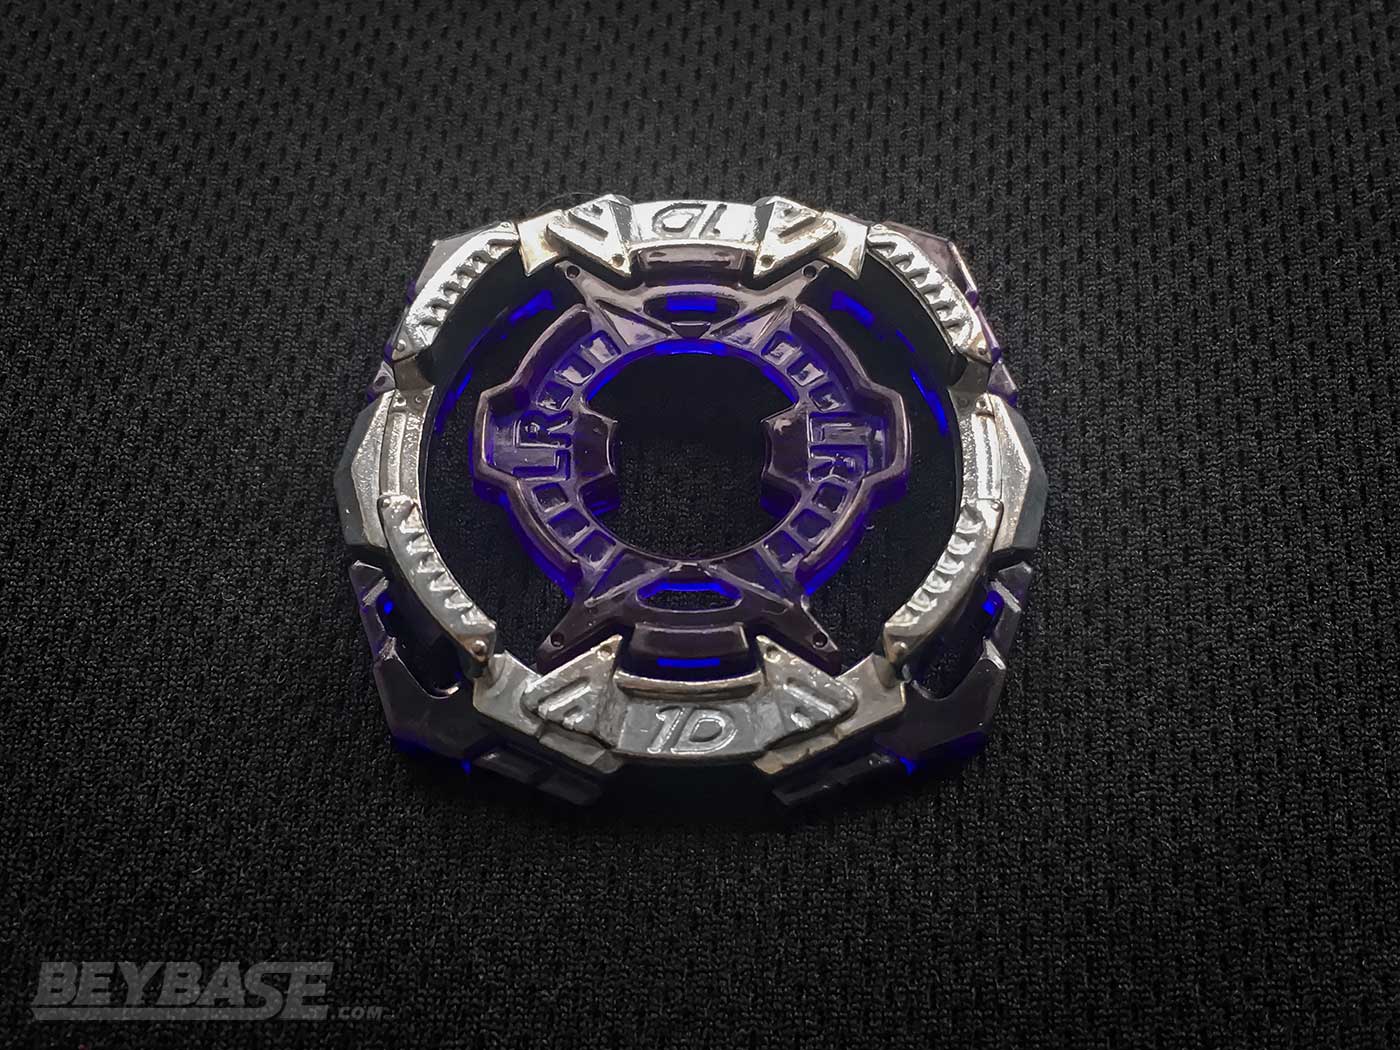
1D Chassis:
As I mentioned in my “Best Beyblade Burst Parts” article, 1D is not strictly terrible … but there is little reason to use it over something like 1S, which has better stamina and is around 5g heavier. The centralized weight of 1D doesn’t provide any tangible benefits in my experience.
Final Score: 5/10
Where to Buy B-177 Jet Wyvern Around Just 1D
Heads up: If you buy something through some of the links on this post, you won’t pay any extra, but I’ll get a small commission. This helps me keep things running. Thanks for your support!
What do you think of B-177 Jet Wyvern Around Just 1D? Comment below!
If you’re thinking of picking up B-177 Jet Wyvern Around Just 1D and have any questions, feel free to ask below and I’ll do my best to answer.
And if you’ve already picked it up, I’d love to hear about your thoughts and testing experiences with it. What combinations do you like to use with Jet, Wyvern, Around, Just, and 1D with?
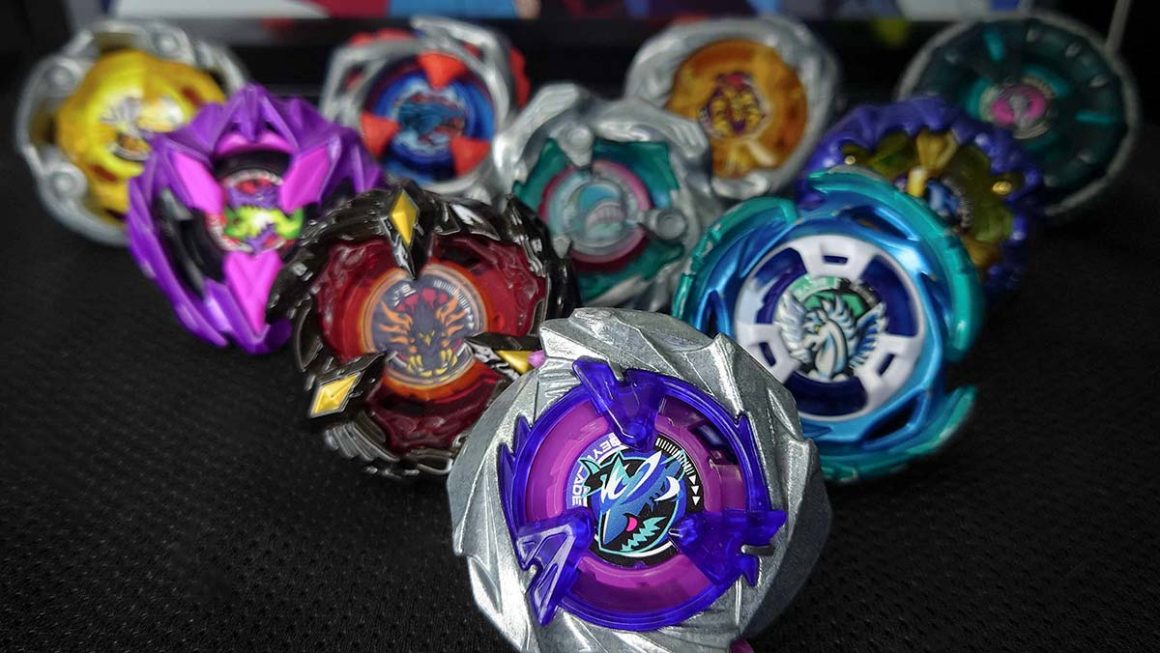
Photo Gallery


10 thoughts on “Top 3 Things You Need to Know About B-177 Jet Wyvern Around Just 1D (Beyblade Burst Sparking Review)”
Comments are closed.
Related Posts
Beyblade X Custom Line (CX) Buyer’s Guide: Expert Players Review the Best Products for All Skill Levels and Budgets
Beyblade X Buyer’s Guide: Discover the Best Products, Strongest Combos, and How to Play
Can you post a.. post on the best beys to buy (basically the best stock combos) but also shows how worth each bey is compared to the price?
That’s an interesting idea, thanks PoisonHydra! I’ll keep in mind communicating the cost of certain items/Beyblades next time I make a “best” type artlce.
Hi Kei,
could you update some recent top builds? I am a new player, and I like your articles so much!
Hi Eric, I plan to do just that sometime within the next few months! It takes a while to put it all together … so stay tuned. Thanks for reading!
Hey Kei,
I’m just seeing this, I appreciate you using my video as an example. Since that video I’ve done more testing with Just in opposite spin and I recently put up a video on World Helios II 2B Just. The video is just a little testing but from it you can see that the awoken Just is really good at getting KO’s. It’s also decent in opposite spin stamina vs both Xtend+ and Drift.
The problem I see with it oppossite spin is that you really want to be in constant contact if you want to OS Xtend+ or Drift. So you really have to decided how you want to win(KO or OS) prior to launching if that makes sense. From a lot more testing(30+ matches against each) I’ve found:
1. You really want to launch mid-high Sliding/Tilting launch to stall for a second
and make contact asap.
2. You have a better chance attempting to KO oppossite spin drift than OS it. Drift wins
8/10(ties aside) if it comes down to stamina.
3. Just is good against Tempest. In this match-up you really want to go for the KO. If Just doesn’t
self KO, it has a high chance to KO or OS Tempest on Xtend+(launched hard or soft). If you light
launch Just then you can only win if the Tempest is in constant contact. To win while light
launching you really want to let Tempest take the center while Just stays in contact around it.
Of course this is all dependent on Just not self KO’ing haha, which is why I stress the Sliding/Tilting launch to stall for a second and make contact asap. I’ve tested launching without having it stall and just making fast contact and majority of time it would self KO. Also I use Tempest as a reference for opposite spin Xtend+ as that’s really the Xtend+ combo to beat imo.
Hopefully this gives you a better idea of awakening Just to that extent. For anyone awakening their Just I’d say leave the tip a little taller than I did. I think it would increase it’s chance to OS opposite spin as you’d make more contact with the Rings(mine makes contact with the chassis).
Thanks for all of the additional insight! It’s definitely useful to know for people trying to decide how far they want to wear down their Just Driver.
I’m surprised to hear it’s good at getting KOs. At the level you wore it down to, I was going to say before you mentioned it that I would be really worried about self-KOing, but I guess that can be mitigated to degree through launch technique as you said.
Can You Do The Best Stadiums To Train In? Since I Can’t Get The Takara Tomy Standard Stadium, Can You Do Great Alternatives + Good 2v2 Stadiums?
Hey there, I will consider it! The best stadium for Beyblade Burst is definitely the Burst BeyStadium Standard Type, but if you can’t get that I would recommend getting Hasbro’s Beyblade Burst Pro Series stadium as it is the most similar stadium available outside of Asia.
For 2v2, I only have experience with things like Takara-Tomy’s MFB BB-33 Wide Square Stadium or the Burst B-50 BeyStadium Wide Type, but I imagine you wouldn’t be able to get those either … 😅
Before Death Solomon was released, Solomon was incredibly rare. Since its release Solomon is now more common than its alternative, Diabolos. Kinda ironic! Does this mean that Solomon will be more common in competitive play than Diabolos? Also I would buy Jet Wyvern if the sub ring wasn’t free spinning.
That’s true! It should and is becoming more common, yes. If you look at recent winning combinations from WBO tournaments you can see that the frequency of usage has increased a bit. Diabolos is still good, but Solomon has always been better generally speaking. We just didn’t see it as much because of its rarity.